
Who knew that Shrinky Dinks (and some key rings) could be the answer?
I have officially banished melty beads from my house. They might be one inexpensive craft project that keeps my kids busy for a long, long time but I hate carrying those carefully crafted bead boards to the laundry room, where I have to inevitably fix the section of beading that fell off in transit (tears!), and then iron. Then there’s the bucket of beads that fell on the floor. Nope. No More.
Shrinky Dinks, though…yes! On the whim of a childhood memory of watching my Shrinky Dinks through the oven door in wonder as they shriveled and shrank…I threw two sets of Shrinky Dinks (this one for my 5 year old daughter and this one for my 7 year old son) into my Amazon cart and checked out.
I didn’t expect them to interest all of my kids…but when those Shrinky Dink sets arrived, I didn’t hear from anyone all morning. They were very busy.
My 10-year-old became in charge of the toaster oven (I don’t have to do anything?!? Really?). By the end of the week, we needed more Shrinky Dinks (when we used up all the Shrinky Dinks from the first sets, we also got this one. Recommended!).
Shrinky Dinks, though, aren’t as popular as they were when I was growing up. The selection is pretty slim. Toys R’ Us doesn’t even sell one set!
One item that is readily available is blank sheets of Shrinky Dink Sheets, which you can use to create your own designs.
But what do you do when you run out of Shrinky Dinks kits to buy and mom really isn’t an artist?
Well, the one thing I can draw on those blank Shrinky Dink pages is nice big bubble letters…which takes kids lots of time to color and cut out. (Warning: Choose the “frosted” paper, which kids can color on using colored pencils. The “crystal clear” shrinky dink paper requires permanent markers…big no-no!)
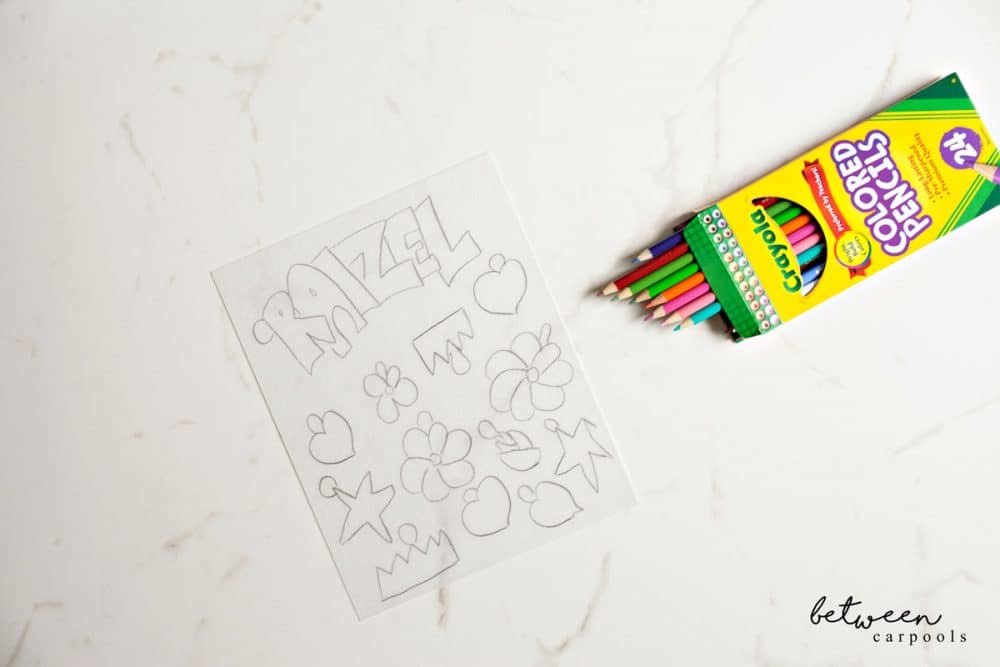 1. Draw bubble letters, connecting to each other, on blank Shrinky Dink sheets, like these. Fill the rest of the page with more free form shapes and “charms.” Add loops where the key ring holes will go.
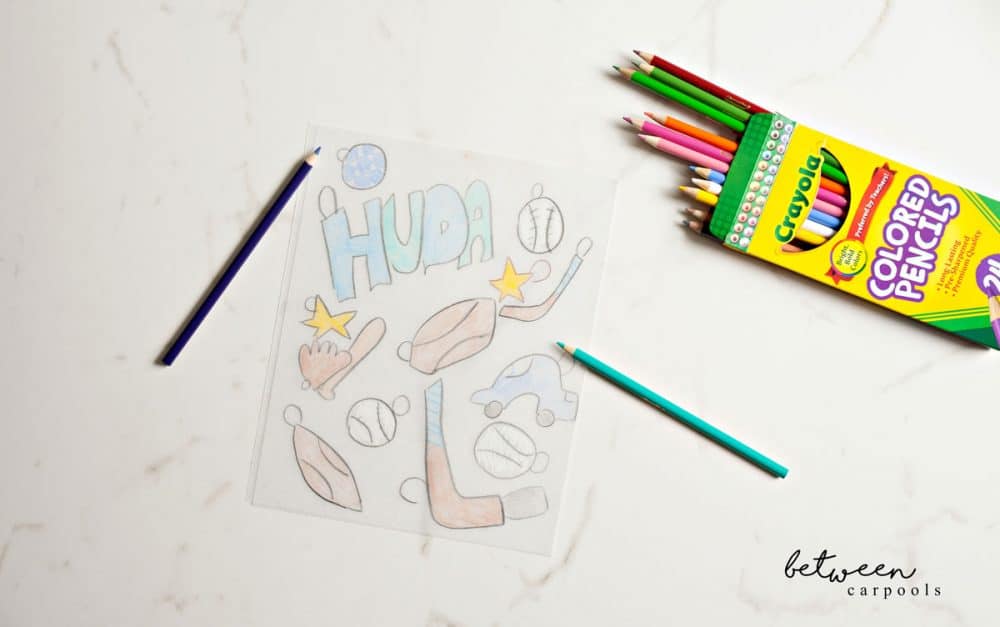
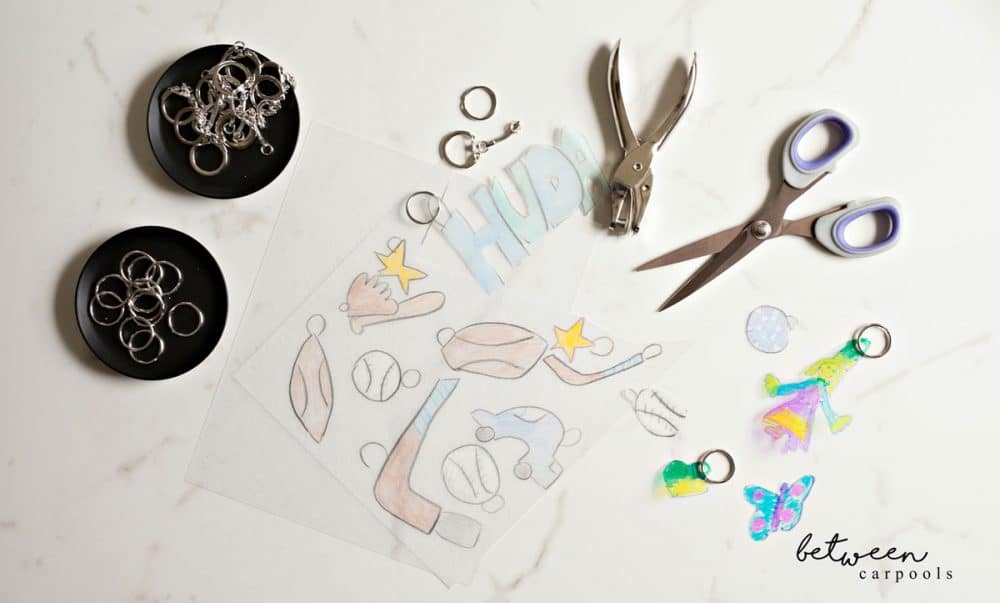
2. Color and cut out the words and shapes. Use a standard hole puncher to punch a hole in the top and add a key ring (if you wait until after the Shrinky Dink bakes to do this, the hole will be too small).
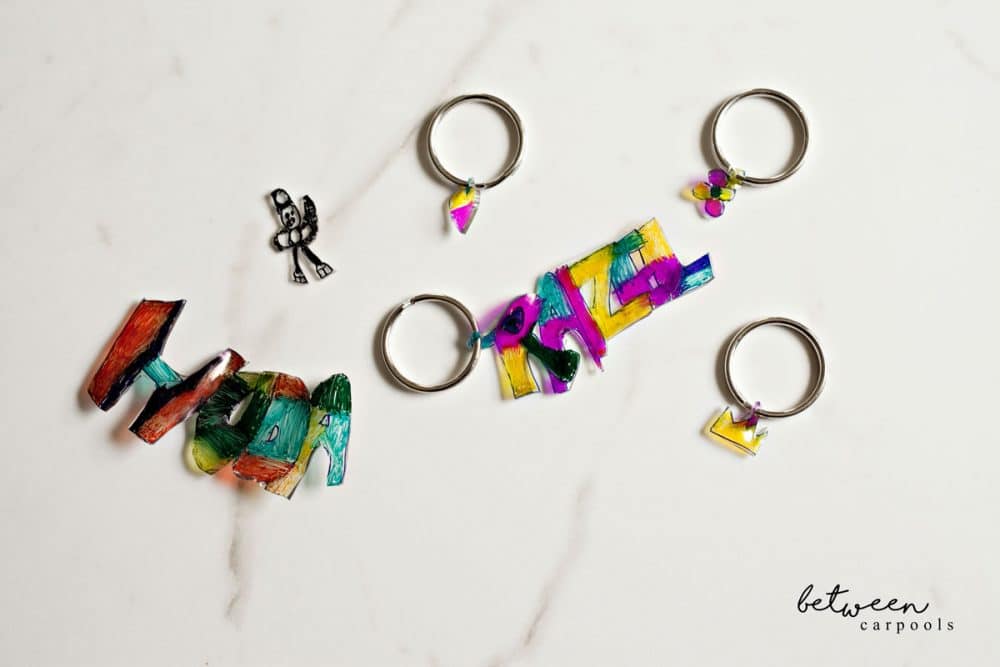
3. Bake at 325ºF for 3-4 minutes. Give this job to the oldest child. If your children are all young, mom might have to pitch in, but it’s much easier to stick something in the oven than it is to iron! The Shrinky Dink will first curl up, but then will lay flat again after shrinking. Continue to bake for about 1 minute after it lies flat. Remove from the oven and be careful! The keyring will be very hot, so don’t move the Shrinky Dink until it cools.
Is there an issue with kashrus with these in your oven?
we used to make shrinky snacks with our empty chips, id love to make it with my kids but cant recall the baking timing. do you by chance know how to do it?
You can make your own shrinky dinks with the disposable plastic covers people buy for their disposable aluminum pans (bekalach). We saw this idea in Kindlein magazine a while back and it was a winner !!! Hours of entertainment
You can print off any cartoon style image from the computer which the children can easily trace, color, and cut out, making very nice keychains or even jewelry!
We just did this with the kids, but with one major hack. No toaster oven or oven… Instead worked perfectly in the Betty Crocker round red pizza maker. Safer, easier, faster and as long as you have an outlet, you can bring it anywhere! Kids had loads of fun
Bargain alert: Got these by Target