
It doesn’t matter the age, there might not be a treat that’s as exciting as a cupcake (except for maybe, a big really cool cake). Here’s how to ice ‘em like a pro.
Nothing is as fun to eat as a cupcake…definitely for kids, and adults can enjoy ‘em without admitting it. And nothing looks as pretty or as tempting on a dessert table as those pretty little colorful portion-controlled treats.

Fill your cupcake liners about ⅔ full with batter.
They should all look the same! No overflowing or too-little cupcakes.
Let cupcakes cool completely.

Start with a great frosting.


- ½ cup solid vegetable shortening (such as Crisco)
- ½ cup butter or margarine
- 1 teaspoon pure vanilla extract
- 4 cups confectioners’ sugar
- 2 tablespoons milk (or nondairy milk)
- Food coloring in desired color
- In the bowl of an electric mixer, beat together shortening and butter or margarine until light and fluffy. Beat in vanilla.
- With the mixer on medium speed, add in confectioners’ sugar, 1 cup at a time. Gradually add in milk and beat until light and fluffy. Beat in food coloring if using.
Get all your gear together.

Add a piping tip to your piping bag and fill with frosting.

For the first cupcakes I frosted, I used Wilton’s 1M size tip.

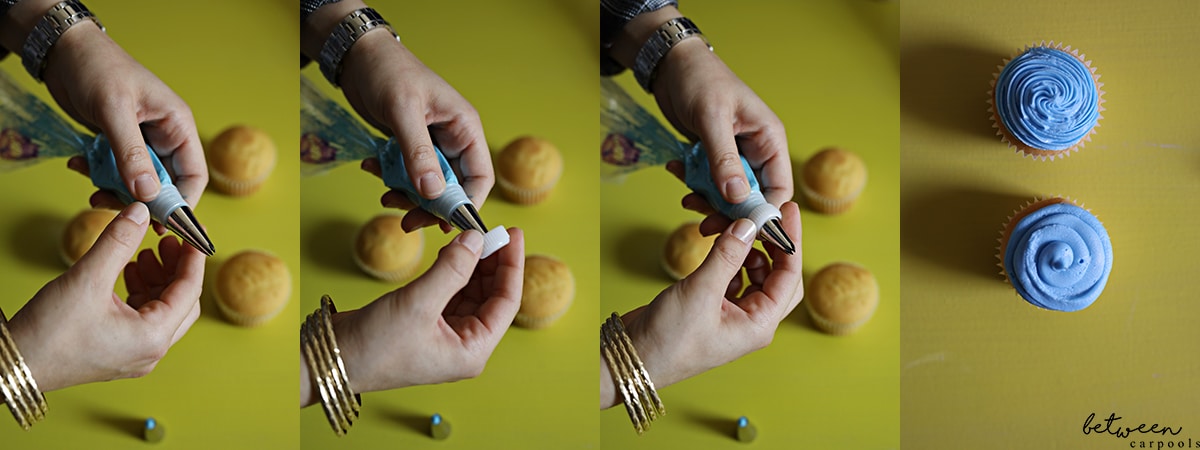 It’s only necessary to use a coupler on your piping bag when you want to be able to switch tips while using the same frosting color. To add a coupler, insert the coupler into the bag first. Cut the bag so it’s flush with the coupler. Then add the tip outside of the bag and secure it in place with the ring.
Practice off the cupcake.
Frost onto a piece of parchment paper until you get into a groove. You don’t have to worry about wasting…you can scoop the frosting right back into the bowl. (“Aha” moment?)
For a classic cupcake frosting, begin “almost” at the edge (not completely at the edge, as you don’t want to bump into the liner and make a mess), squeeze lightly, and pipe around towards the center, overlapping the previous circle so there’s no space between the circles and the frosting piles upwards. Release the pressure on your hand when you’re done.

For a rose-style cupcake frosting, do the opposite! Start from the center and pipe outwards.


Great post! Finally someone explains how to do this properly!
This is amazing!! Thanks for the great tips! I got a huge roll of disposable piping bags in westview shop in lkwd. I love them! I think I would have to practice many times on a parchment paper tho????
Great tips! Thank you
Is there any alternative to the solid vegetable shortening?