No screws or hooks are required to bring photos to life on your walls.
We’re not such a heavy “photo house,” with photos lining the staircases, walls and every surface. But I do think it’s nice for kids to see themselves and their family, including photos of generations past. Even though I never met some of my great aunts and grandparents, I feel like I know them from the stories told– and more importantly, from the photos of them we had around. I know their faces, even though I may have been very young or never met.
Isn’t it true too that the family events and experiences kids often remember best, are the ones with photos they see often? Maybe they were even too young to technically remember the experience, but if there’s a picture of it, the brain fills in the gaps. I wonder how our kids will process memories, considering we have thousands of photos of every moment, though most of which live on our phones. But I digress…
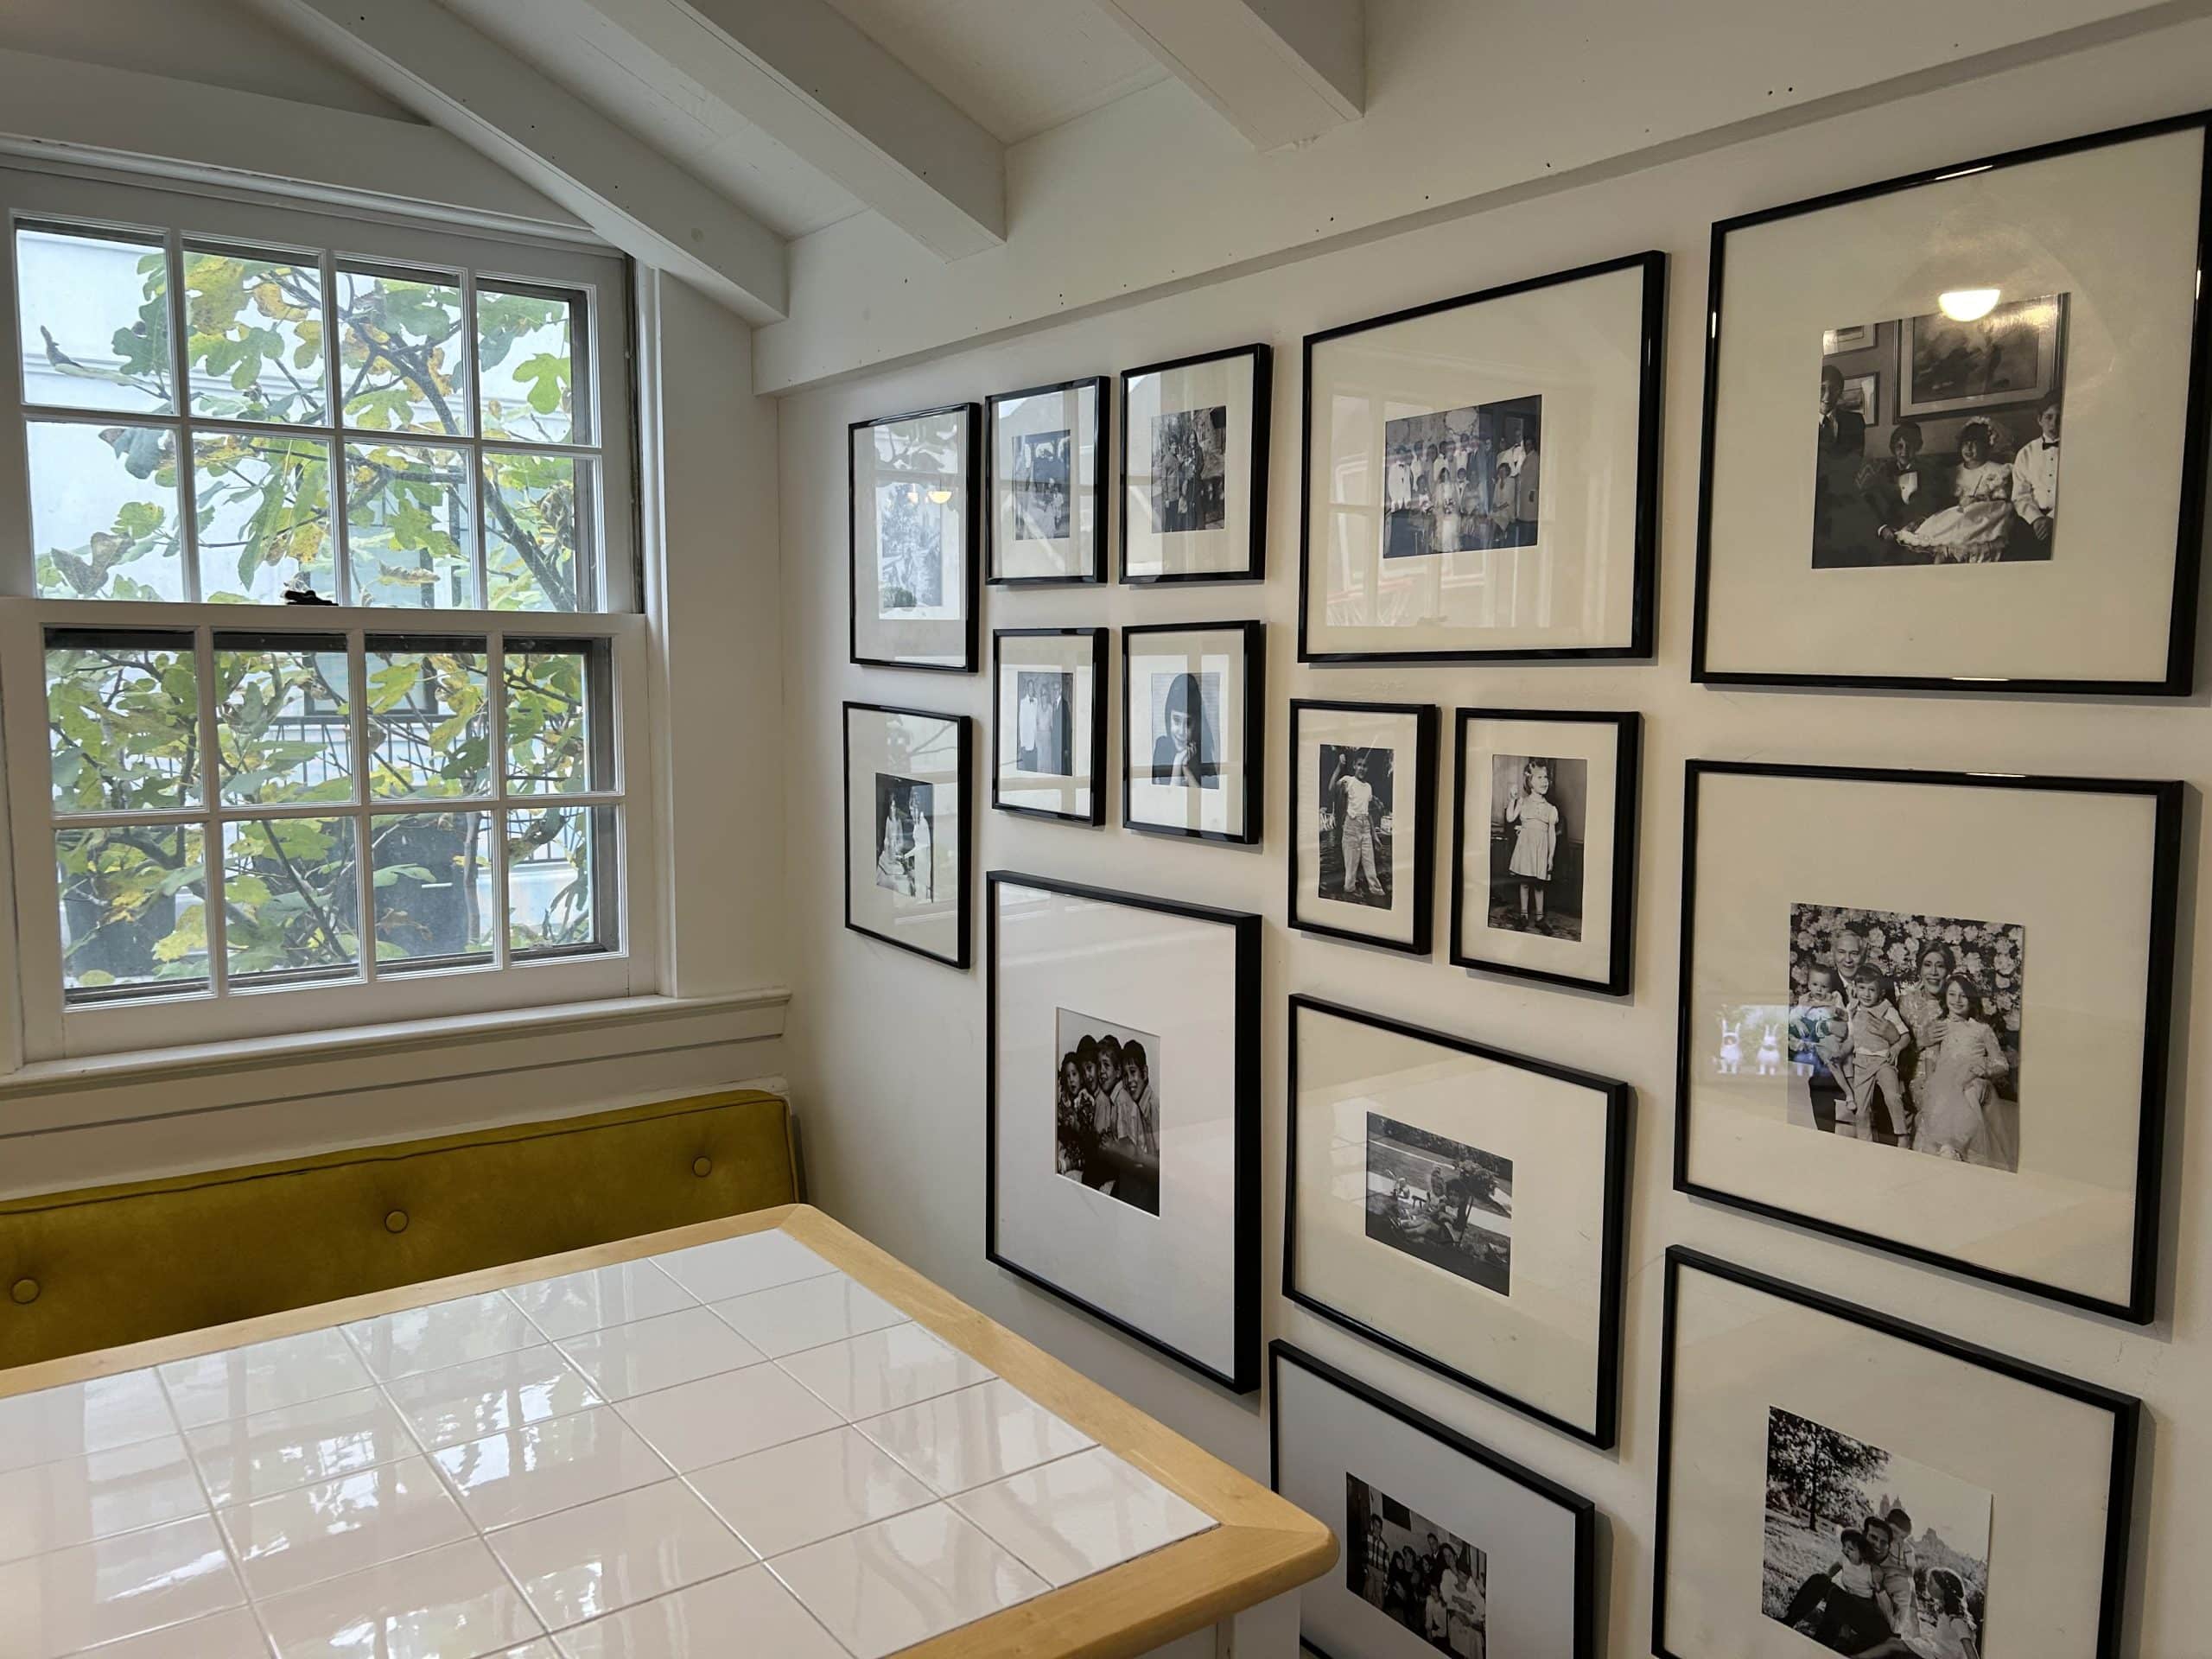
So, I decided to find a wall I was okay with covering in photos and chose to add a gallery wall to our little breakfast nook. I wanted it to look clean and intentional, but organizing a bunch of mismatched frames to look purposeful seemed daunting to me. So instead, I bought a bunch of the same color frames in different sizes and even printed all the photos in black and white to keep it simple and cohesive. The photos are a mix of old and new: my kids, my family growing up, my parents as kids and even their wedding photo.
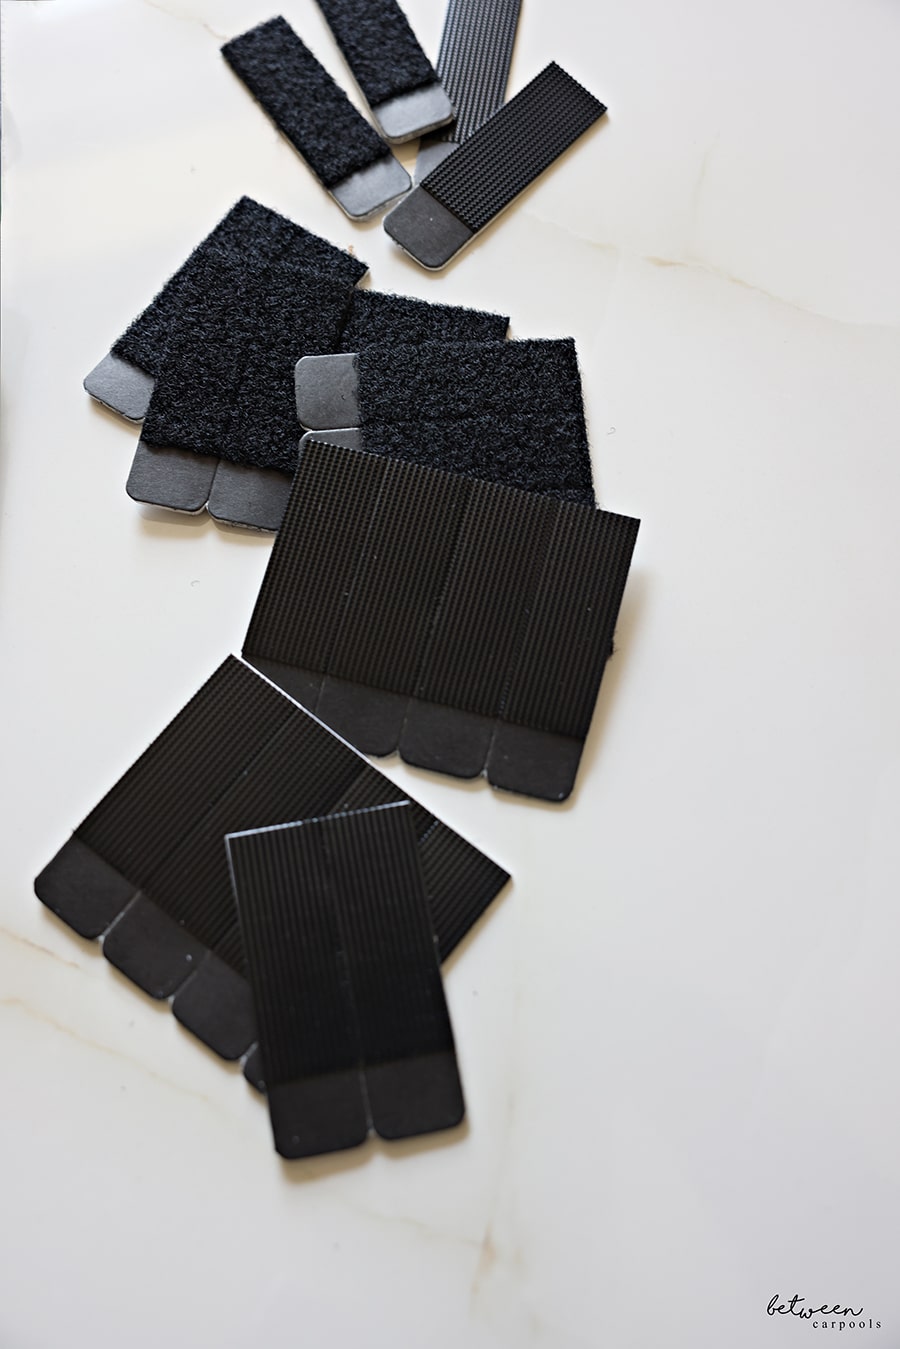
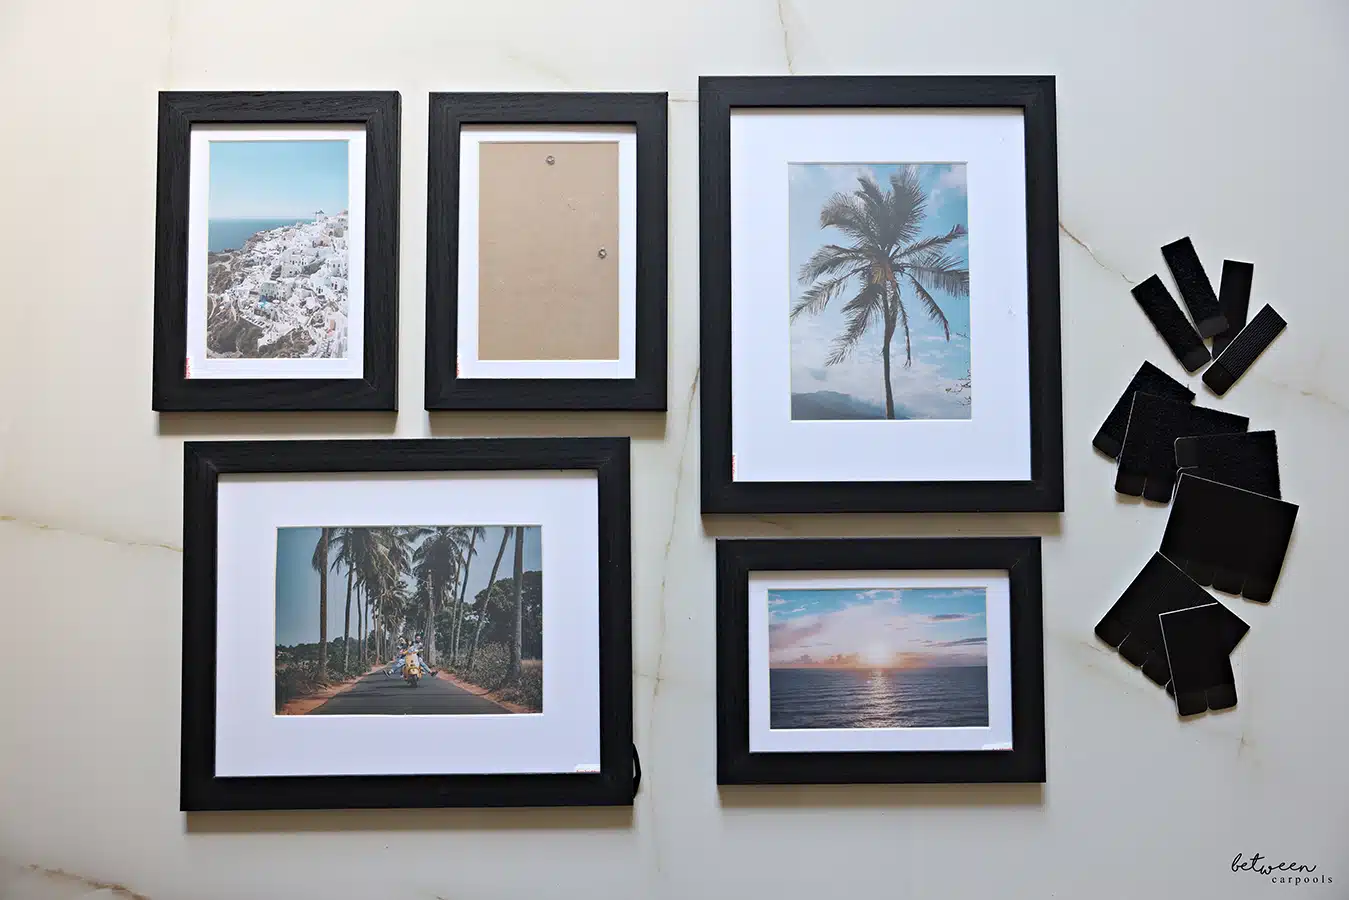
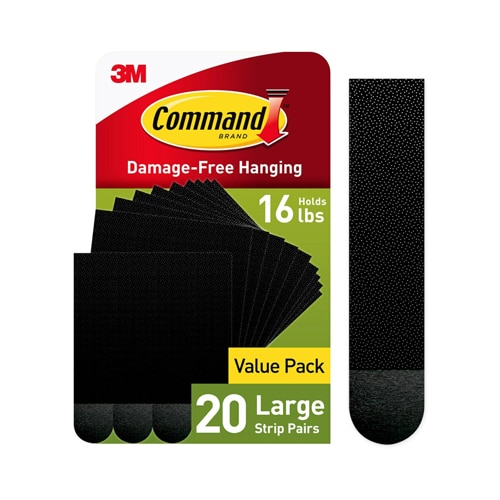
What makes this project BCP-friendly and why I think you can do it too– is that I used these command picture hanging strips. I had no emotional energy to start using a tape measure or level, so this was a much easier alternative that allowed me to just eyeball it. The strips function kind of like Velcro where you can unfasten it and try again. This way I could put it up and if it was slightly off, I could easily remove it and adjust– leaving no holes in the wall. Plus, they’re supposed to come off seamlessly without residue (though I haven’t tested it).
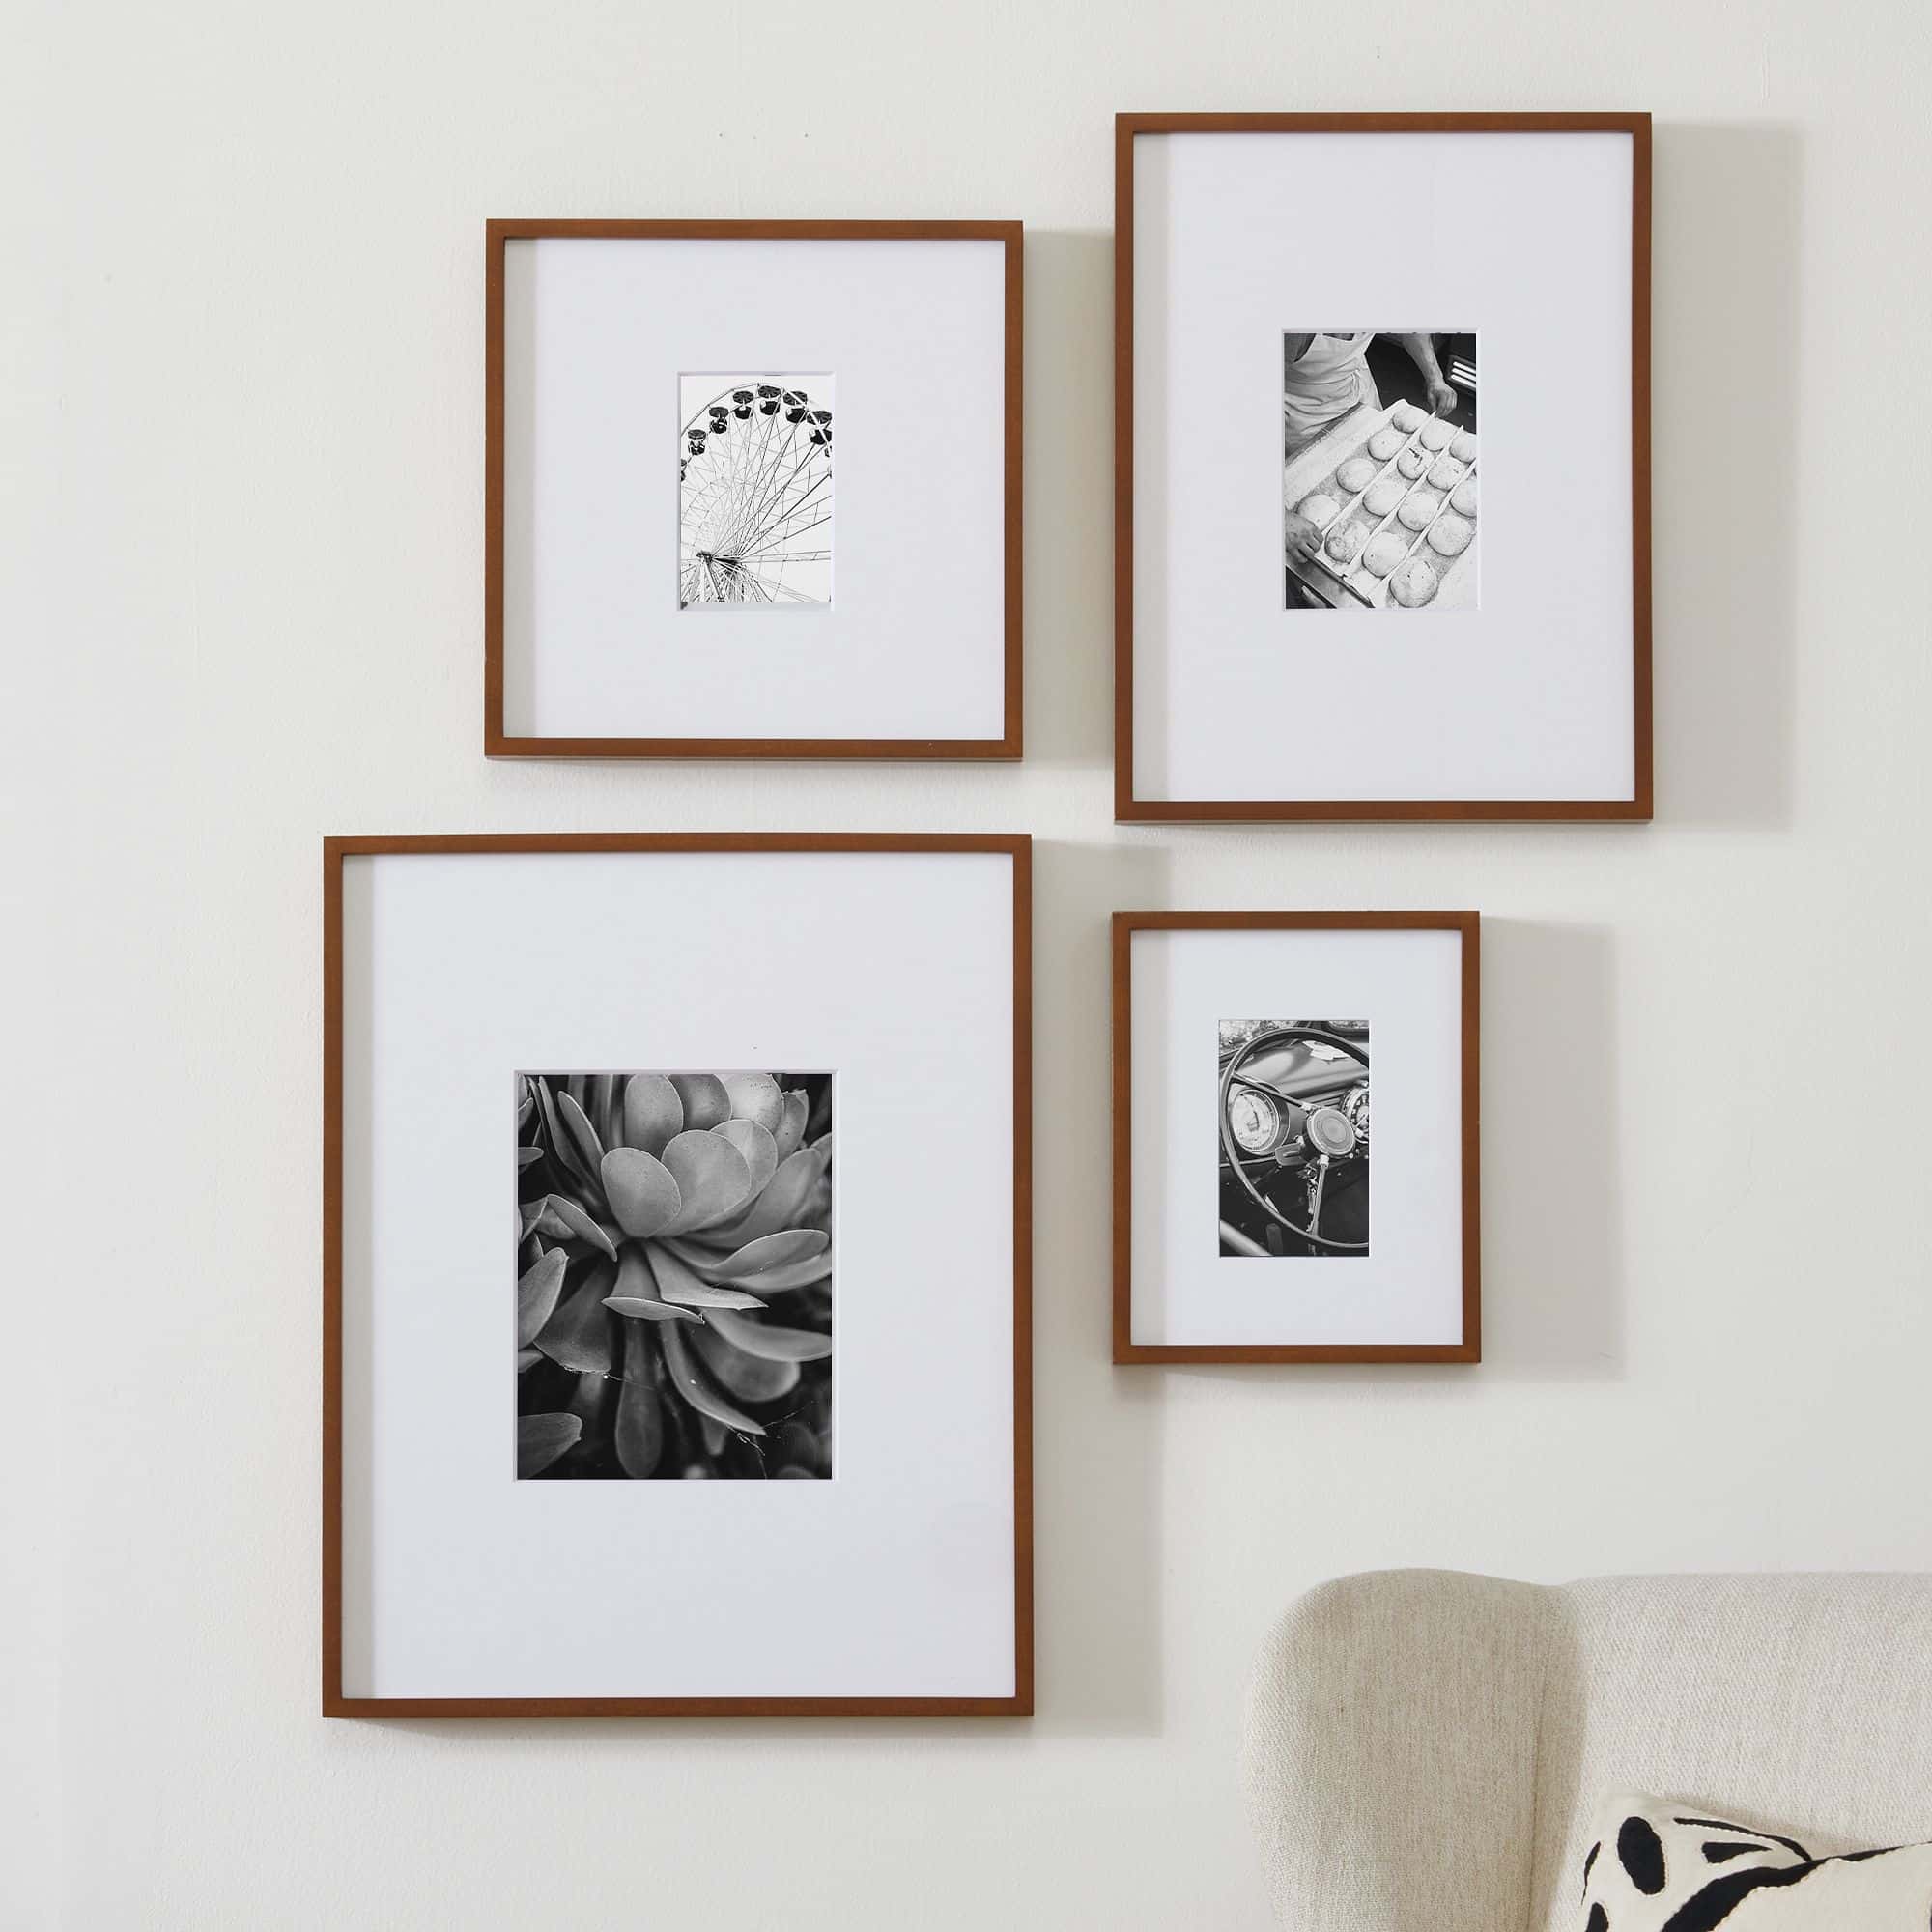
So, if you’ve been on the fence about putting up a gallery wall—or even if it never crossed your mind— find a wall, grab some frames, choose your photos and it’s as simple as sticking on Command Strips.


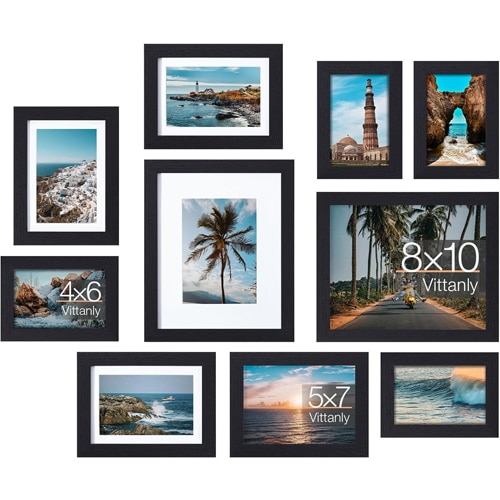


Are the frames in your picture the ones linked here? They look a lot larger than 8×10
The frames in the picture look beautiful with their white mats. However it doesn’t look like the frames in the link has mats. How do we get the frames with the mats? Thank you.
Thanks so much for pointing that out– we updated the links in the post to reflect frames with mats. The frames used in the breakfast nook photo actually has a mix of frames, some came with mats, some did not. For the ones that didn’t– I just turned over the insert in the frame and stuck a smaller photo directly onto it to give the appearance of a mat, but its actually not.. it’s just a white paper behind the photo, but you couldn’t tell unless you were up close and analyzing.
You are right! Some of them are larger– those ones are 12×12 and 11×14. I linked them here: https://fave.co/3NWyOAJ and https://fave.co/4fc54f8 The reason we didn’t recommend those specific frames is because the ones I used actually have a very thin outer frame (black part) and don’t work as well with the command strips, a thicker frame works better-such as the ones in the post or this: https://fave.co/3Z1Pr4t ,
I use mixpanels for this. Way easier than buying frames and putting the pictures in and buying command strips. Just upload the photos you want and it’s shipped to you and you stick it on the wall with already attached stickers.
Do you mean Mixtiles.com?
Yes, that was part of the inspiration– but for the style, number of frames and size frames I wanted the cost was about $1k, this project was under $150 🙂 I also wanted the option to swap in and out photos. But If budget is a non-issue- a site like mixtiles is definitely simpler!
I’ve made a few of these gallery style walls, big and small. What I do is cut a piece of paper to the size of the frames and play around using that and scotch tape… U can also draw a hole in the paper where the nail should go