
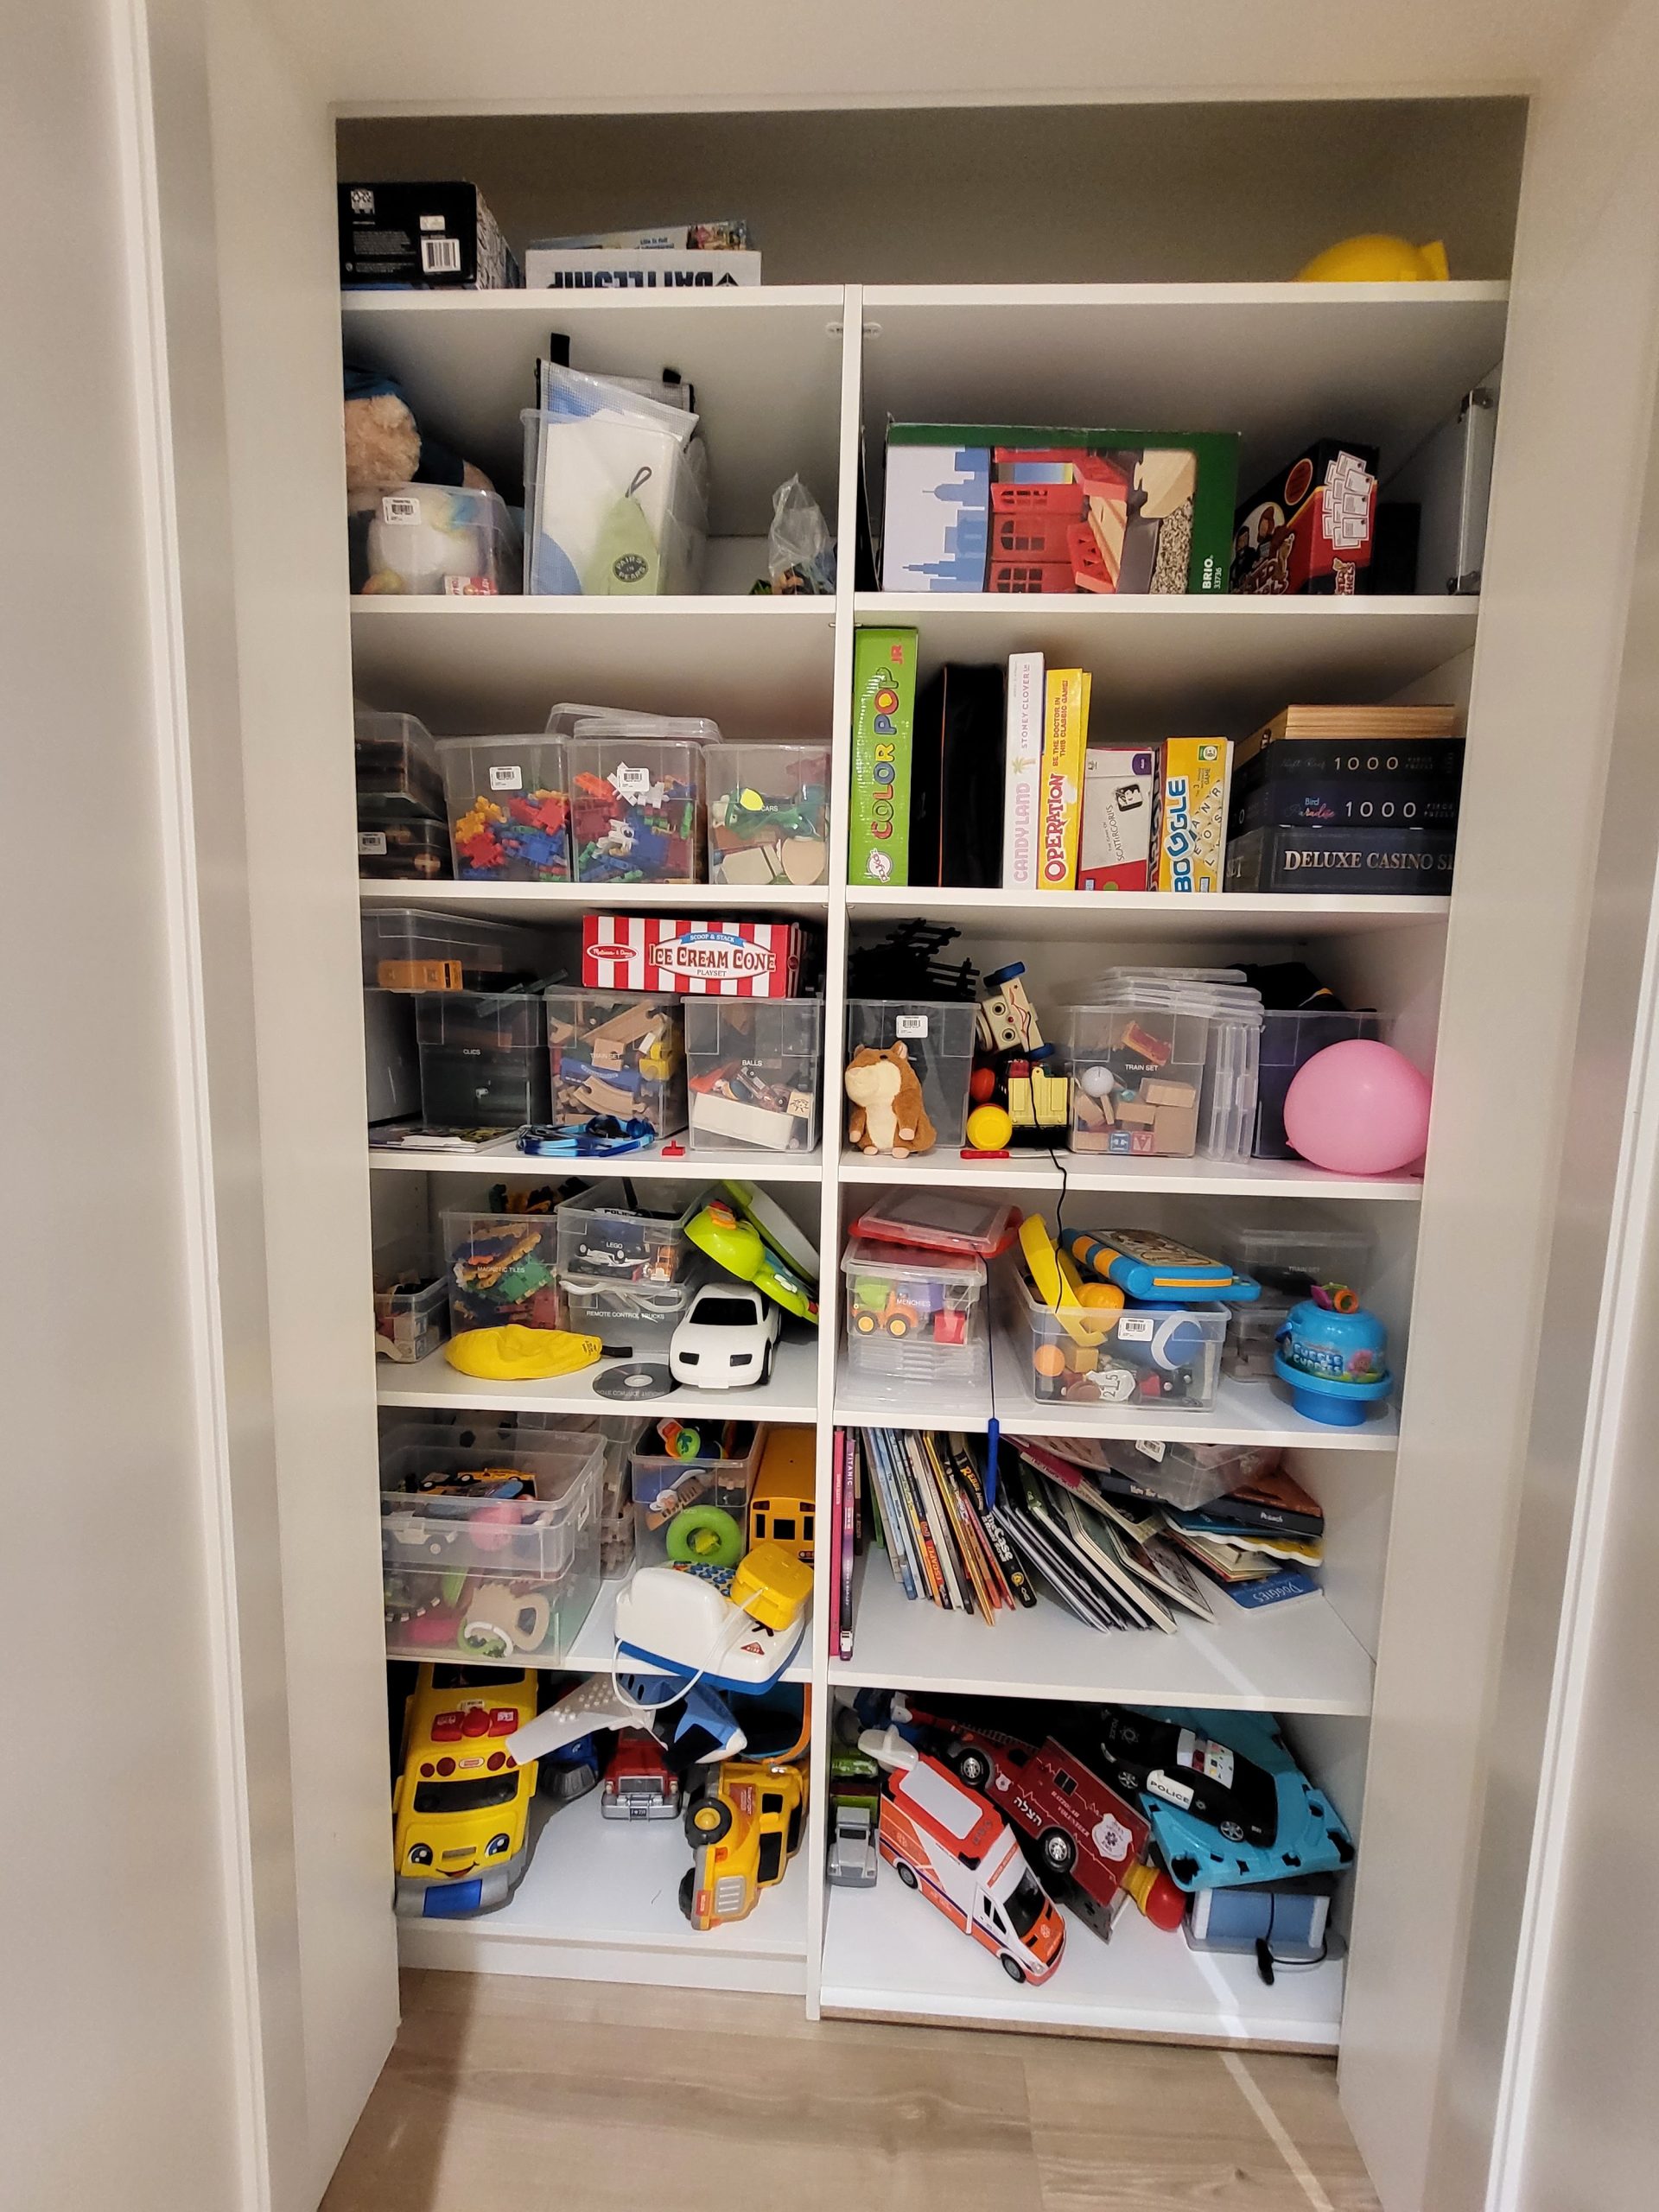
Keeping a toy closet organized is one of the biggest organizing struggles in many homes.
Dear Devorah,
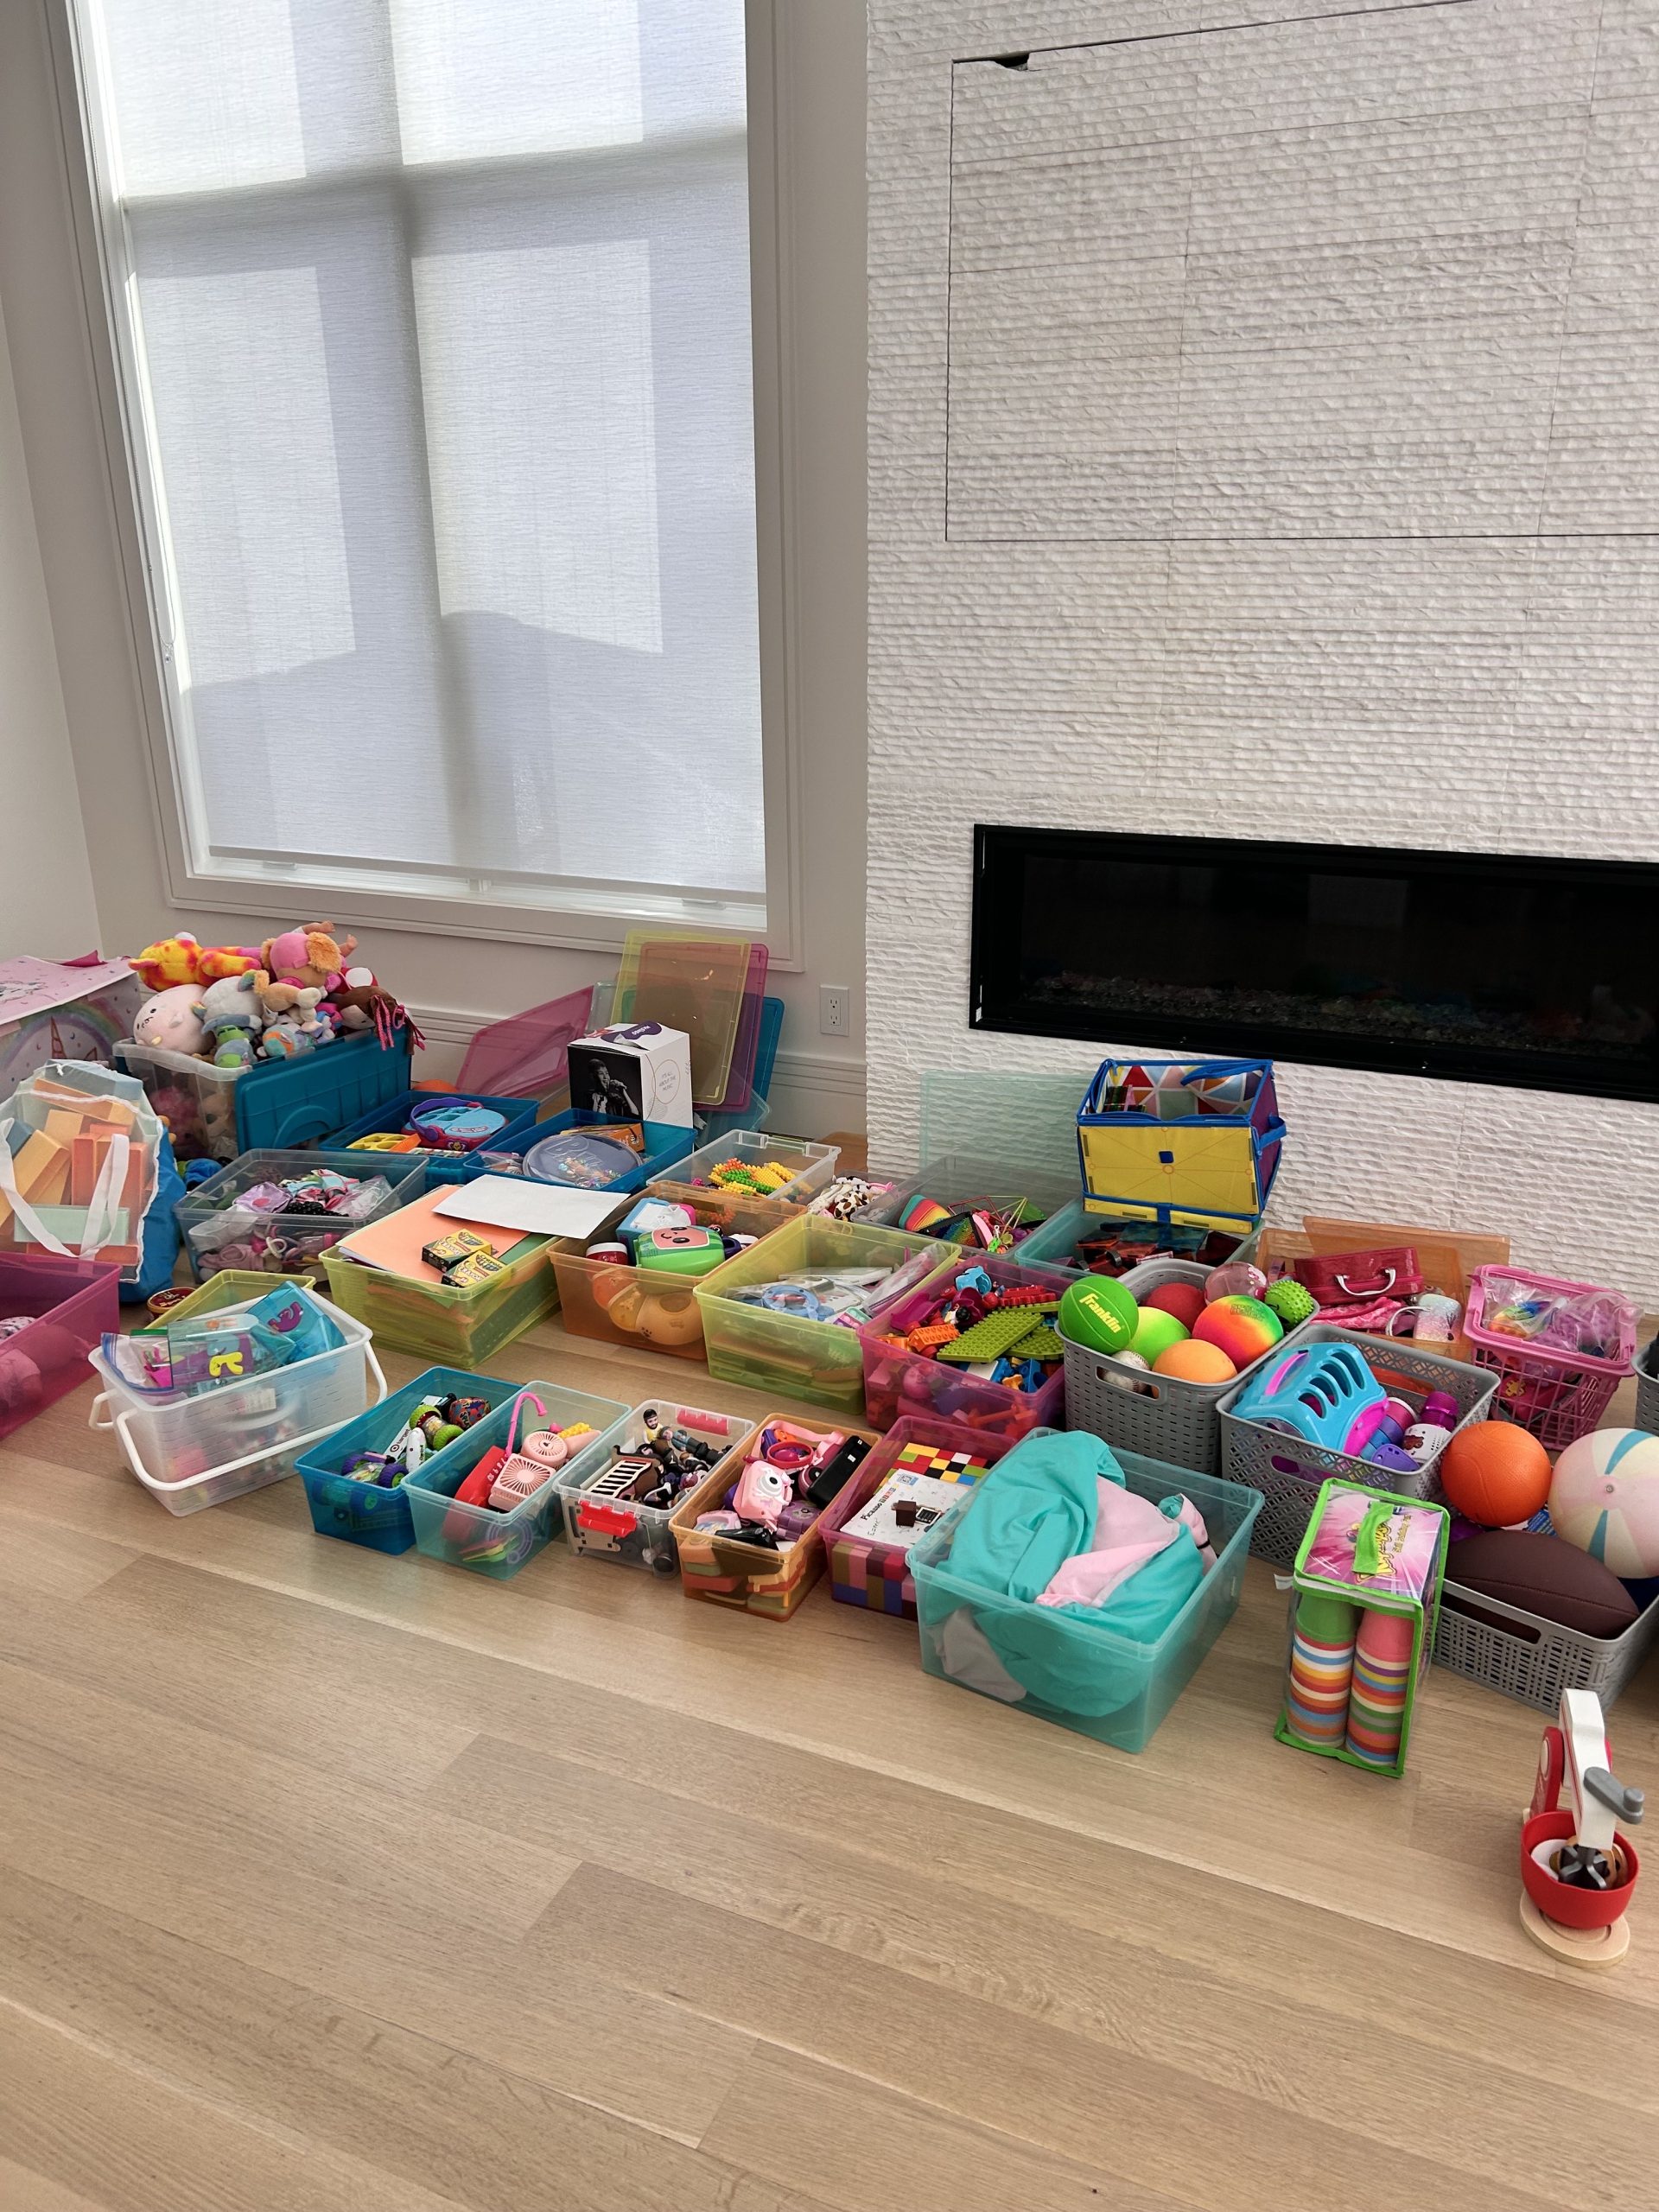
My playroom is a disaster. No matter what I do, my kids refuse to clean up, and I feel like I’m constantly stepping on Legos or tripping over dolls. I want to organize it right before Pesach. How can I create an organized play space that my kids will actually help maintain?
– Buried Under Blocks
Dear Buried,
Playrooms are by far the most common space I’m asked to organize–and it’s no surprise. Every parent struggles to get their kids to clean up. No child wakes up excited to tidy their toys, and let’s be honest, we’ve all tried every bribe in the book to make it happen.
But after walking into more playrooms than I can count, I’ve learned something important:
The bigger issue usually isn’t cooperation.
It’s volume.
When every shelf is packed and every bin is overflowing, cleanup doesn’t feel doable–it feels endless. So instead of focusing on getting your kids to “do better,” the real shift is making the room easier to reset in the first place.
Let’s tackle it head-on.
Step 1: The Great Toy Reset
First things first–it’s time for a toy edit.
Start with the obvious. The puzzle missing half its pieces? It’s not suddenly finding them. The Slinky that’s permanently tangled? We can let it go. If it’s broken, frustrating, or hasn’t been touched in years, it probably doesn’t need a better bin–it needs an exit.
Then look at what’s simply been outgrown. Baby toys are often the biggest offenders–loved for a few sweet months, and then somehow still sitting there years later. It’s completely fine to save them, just move them out of the everyday rotation. A labeled bin on a high shelf or in the attic keeps them safe without crowding the space your kids are actually using.
And then there are the treasures–the rocks, the broken keychains, the mysterious plastic piece your child insists is very important.
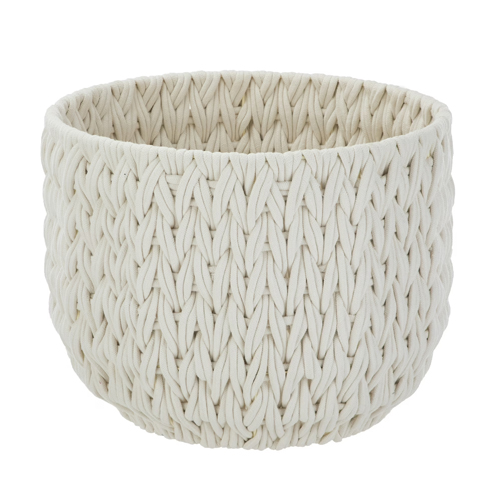
Instead of debating it every week, contain it. A shoebox-sized bin per child works beautifully. When it fills up, they choose what stays. You’re not dismissing what matters to them–you’re simply putting a limit around it.
And those limits are what keep a room from quietly taking over your house.
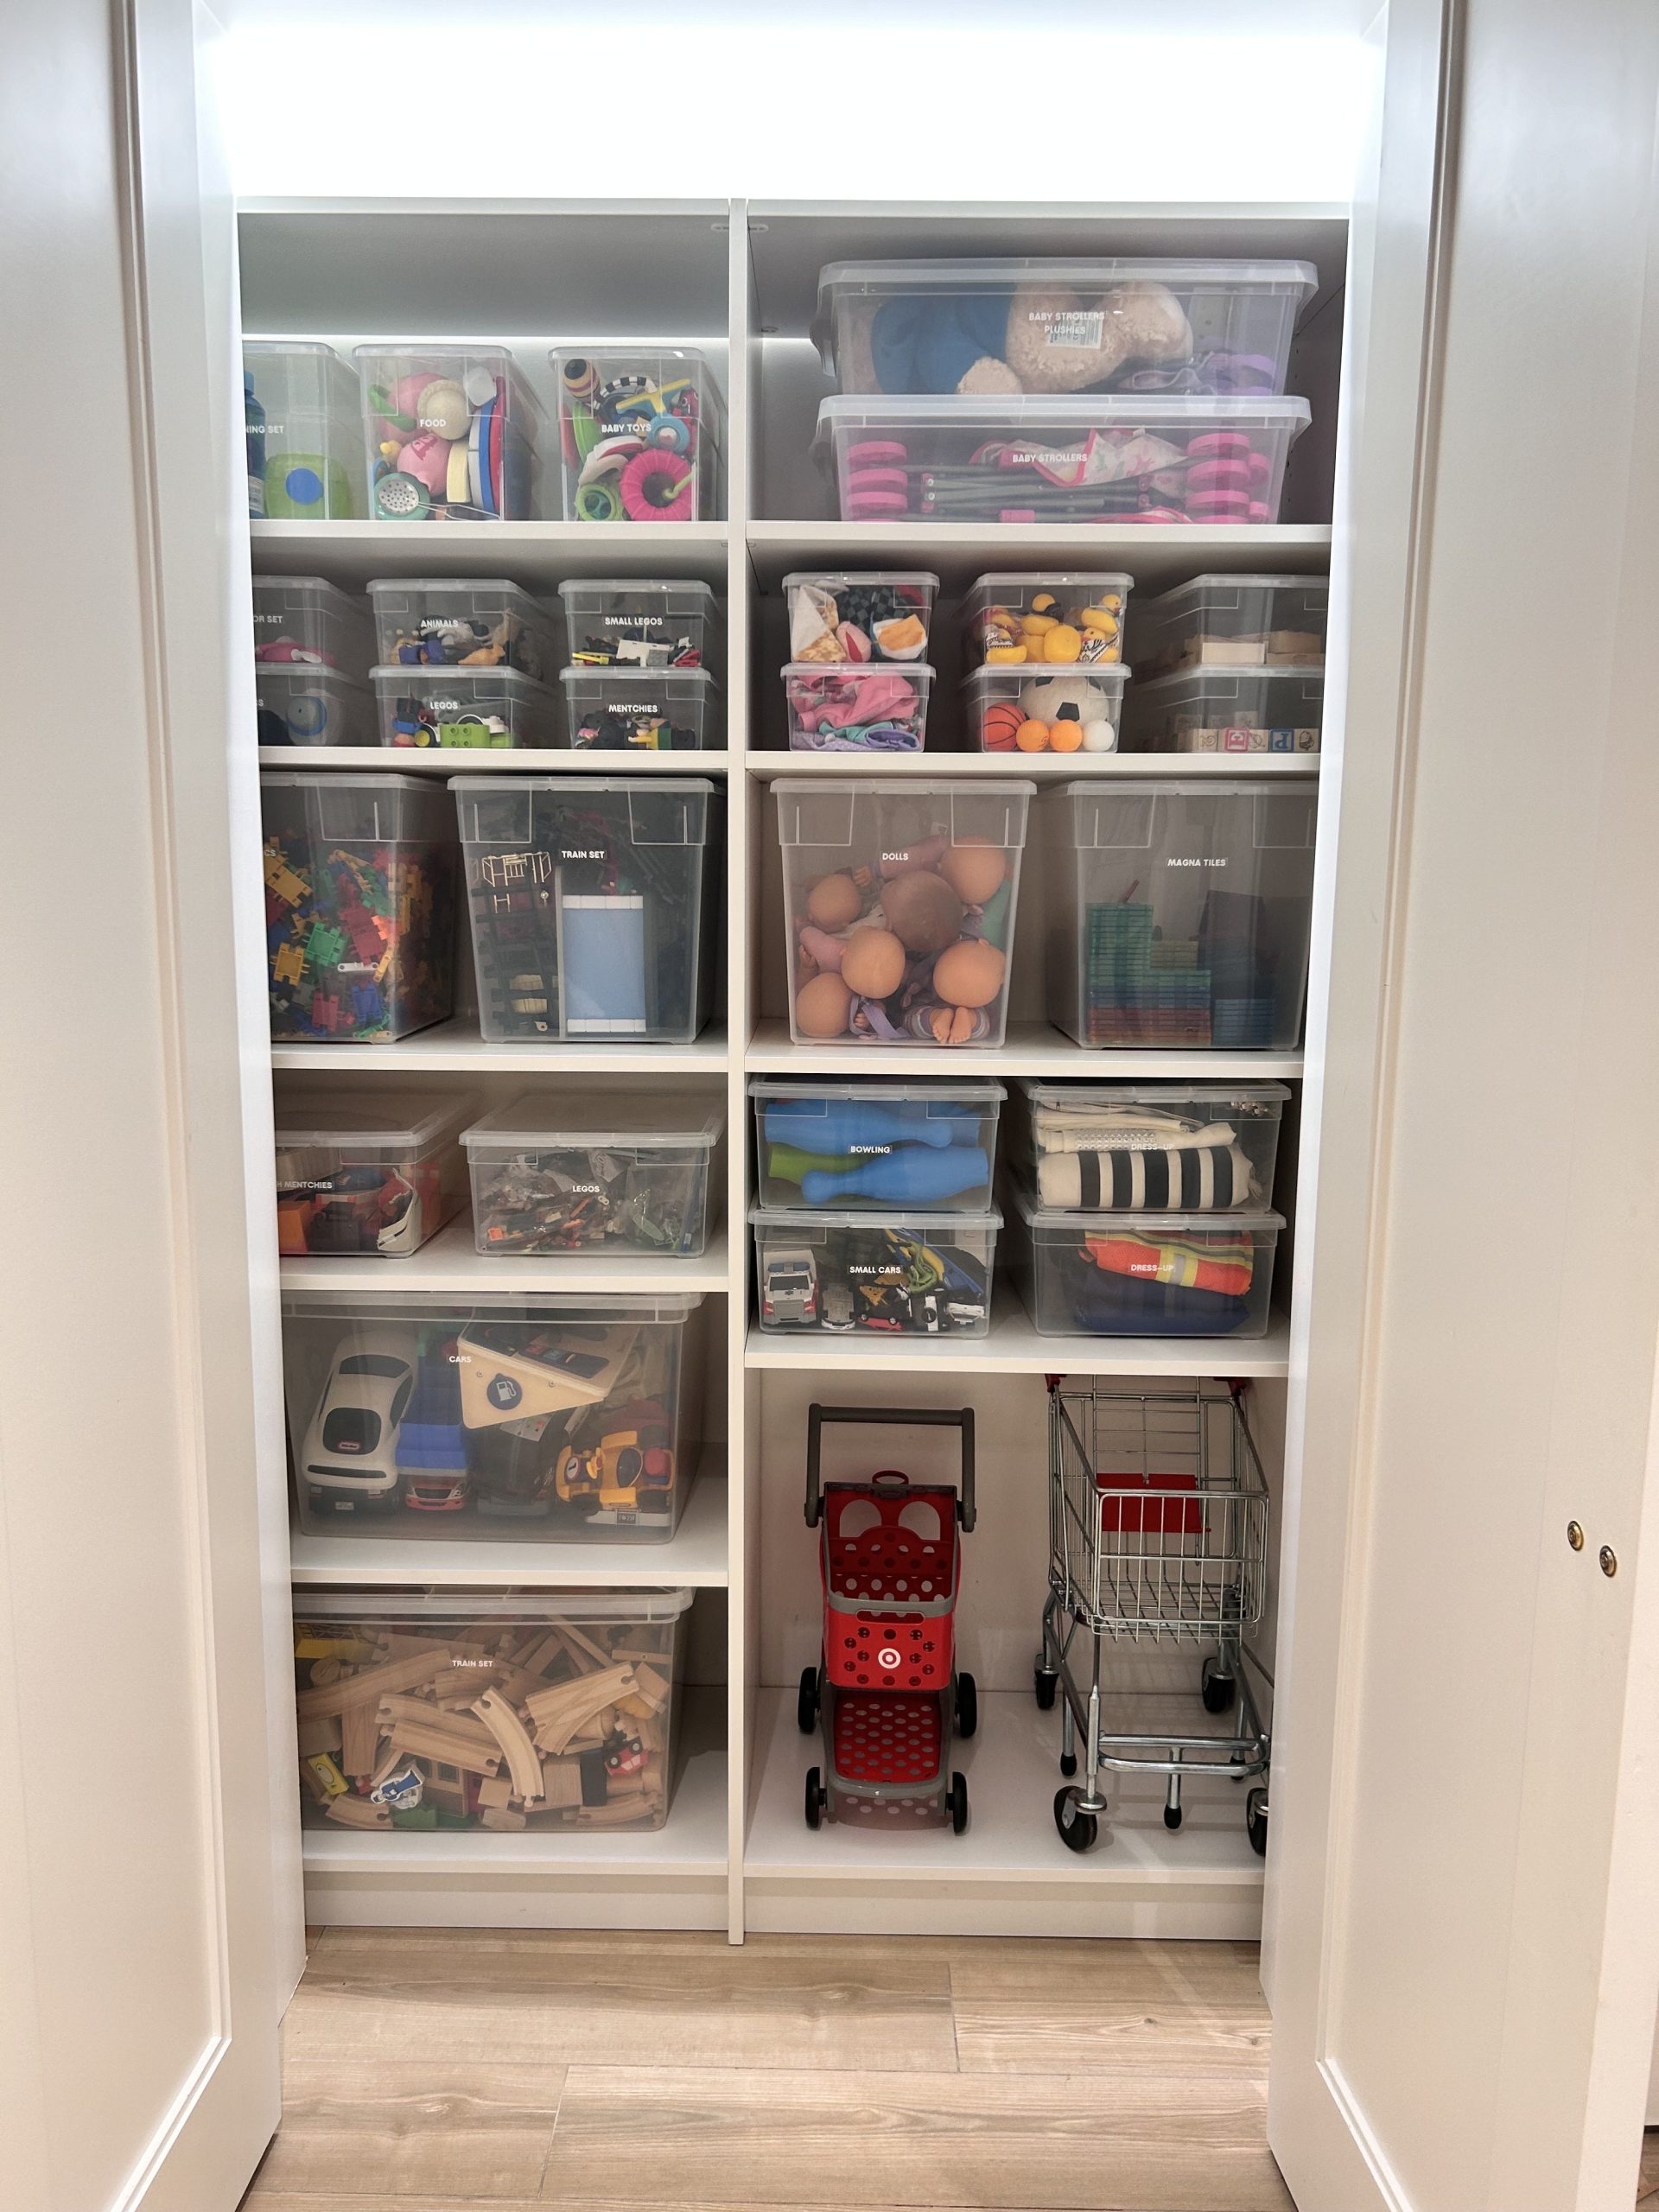
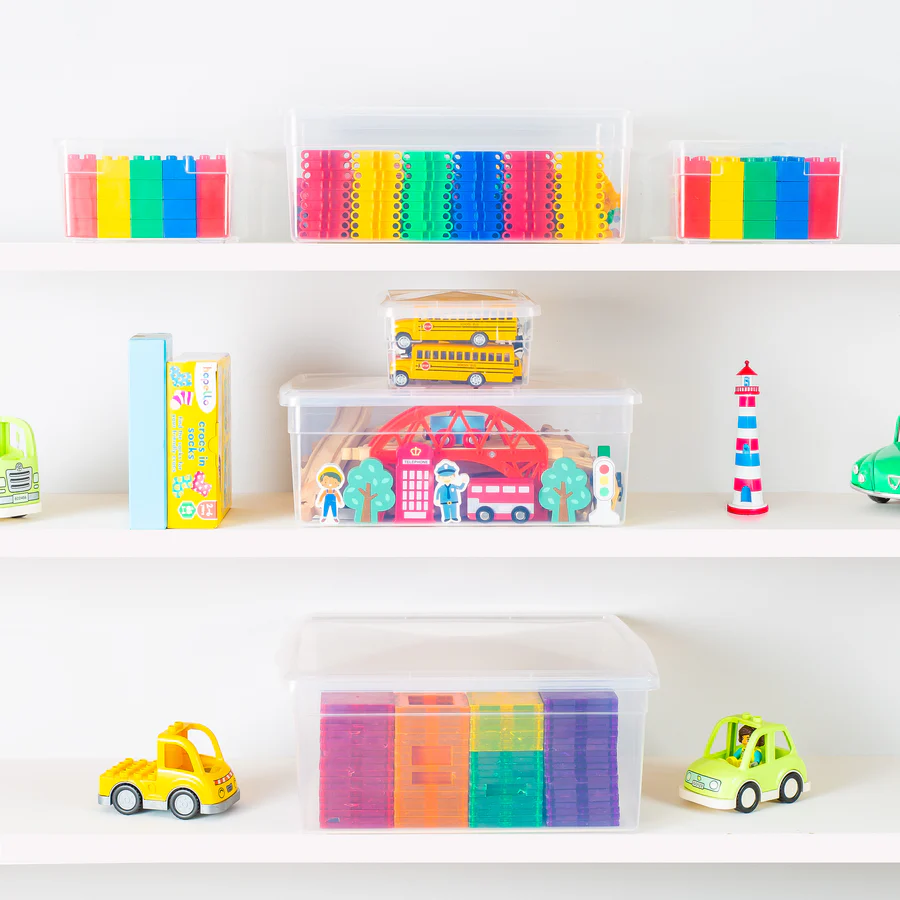
Step 2: Keep Categories Simple (Very Simple)
Now you sort what’s left.
Think broad categories: one bin for cars, one for dolls, one for Clics. The key? Don’t overcomplicate it.
You don’t need separate containers for pretend forks, plates, and cups. If it goes in the play kitchen, it can all live together. The more specific you get, the harder it becomes to maintain.
Be honest–is your five-year-old carefully separating plastic plates from plastic pots every time they clean up?
Of course not.
So build the system around reality. If mentchies and animals always end up together, store them together. If dress-up accessories wander, give them one clear home instead of five tiny ones.
The goal isn’t perfection.
It’s a cleanup that can happen in minutes without a debate.
As far as which bins, these SEEE Your Bins from The Organizing Warehouse are my latest favorites. They’re a little flexible, which I like, plus I find that they’re much more durable than other bins and won’t break as often. They hold up to the rigors of bins that are constantly being taken in and out, which is necessary for a toy closet!
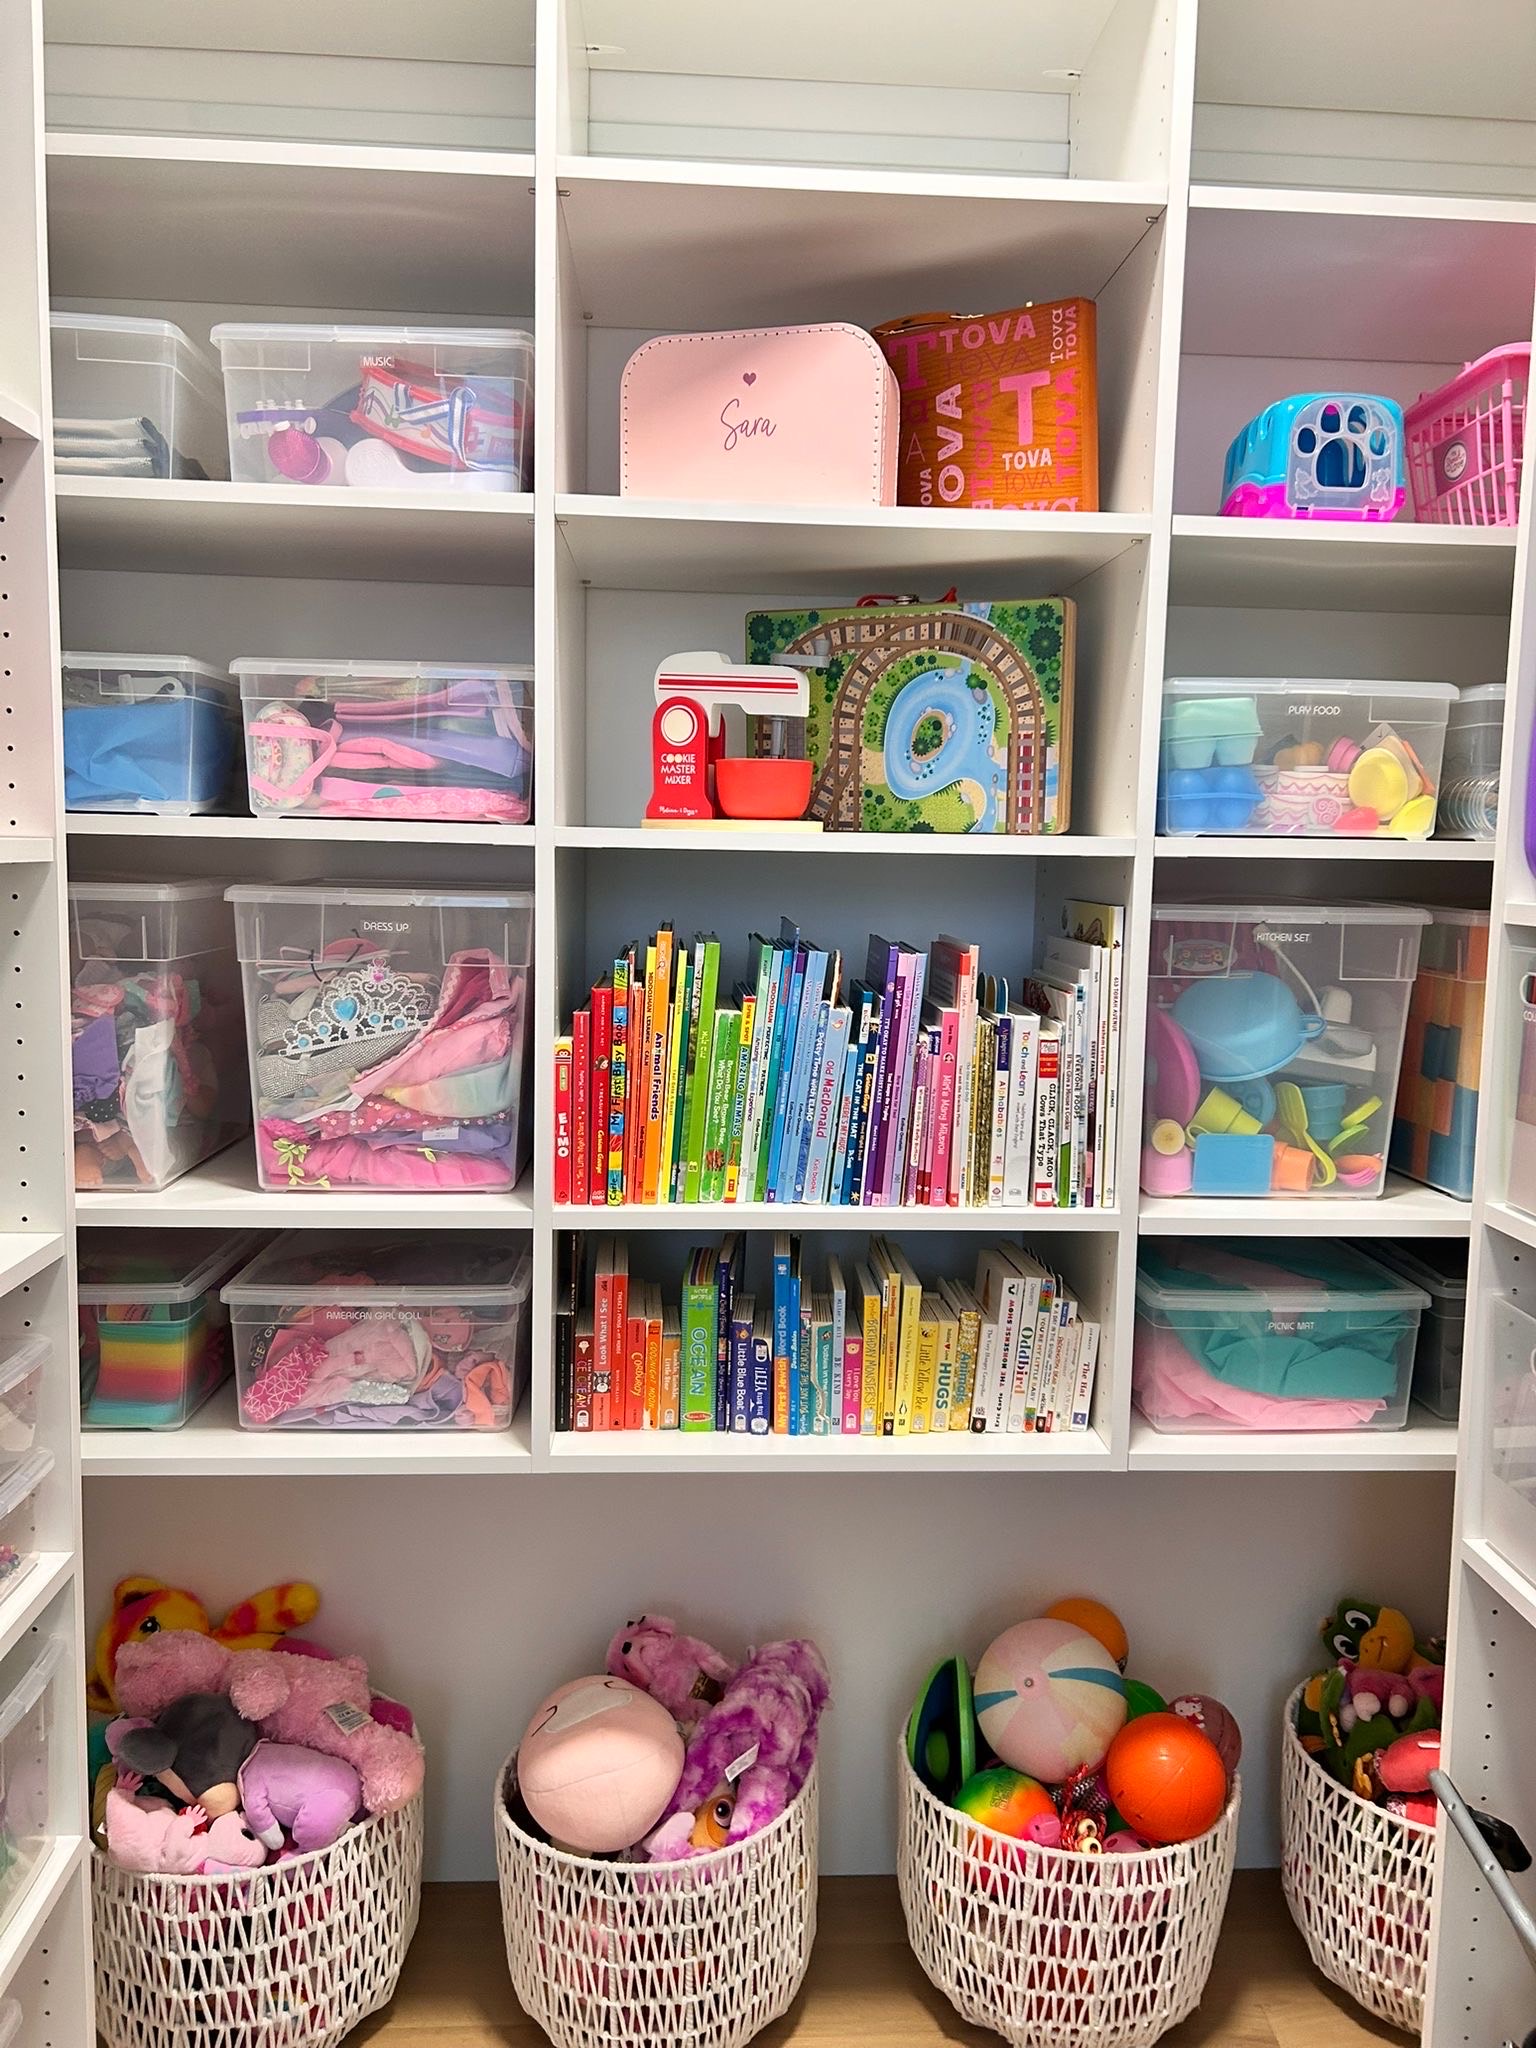
Step 3: Put Things Where They Make Sense
Placement matters more than people think.
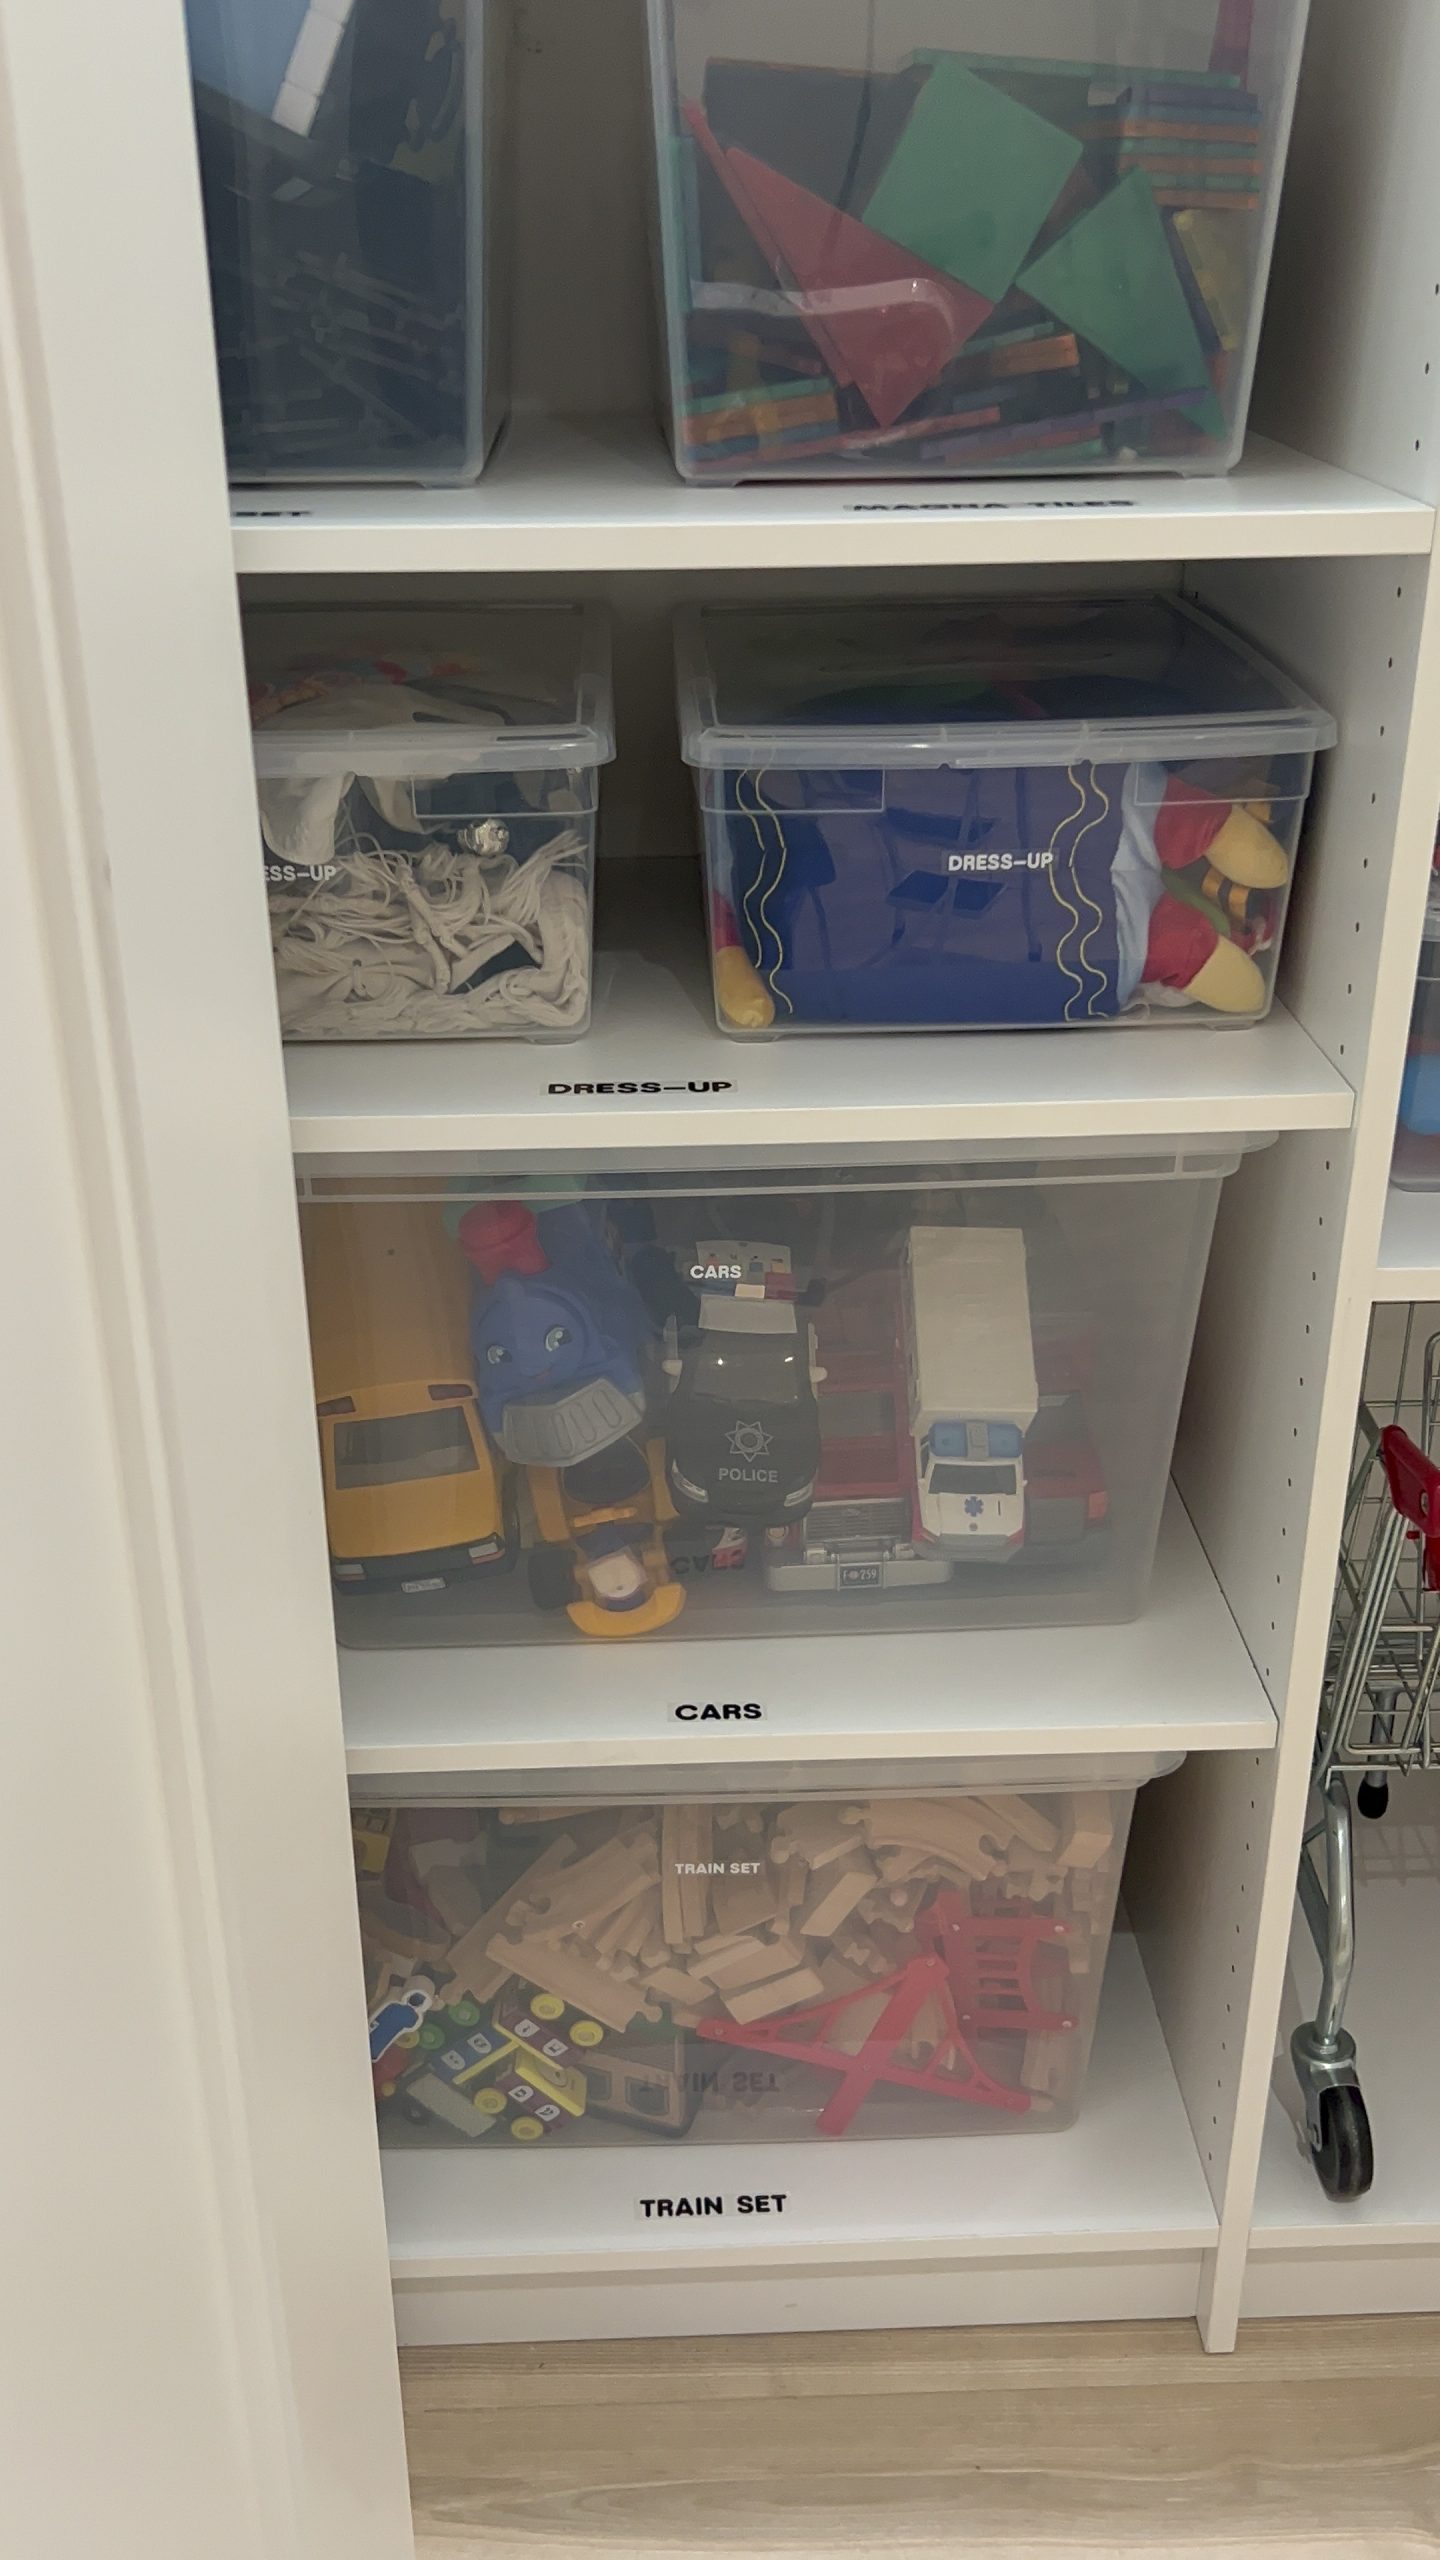
Heavy bins like Magna-Tiles or trains belong on lower shelves so kids can take them out–and put them back–without causing a full shelf avalanche.
Frequently used toys–dolls, dress-up, building sets–should also be within easy reach. The high-mess items (hello, slime) can get the higher shelf treatment.
If it’s easy to take out and easy to return, it’s far more likely to make it home at the end of the day.
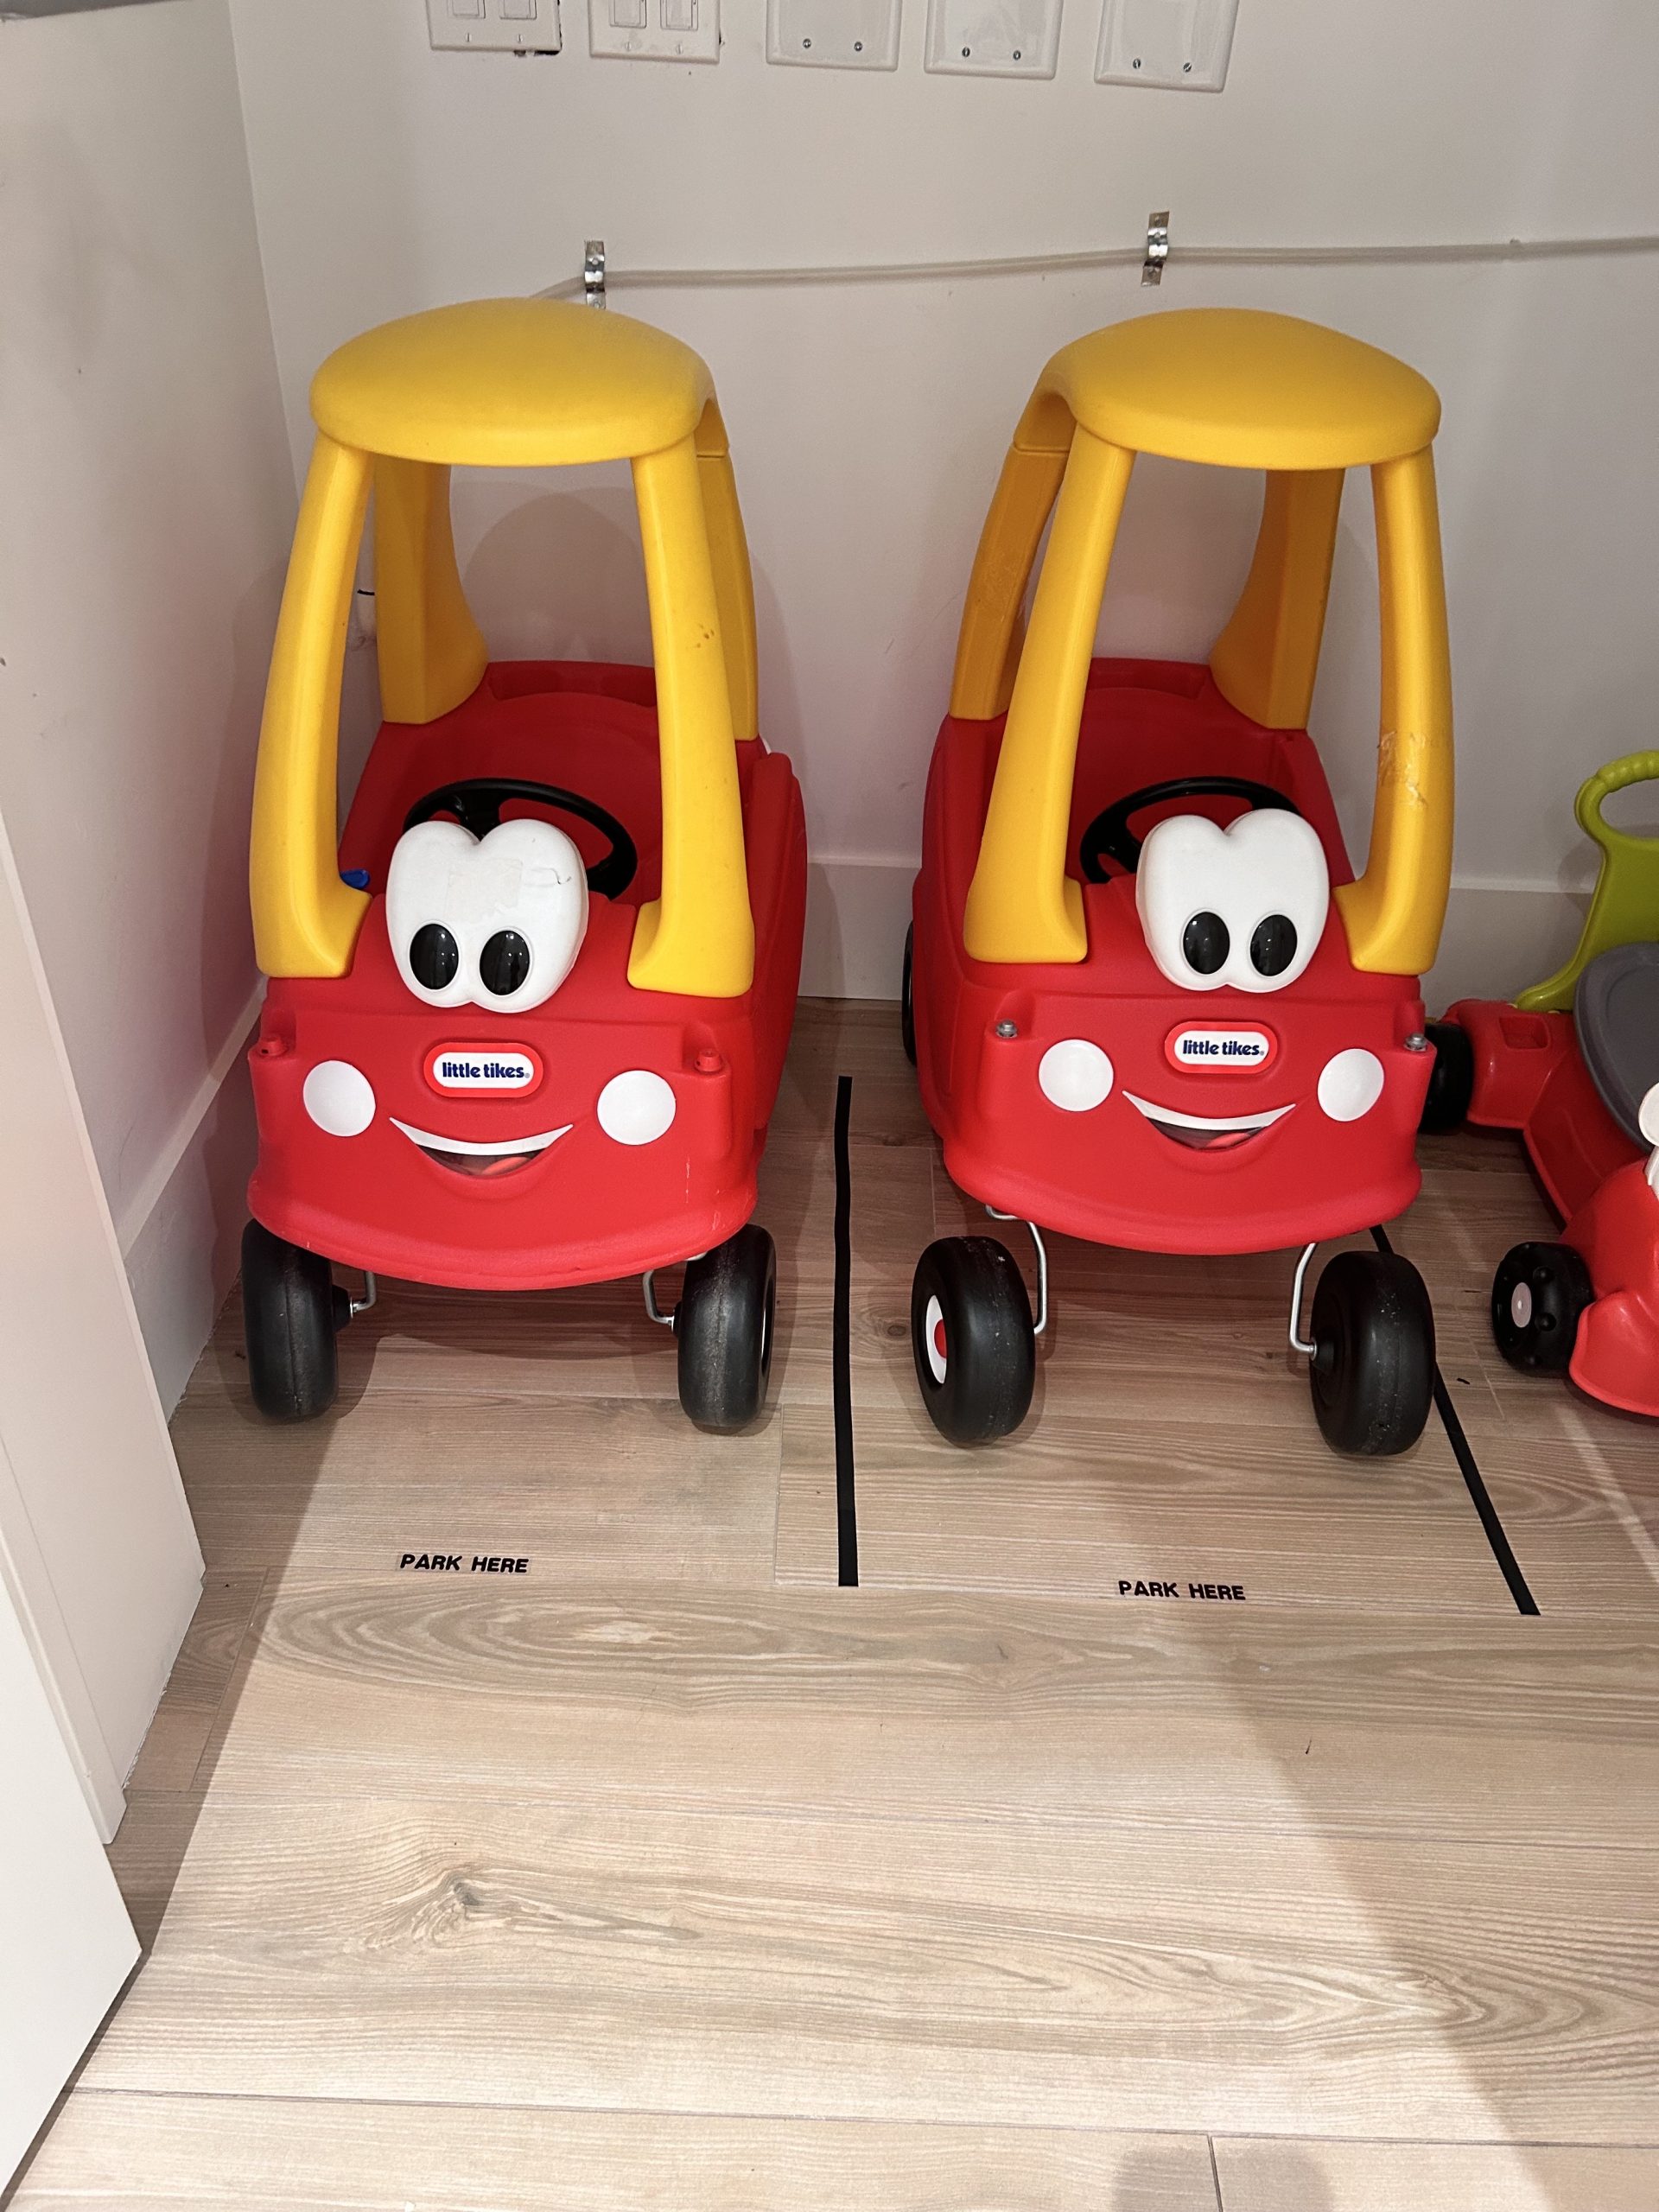
Step 4: Label Everything.
This is what turns “organized” into maintainable.
Labels remove the guesswork. Instead of asking, “Where does this go?” kids can see it. And when something has a clear home, it’s much easier to send it back there.
For toddlers, picture labels work wonders–they can match an image long before they can read. If a housekeeper helps with cleanup, Spanish labels can make the system smoother.
The goal isn’t to overdo it. It’s simply to make the room intuitive for whoever is using it.
One small trick I love: label both sides of the bin. That way, no matter how it’s put back, the label is always visible.
And when a family really struggles with maintenance, I’ll label both the bins and the shelves.
The less thinking required at the end of a long day, the more likely cleanup actually happens.
Step 5: Get the Kids Involved (Strategically)
It can absolutely help to let your kids be part of the process–sorting, sticking labels on bins, deciding where something should live. When they feel included, they’re much more likely to understand the system and follow it.
That said, it’s usually easier to do the bulk of the editing yourself (preferably when they’re not home). Otherwise, you may suddenly discover that the toy they haven’t touched in two years is now deeply meaningful and essential to their happiness.
Final Thoughts
This doesn’t have to be a one-day overhaul. Take it one shelf, one category, one corner at a time.
You’re not aiming for a showroom. You’re aiming for manageable–a playroom that can be reset at the end of the day without draining you.
And if they manage to pull everything out again in under ten minutes?
Well… at least cleanup will be faster this time.
You got this!
Happy Organizing,
Devorah


|