

You may have enjoyed tie dye as a kid in craft, and now it’s time for your own kids to enjoy this fun project. It’s a perfect summer outdoor activity.
See more ideas of items to tie dye in this post: From White to Whoa: What Will You Tie-Dye? You can also see this post with a cute hack for tie-dying shoelaces.
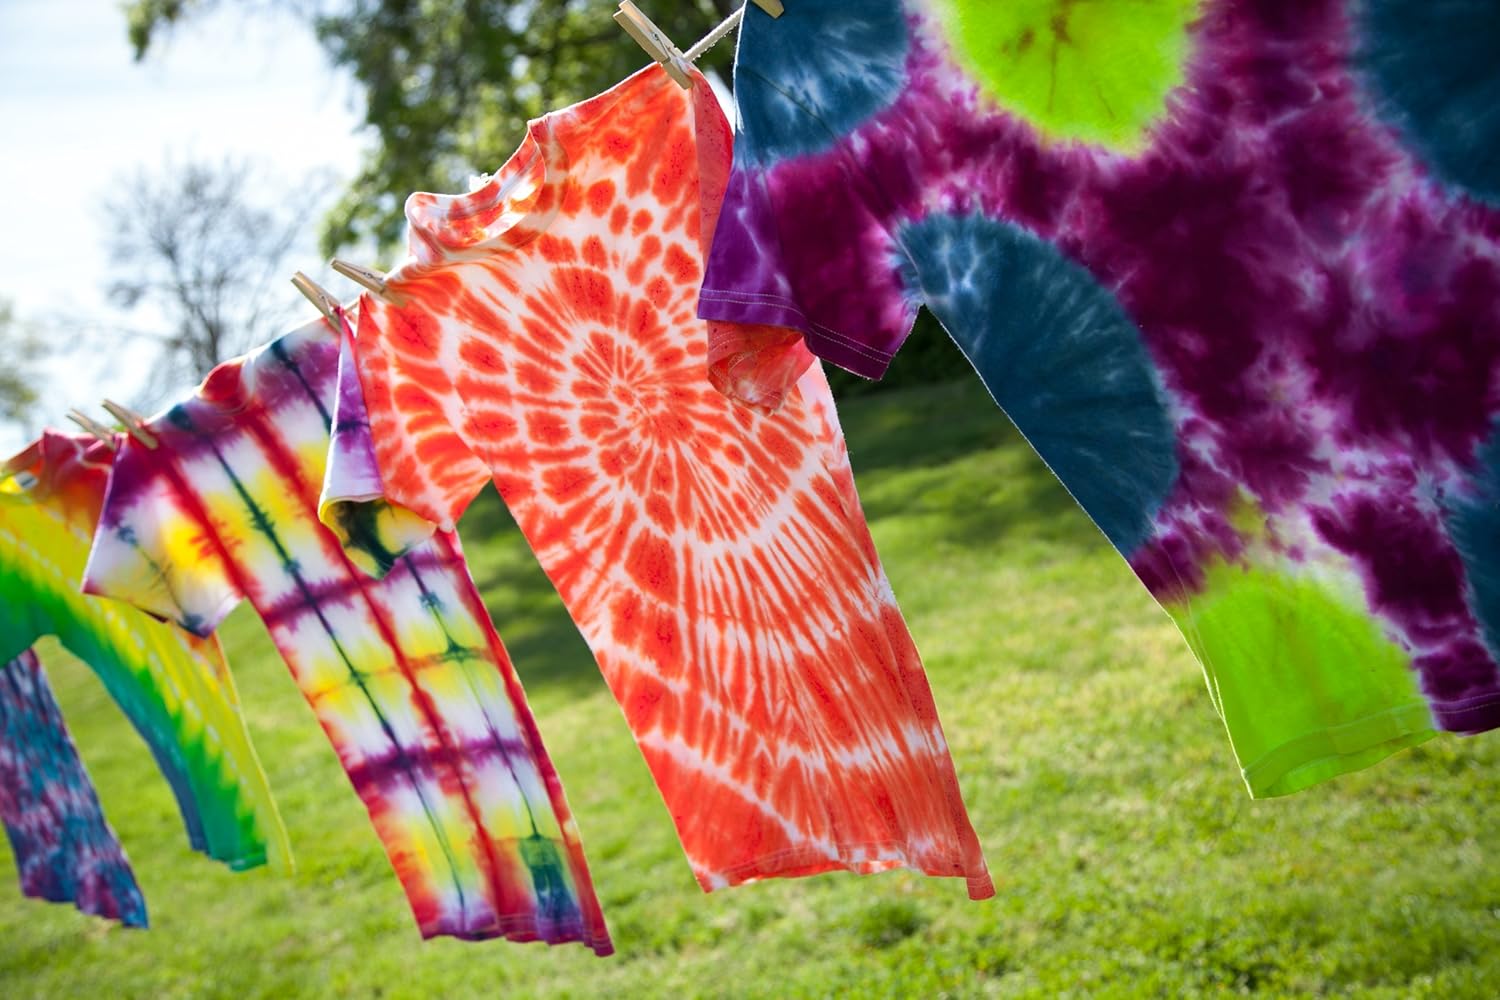
The tie dye trend is back and bigger than ever! It’s an old school craft that has become hip again – and it’s the perfect activity for a summer party.
You’ll want to keep this project outdoors because it’s messy and it stains. So set up a couple of tables on the grass, cover them with a disposable tablecloth and make sure the kids are dressed in clothes that can get ruined (anyone else keep free promo t-shirts for this kind of thing?). The rest is all fun and games!
1 Decide What You Want to Dye
First decide what kind of project you’d like to make.
T-shirts are a classic, but there’s a lot more out there. Plain white knee socks become the perfect summer camp accessory once they’ve been dyed with fun colors. And how about a tie dye towel to use at the pool? This was our hit of the season. We used these white towels from Amazon.
2 Wash Your Items First
Make sure to wash whatever you will be dying before you start. No need to dry them. This removes the sizing (part of the process of manufacturing fabric) which will allow the dye to penetrate the fabric. Otherwise, it will bead up and roll off in places.
3 Get a Tye Dye Kit & Follow the Instructions
Depending on how many projects you plan on doing and how creative you’d like to get with colors, these are the two kits we recommend:

This 12 color kit will make 10-12 t-shirts or about 4 towels, depending on how many colors you use per item. You will need to use more variety of colors in order to have enough to cover the larger surface of the towels vs. the T-shirts. We prefer this kit for smaller projects like t-shirts and socks.
This 6 color block party kit will make about twice as many projects and has more of each color, allowing for more of a single color per project. This is the one we’d recommend for towels. Also, sometimes fewer choices of colors is better, right?
The kits come with gloves and rubber bands, but you might want to add some disposable aprons, too. Easy to follow instructions are included so everyone can try the technique of their choice. Younger children will probably need help with the rubber bands.
4 Let Your Projects Rest
After everyone has dyed their project, you will need to wrap them in plastic. A Ziploc bag works for small projects and plastic wrap works best for the larger towels. Label the projects and then put them all into a garbage bag and let them rest for about 6 hours. This lets the dye set for the brightest colors.
5 Rinse & Wash
After at least 6 hours, but overnight is fine, rinse the projects until they run mostly clear. Then you’ll need to wash them in a washing machine in hot water. Dry them and then admire all those colors!
Note: When washing these projects, it’s best to wash them separately the first few times. Throw a Shout color catcher sheet in those loads and you’ll notice less dye leaking off after a few washes and then you can wash with all your colored laundry as regular.


Can’t wait to try these with my girls and nieces. Any link for cheap long sleeve white tee?
Here you go: https://amzn.to/2GK75AW
Will tie dye work on crocs?
Just did this with my kids, they loved it! Just a note- don’t do this in the 9 days as you won’t be able to launder anything until after tisha b’av.
Is this easy enough for a 6 and 9 year old?
My 6 year old needed help but my 9 year old just needed supervision. They both loved it!
Hi can you post on how to actually do the tie dye? All the different designs etc?