How one mom turned a messy garage into a dream storage space.
It was last year during quarantine. The days were long and the kids were home. And though I was far from bored with the kids home while still trying to get my own work done, I was still looking for a project that I could do along with my kids that would make me feel that we actually did something worthwhile with our time.
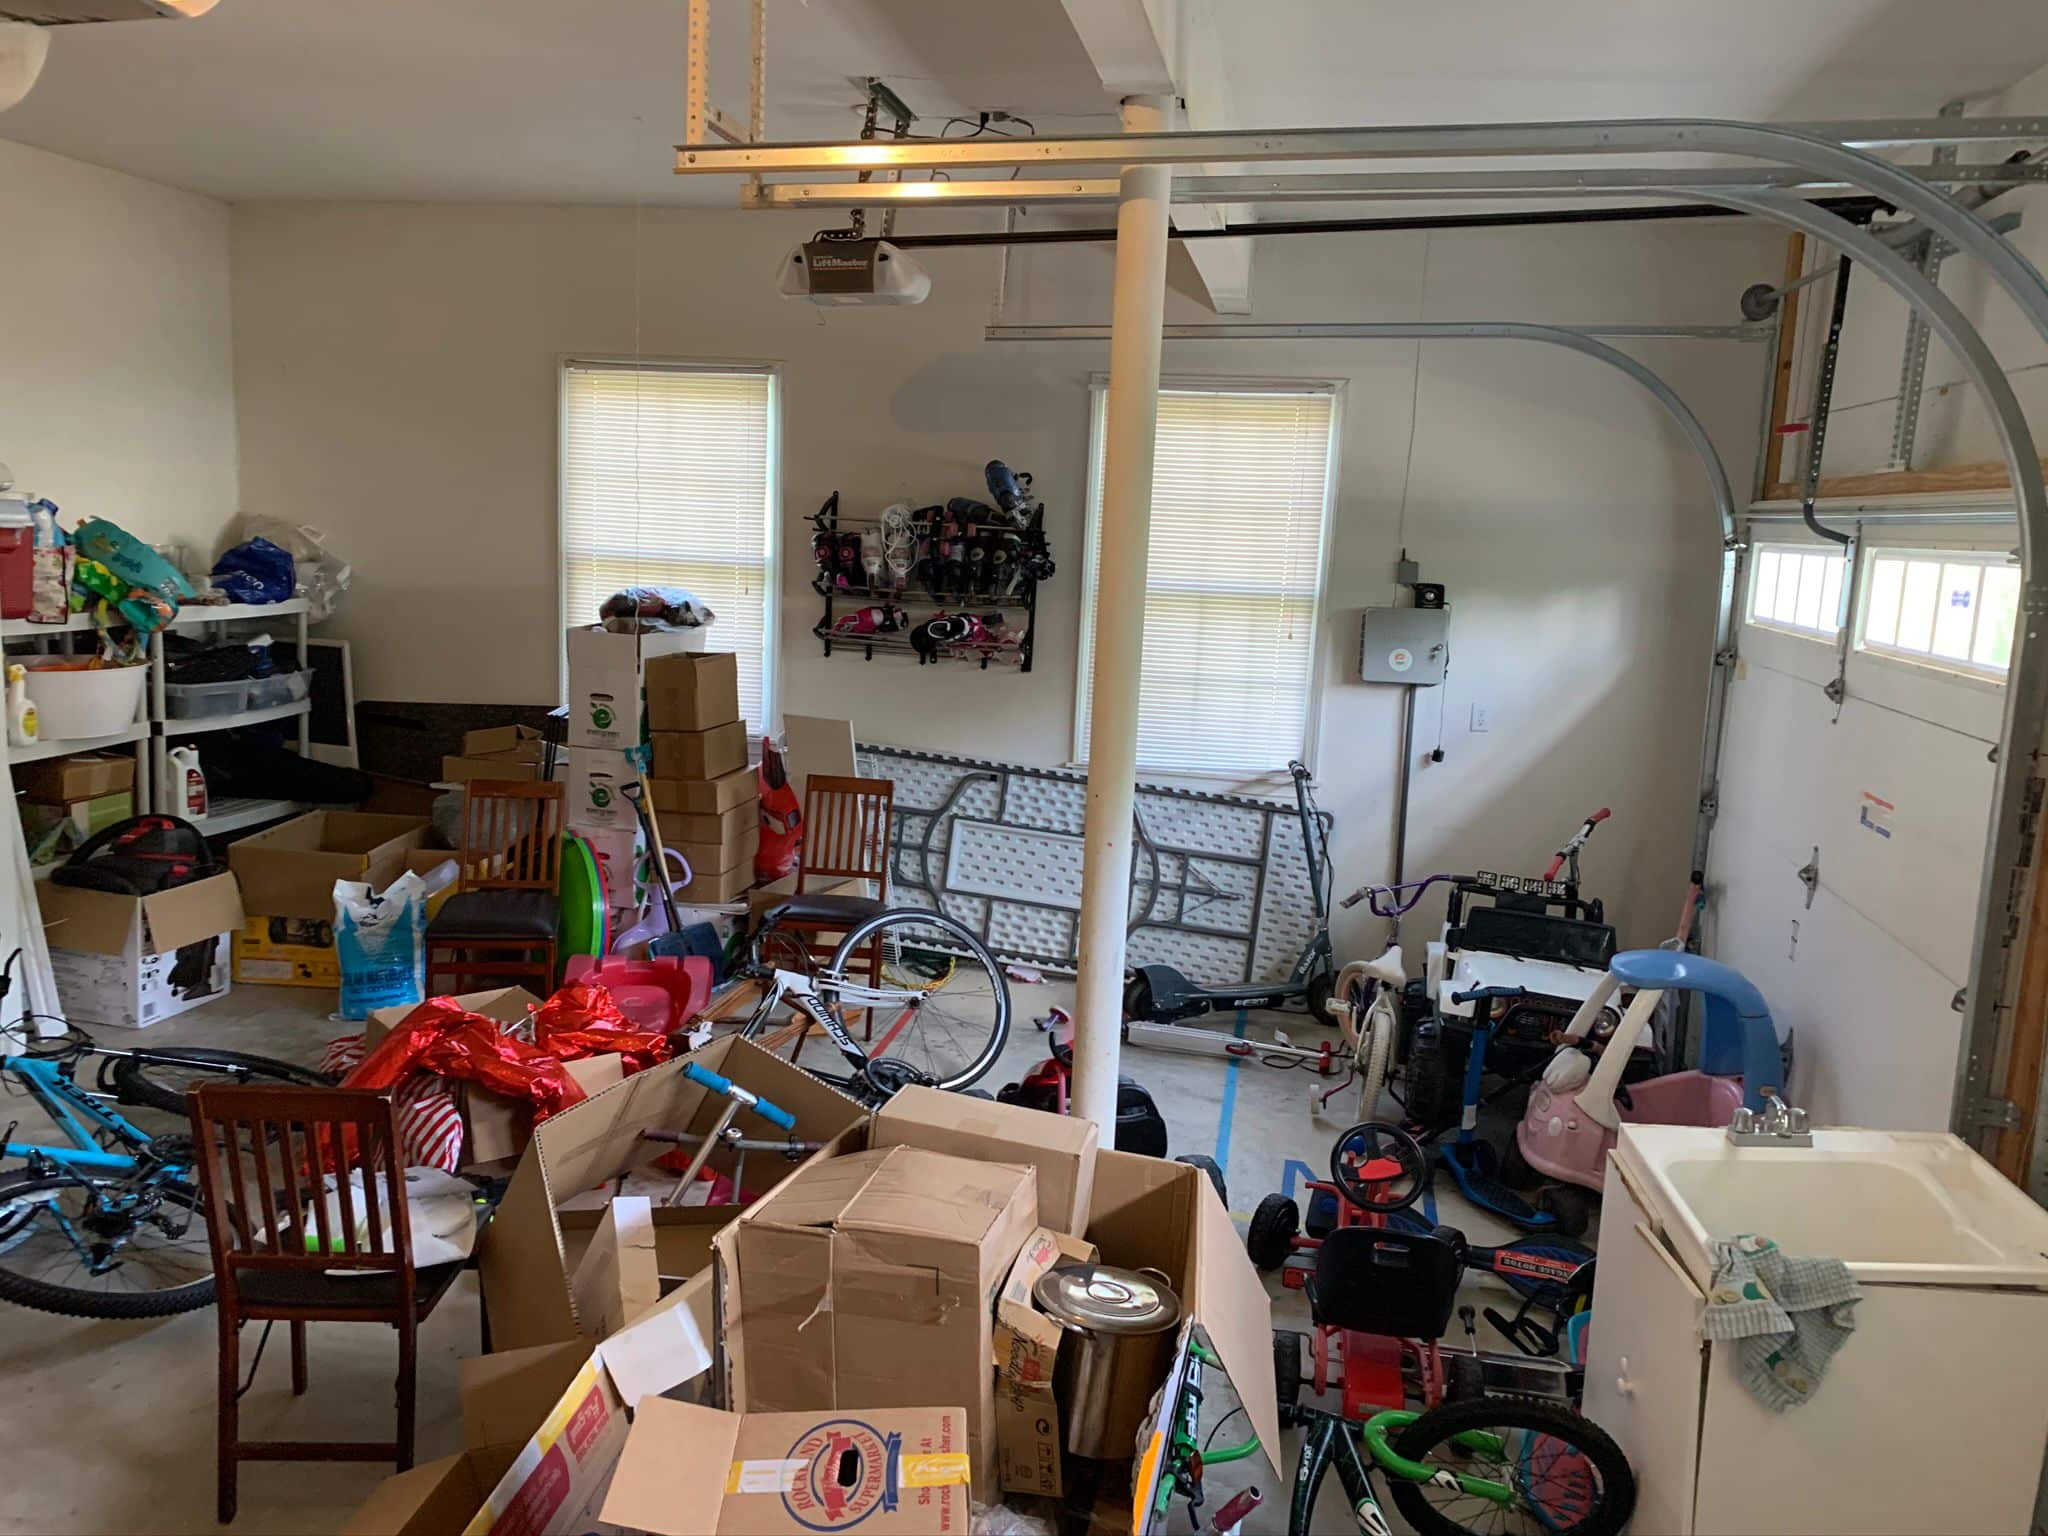
So this was really going to be a DIY.
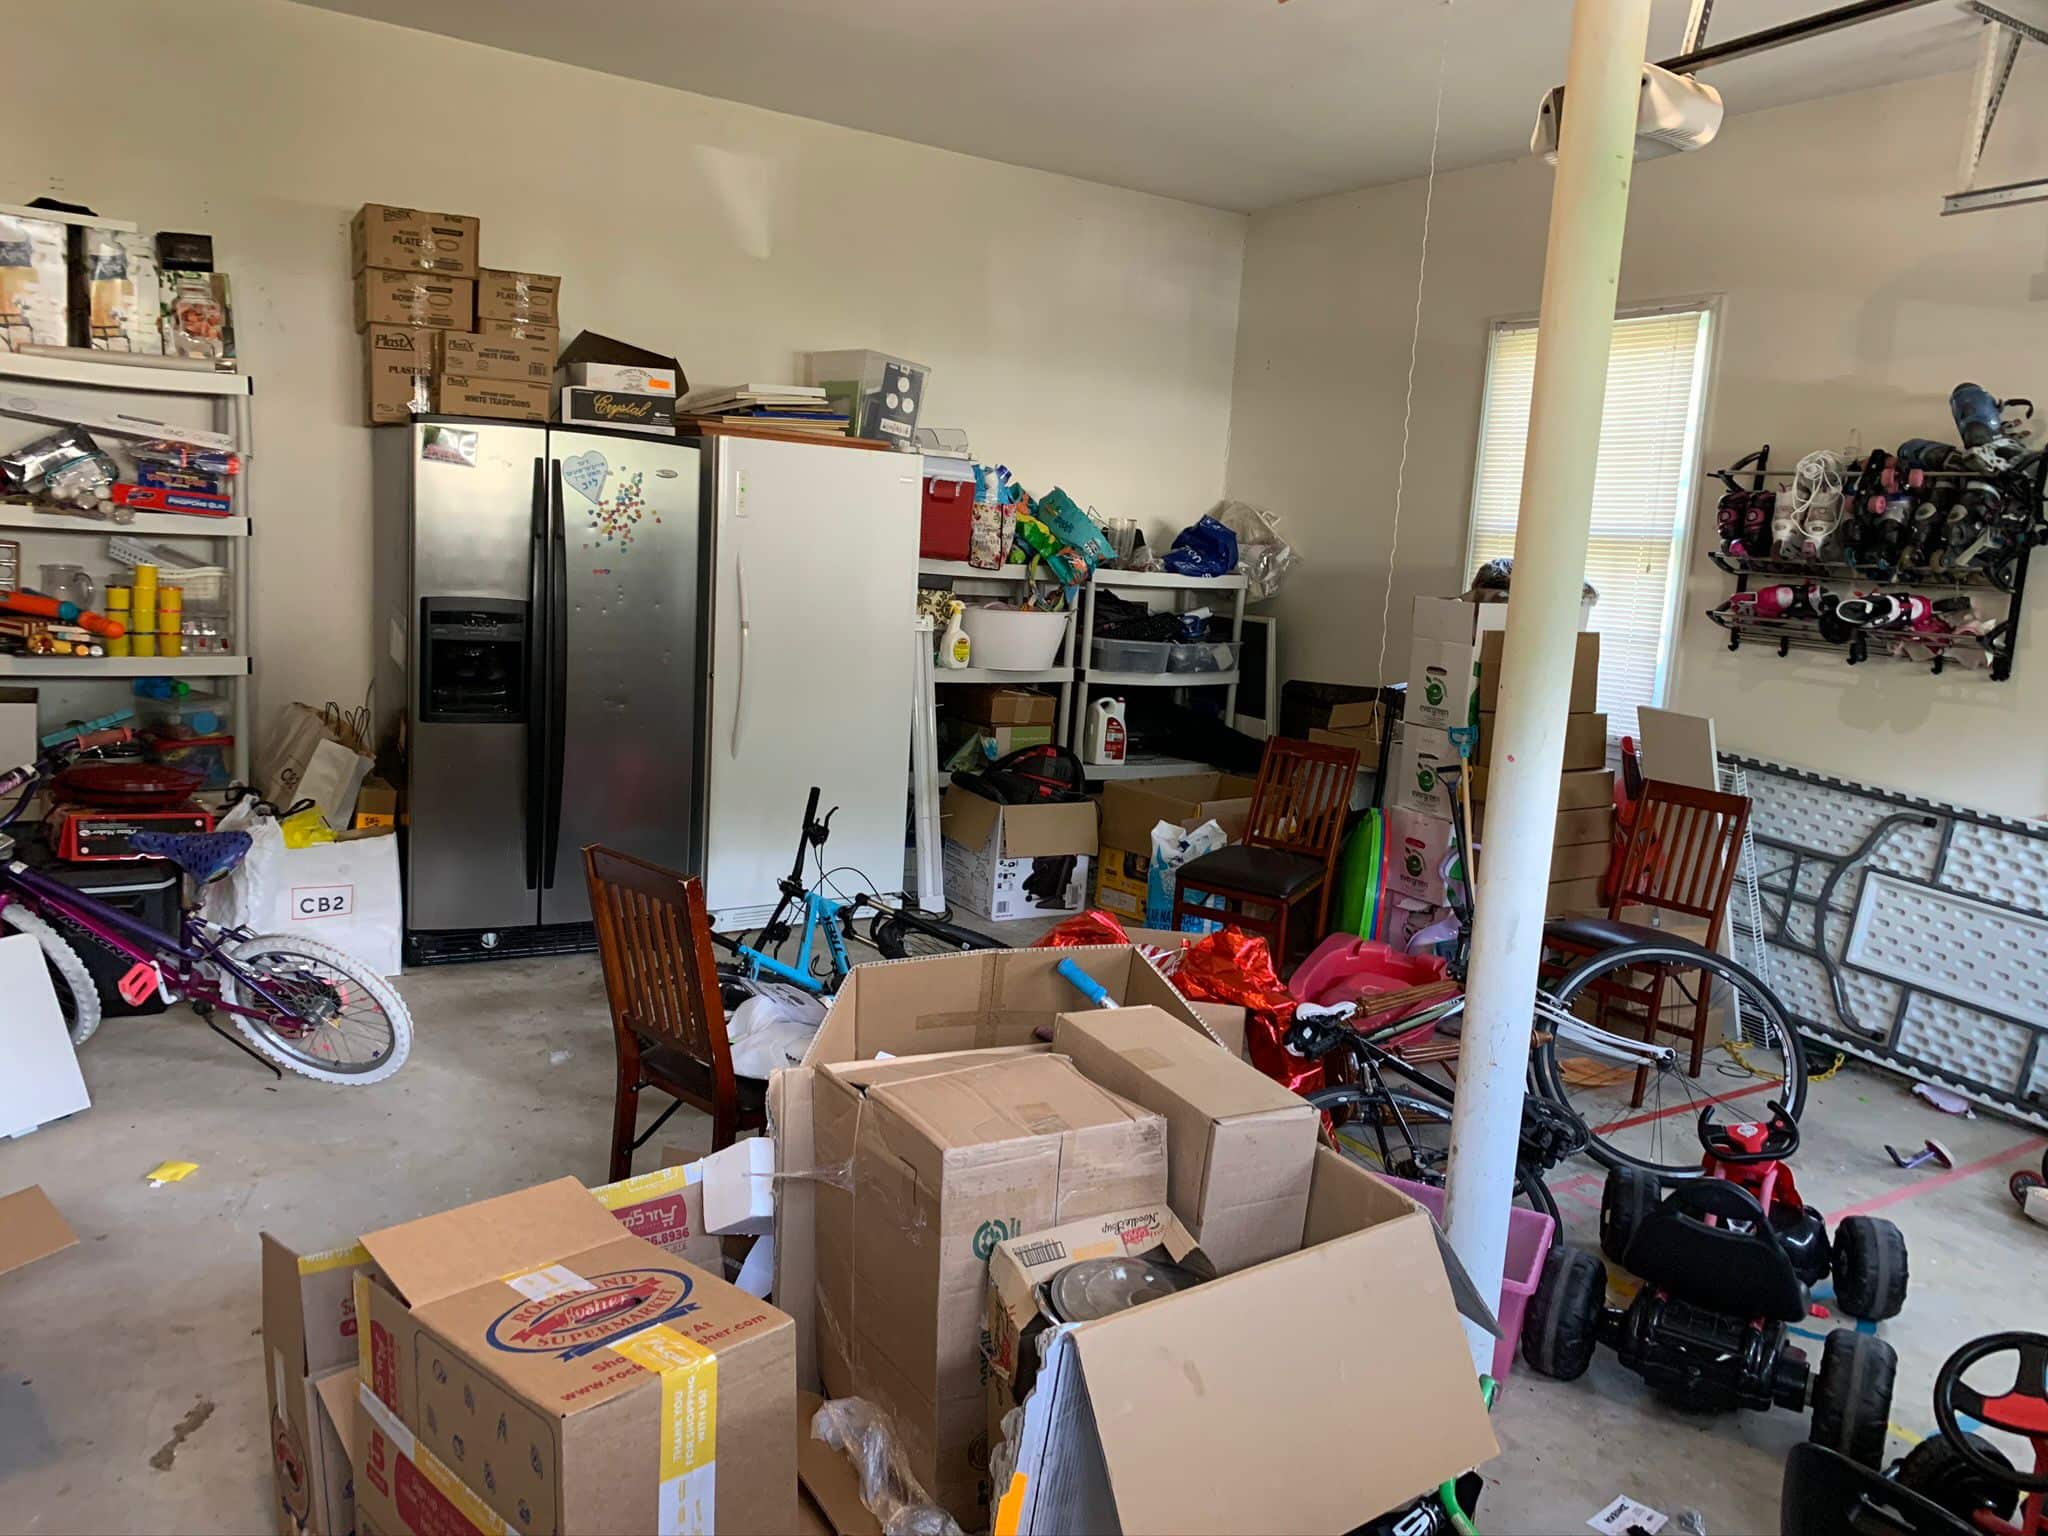
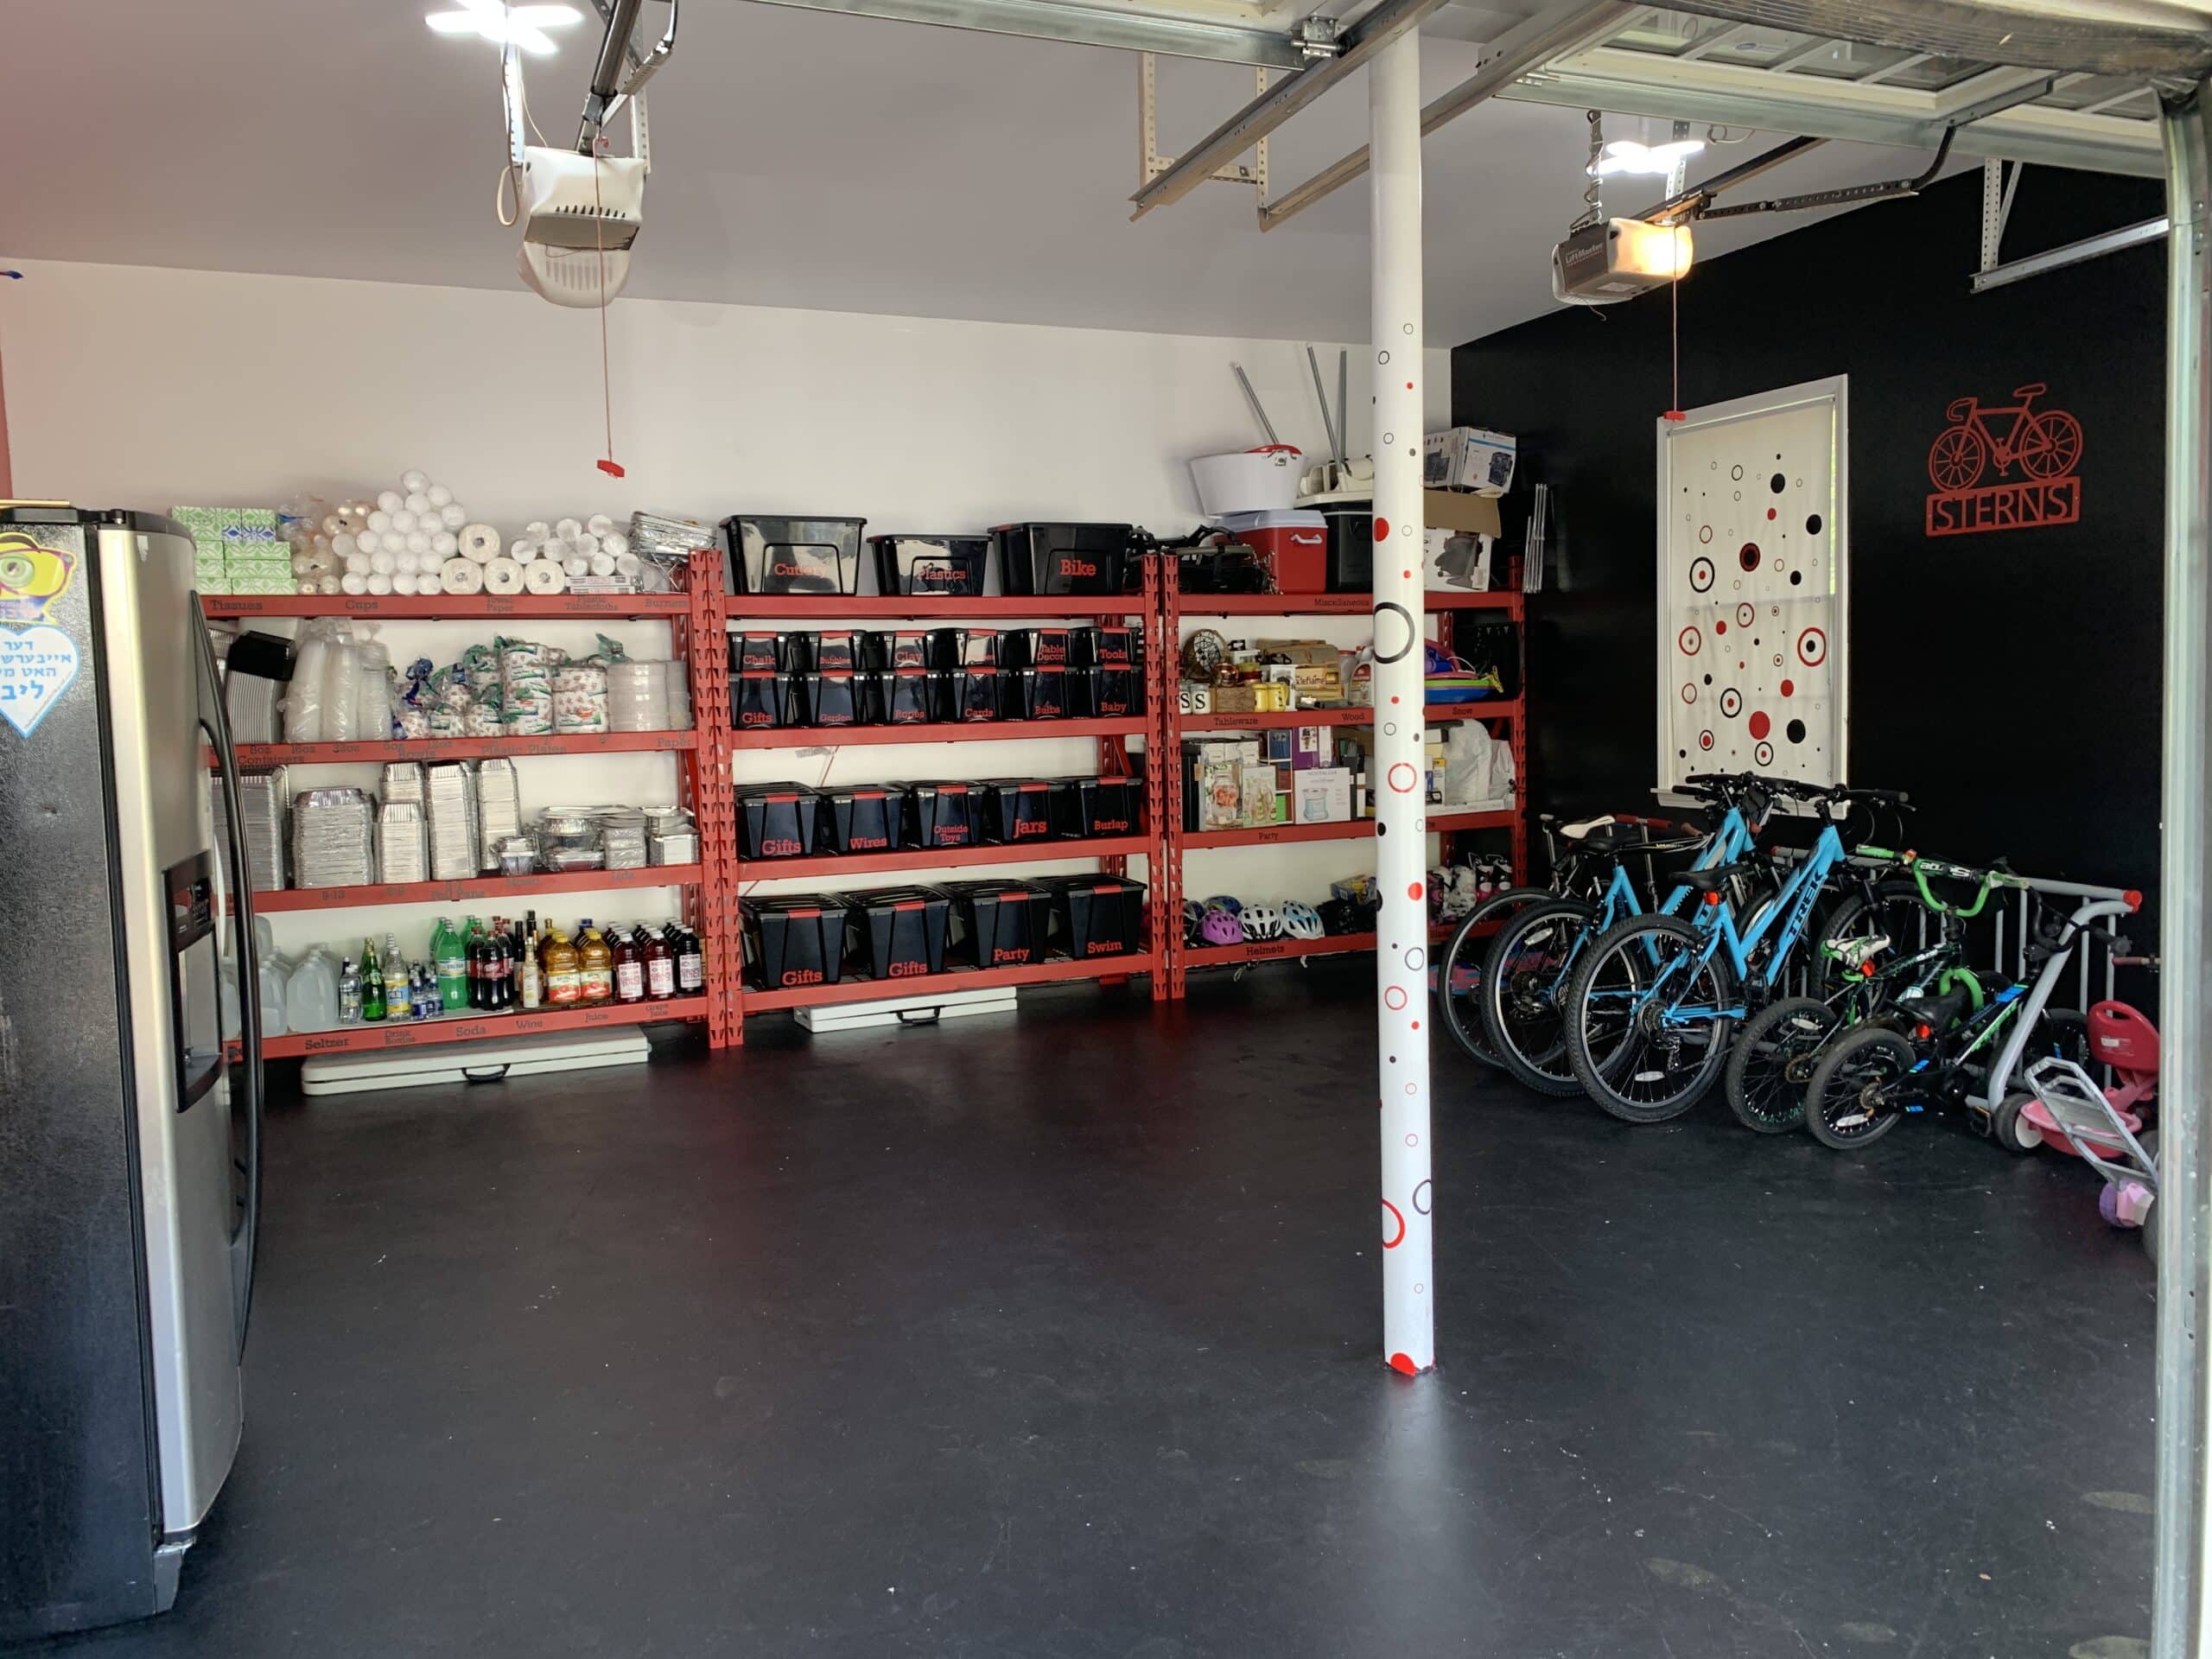
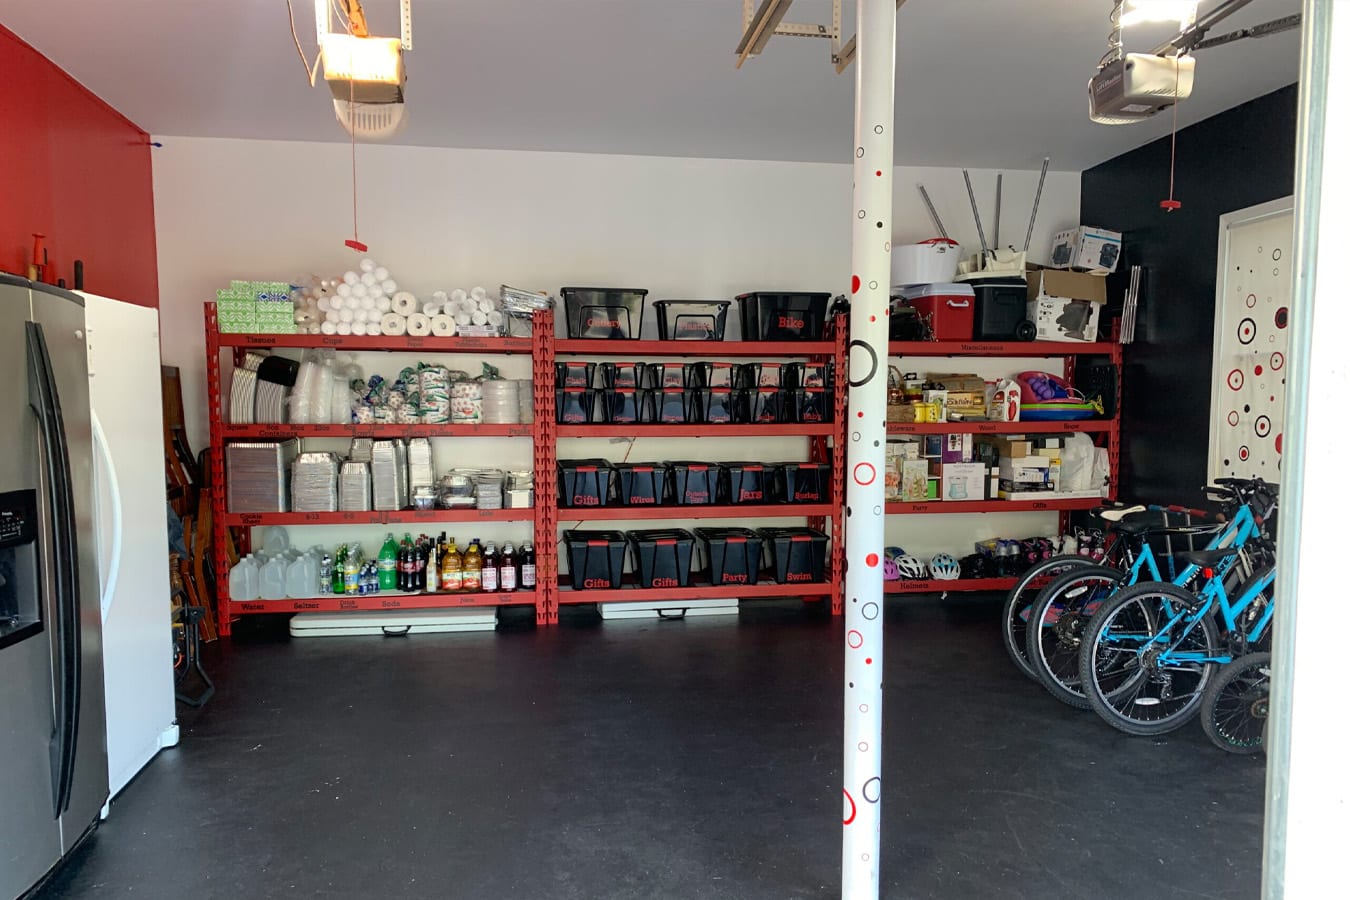
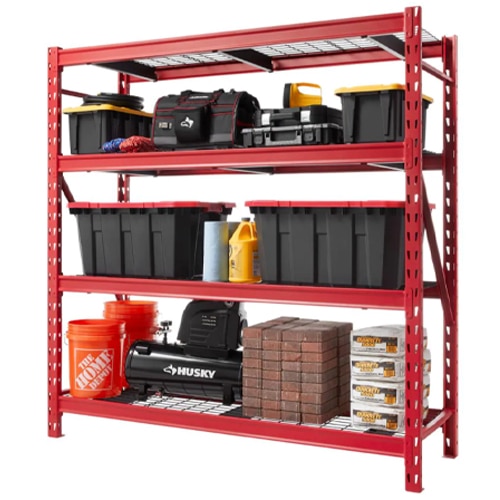
I started looking at shelving on homedepot.com. I had shelving in my garage, but they were small and narrow and not very functional. Then I found them, these bright red shelves were the ones! I measured the garage and determined that three units would fit perfectly across one wall.
First things first we needed to paint.
That’s what would really transform the space.
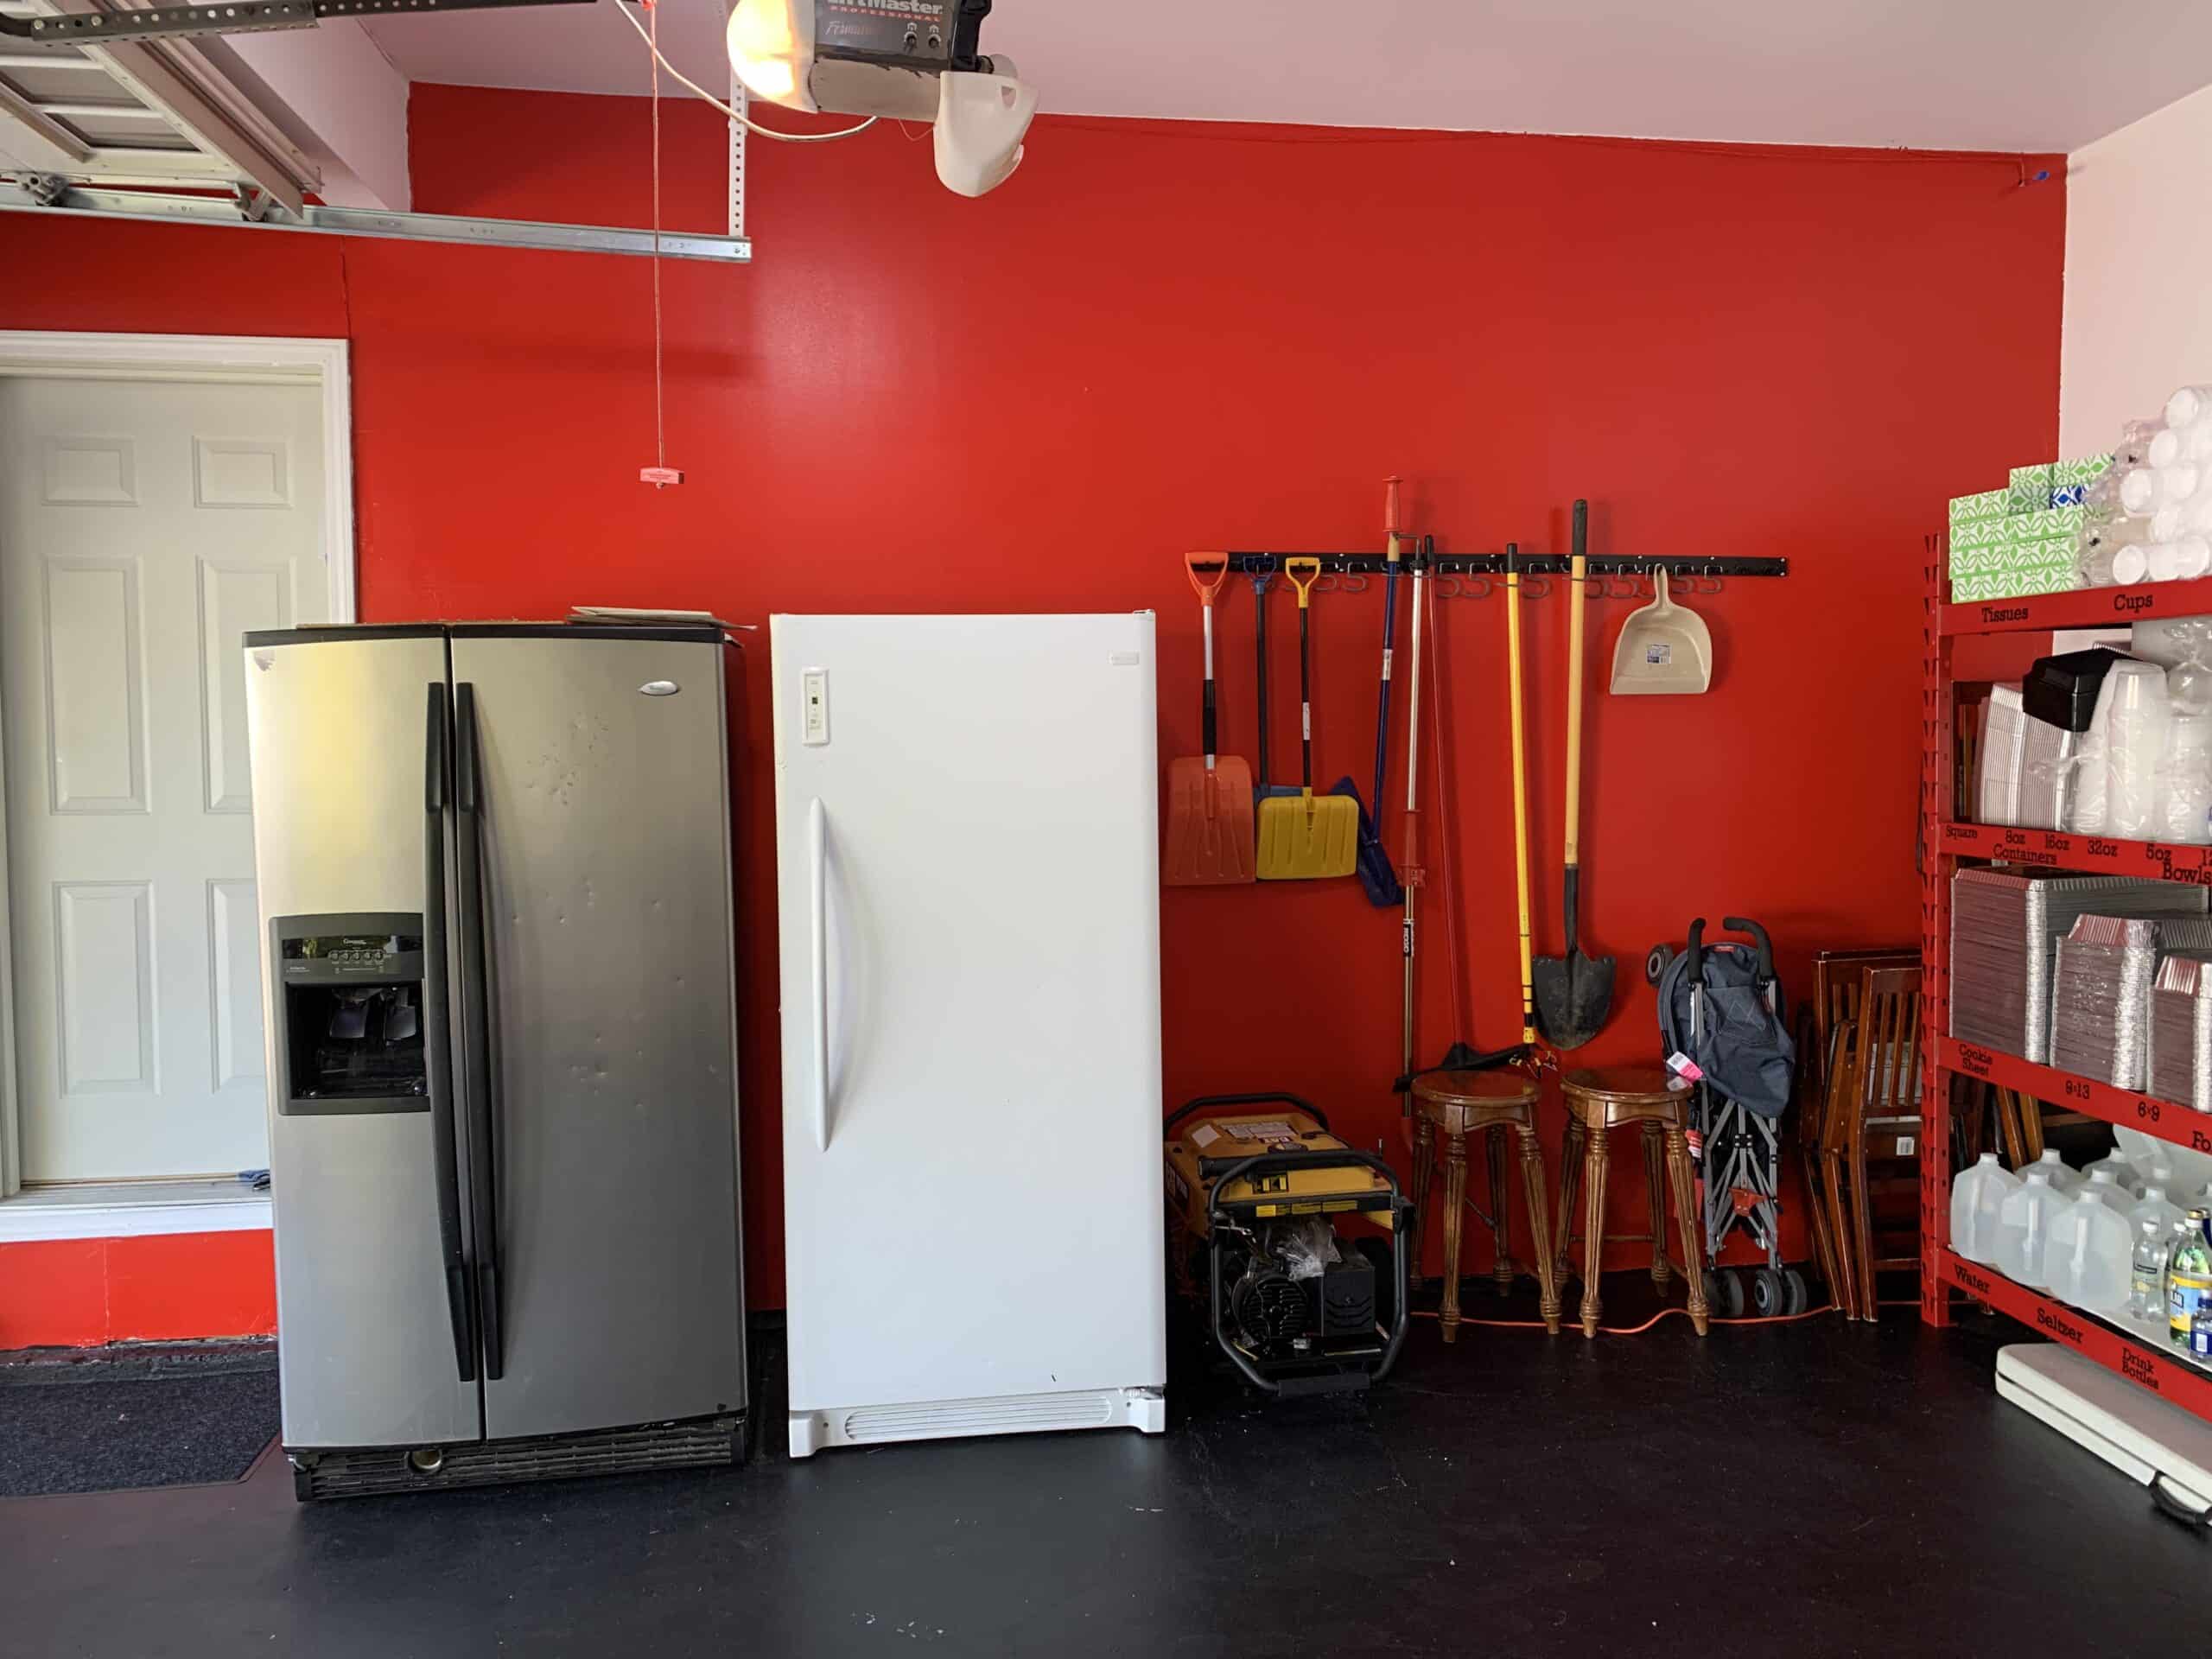
I chose red, black, and white walls to highlight the red shelves without overdoing it. Since all the contents of the garage were sitting in the driveway during these few days, it was a race to get done (we did have to cover up everything during one brief rain). In the end, I loved how it all came together. The shelves were assembled and we quickly brought everything back into the garage. Note: If you have more time, you should use a special epoxy paint that is more durable for the garage floor.
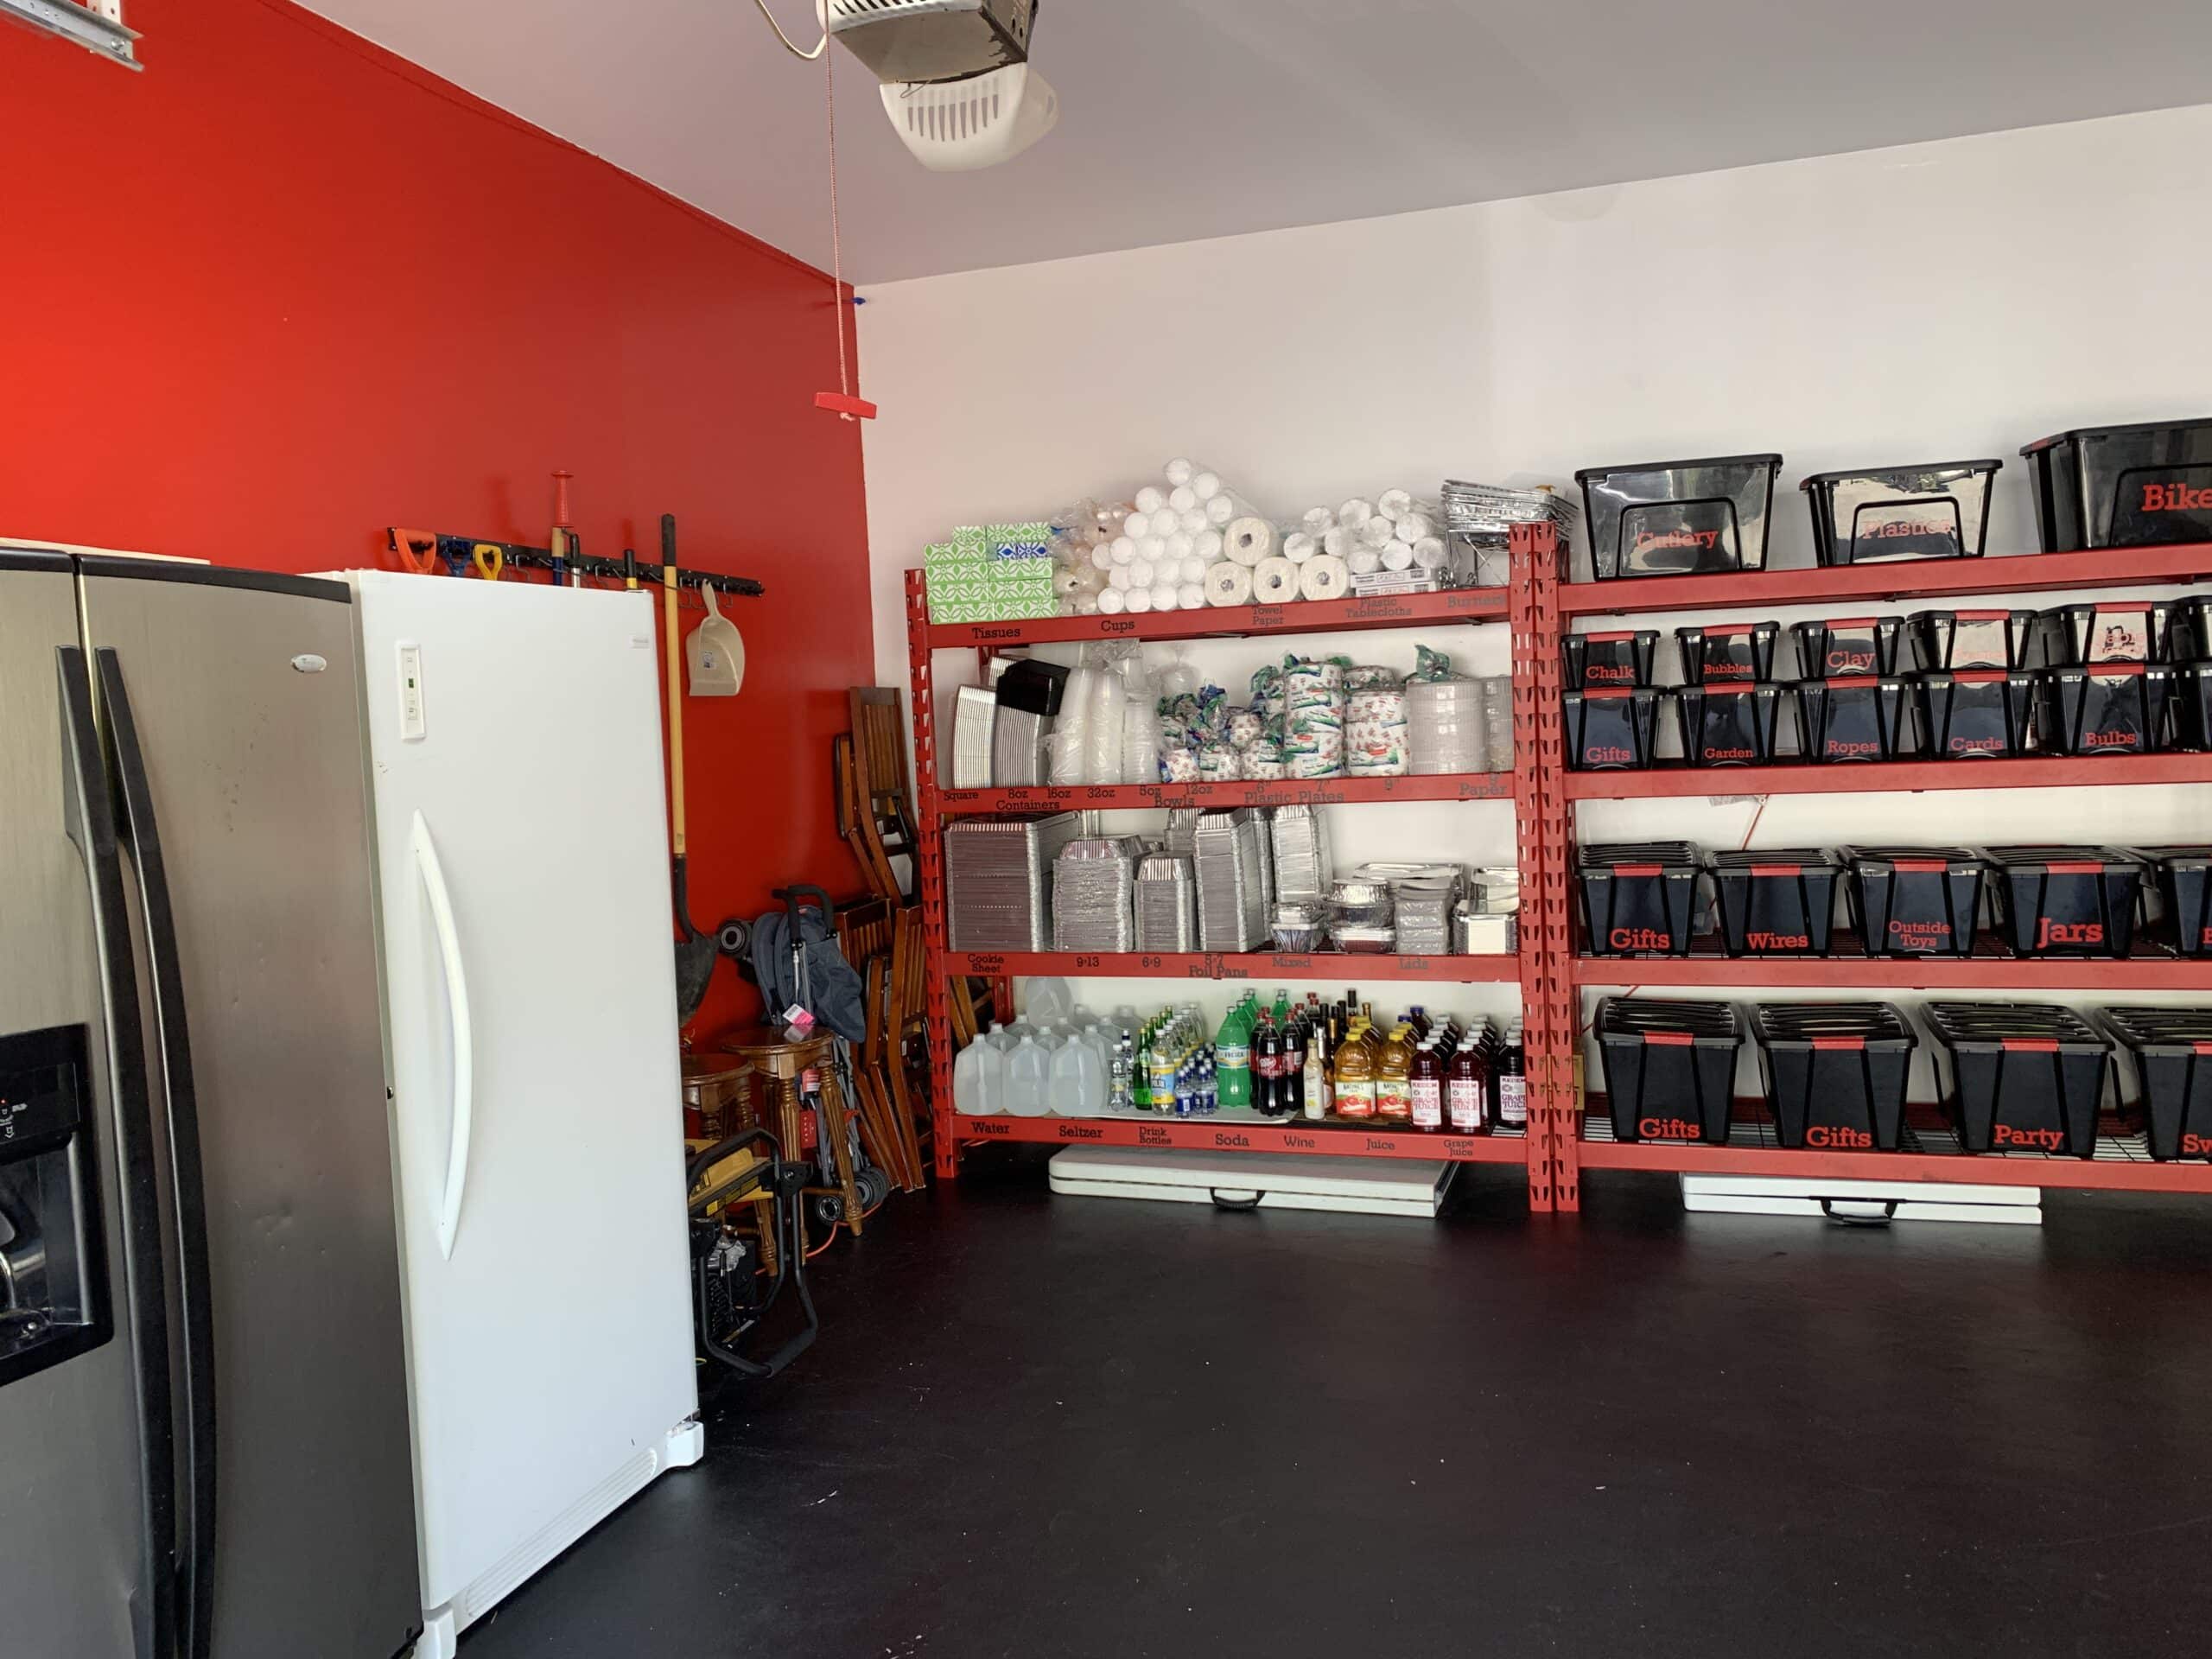

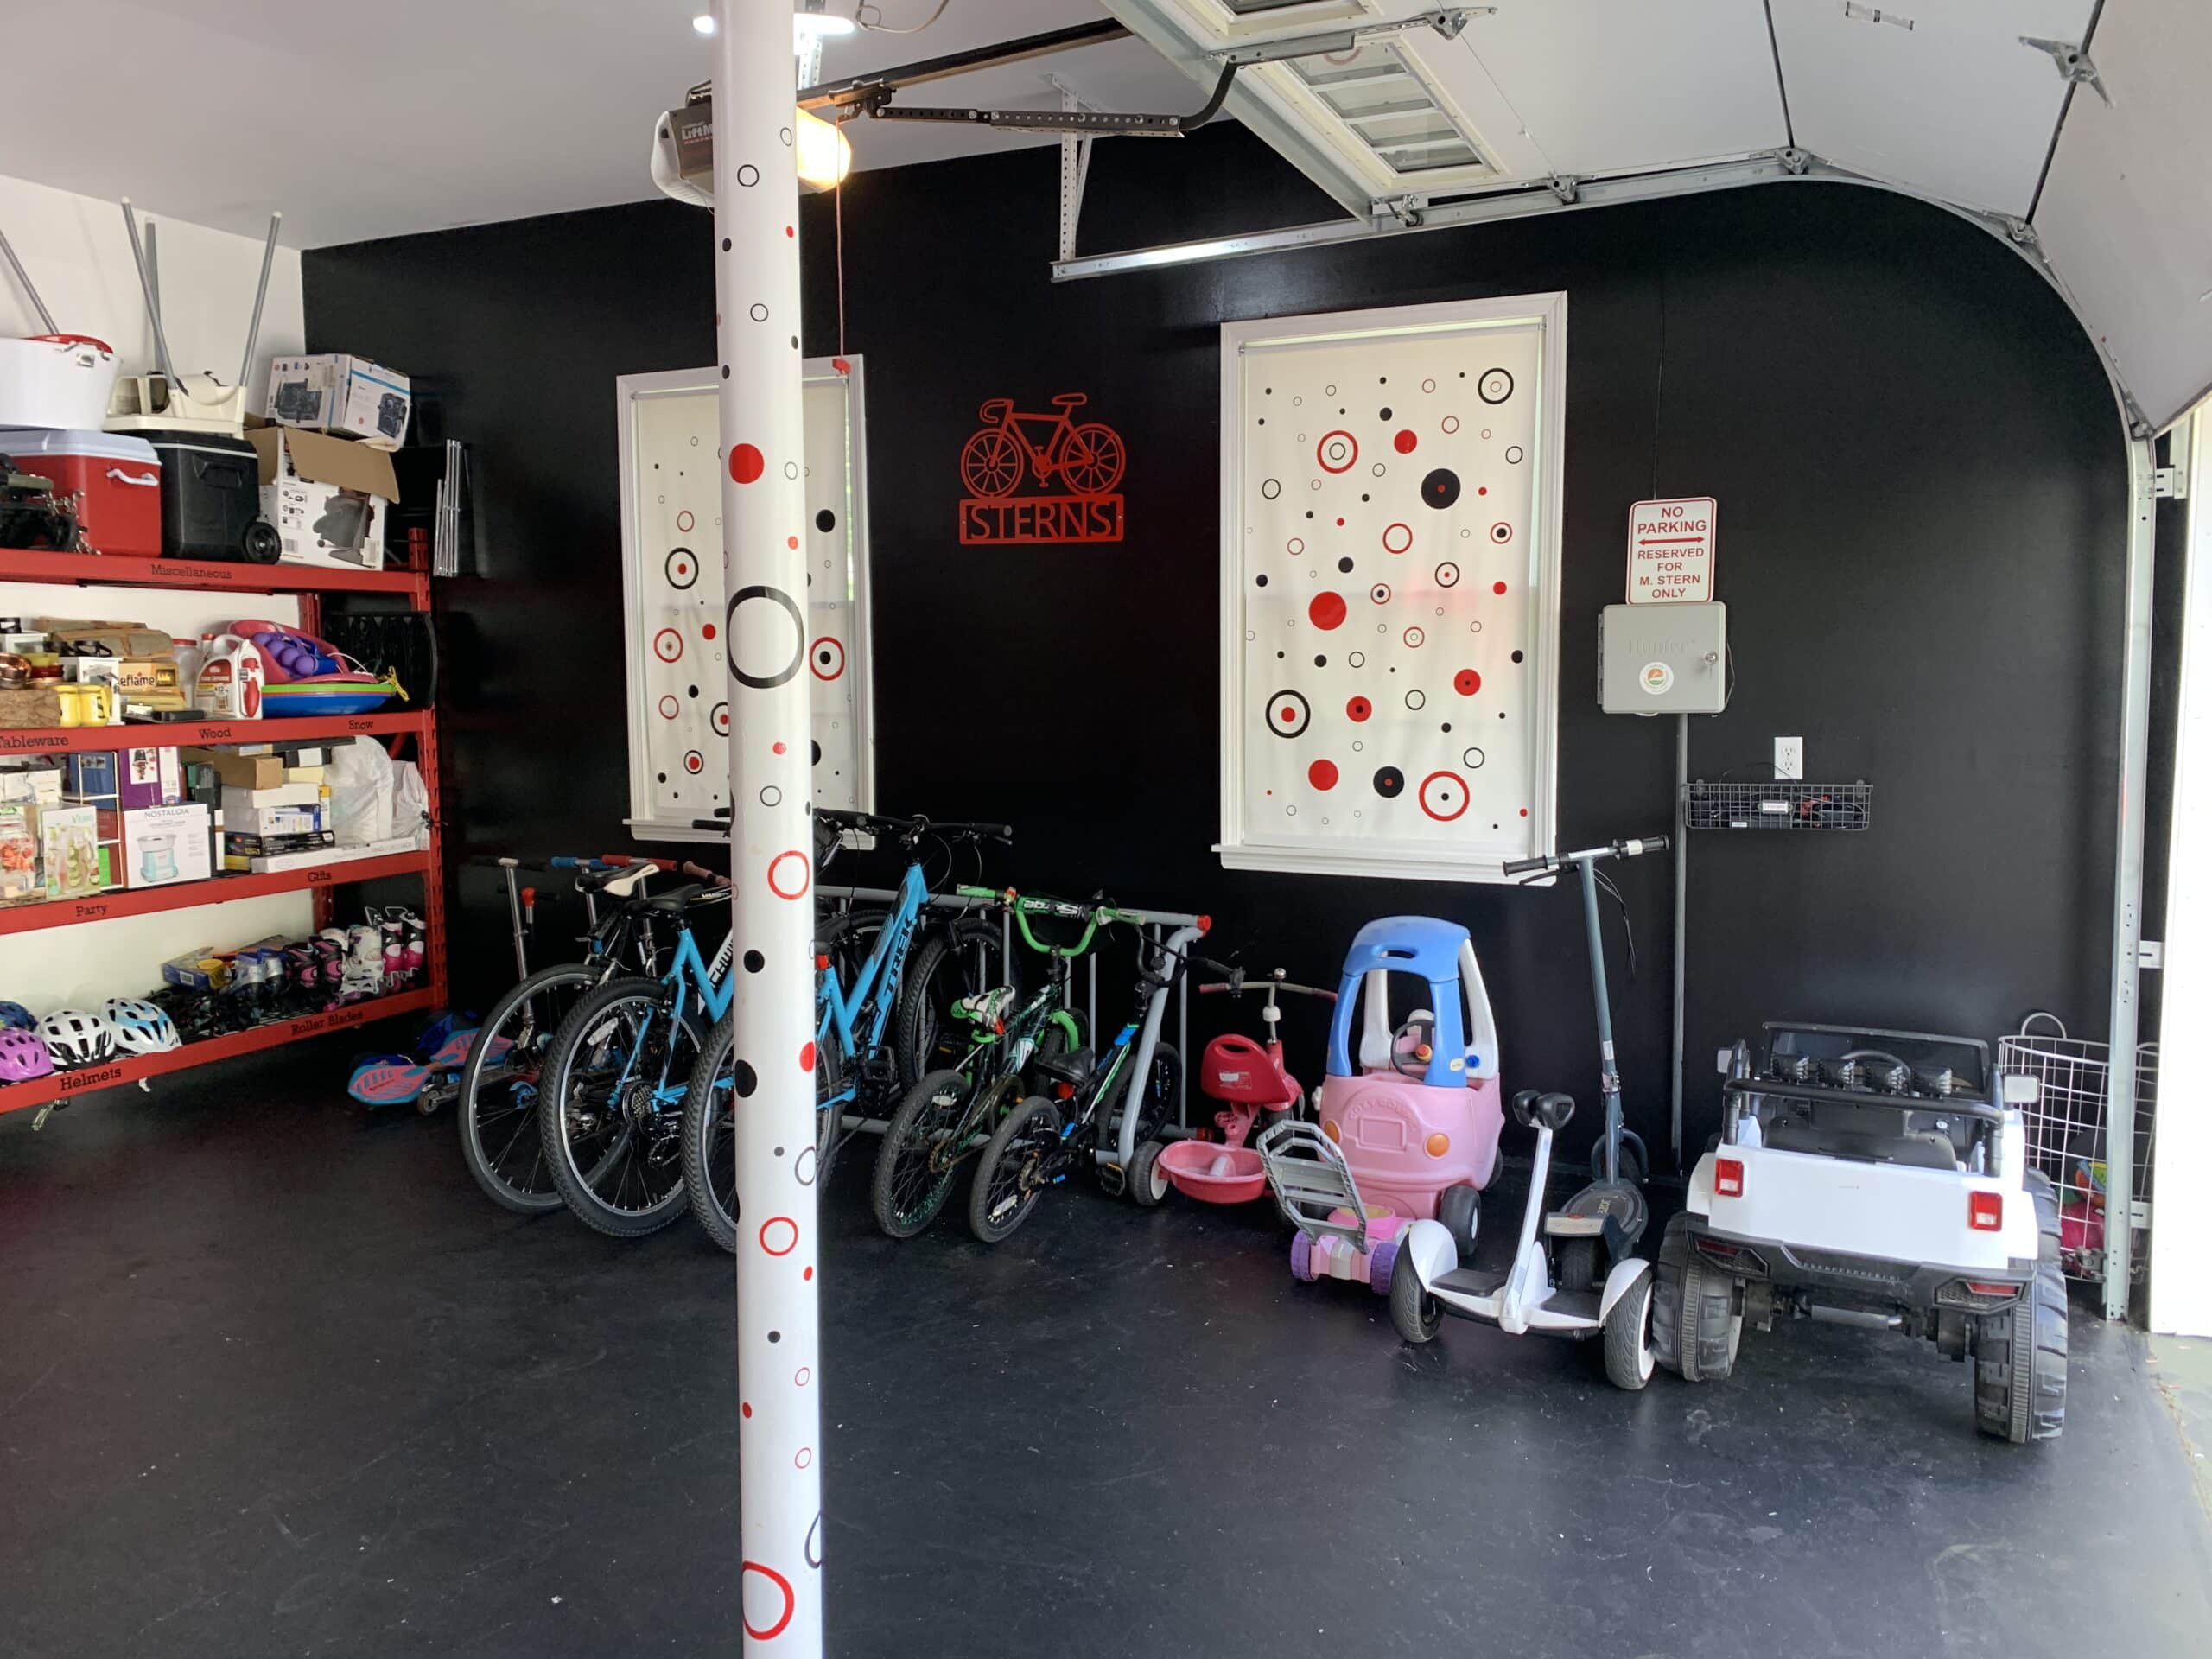
The bike rack was one of the last additions. A while back, I had purchased a bike rack that turned out to be a piece of junk. This time, I researched and read many reviews and chose this grid-style heavy duty bike rack. It holds five bicycles and that’s exactly how many we have, so that was perfect. My previous bike rack was $90 and this was the splurge at $255 but this one will last.
Originally, my budget for my garage was $1000. I went over a bit when splurging for the bike rack at $259, so the total was $1210. (The prices of some items have changed since last year.) I did hire a little bit of help: I had someone else do the painting (some could DIY, but one room doesn’t cost a lot and it saves a lot of headache). I also hired a handyman for $40/hour to assemble the shelving and hang the curtains and hook rack.
By organizing this garage I gained a functional room in my house which I enjoy immensely as a storage space. I hope you enjoyed reading this article as much as I enjoyed the process of doing this project. Feel free to ask any questions in the comments below.












Looks amazing! In my brooklyn apartment this is only a dream and fun for me to look at but the scooter stands look really useful. Did you have to screw them into the floor? I can use a stand for my scooters in my hallway.
Hi its Raizy here, I did not screw the scooter stands to the concrete floor its self standing.
Wow!! Stunning! I’m inspired to get my garage in order.
A dream to look at!
To have a garage would be my dream…;) really beautiful!
Thank you for this post now I can save money by not having to hire someone, I now know where to get the stuff from. Thank you
Where is the ball bag used in this garage makeover?
I find biggest job is upkeep… unloading cases of paper goods and putting gifts/party ware away after it’s done… and getting rid of old appliances and boxes of new ones .. that’s my issue now 🙂
Hi! It is not used in this makeover. Raizy already had a bin on hand. We included 2 ‘bin’ ideas for balls.
Hi- did you paint the garage floor? I have looked into epoxy but very expensive. Can you explain the floor paint more?
Links to shelf isn’t working
What did you paint the floors with ?