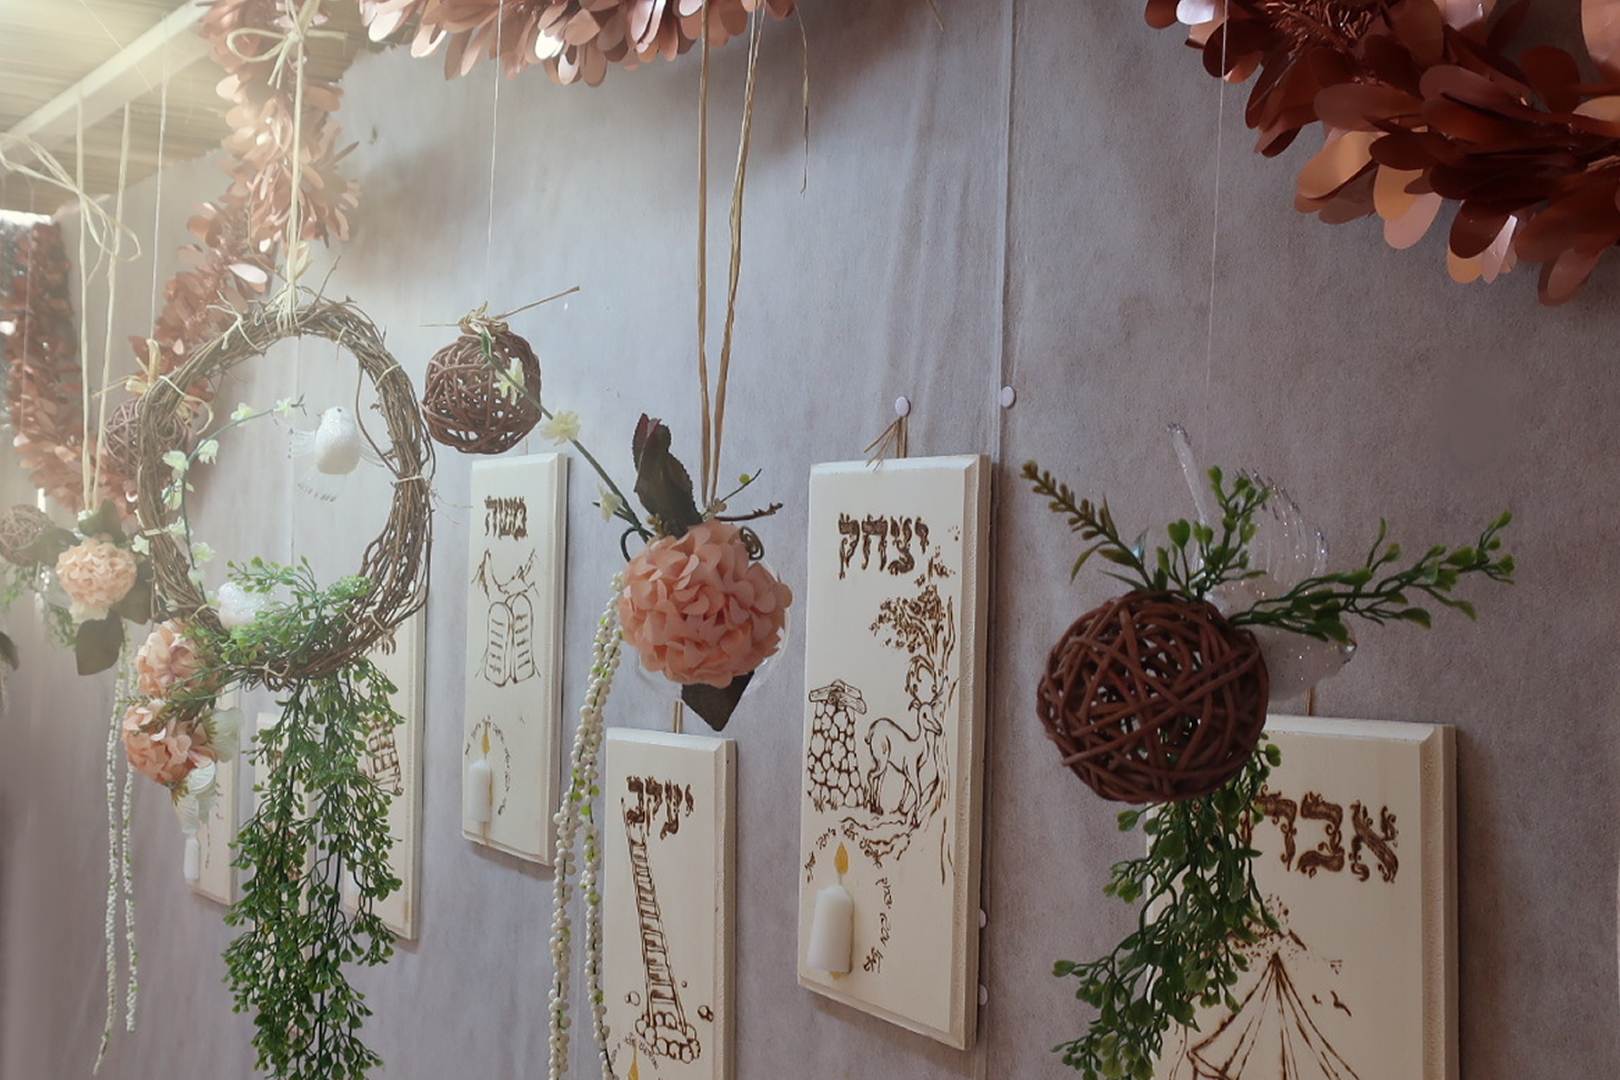
If you have some downtime this summer, gather the materials and your friends and spend a fulfilling and therapeutic afternoon creating this Sukkos decor.
This creative DIY Sukkos decor was created for BCP readers by Berlingerart Academy; the home and haven of professional digital illustration.
You know you love art.
It’s therapeutic, relaxing, and fulfilling.
So why do the kids always get to have the fun?
If you’re planning an enjoyable afternoon with friends, this is the perfect activity. And you can accomplish something constructive for the busy Yom Tov season that’s ahead as it’s Sukkos decor with professional results!
It’s artsy and gorgeous and a great way to unwind. As this activity uses a pyrography (woodburning) pen, it is not for children.
You will have the opportunity to try something you’ve never tried before, and you don’t need to be an artist to get beautiful results. Try your hands at this masterpiece over the rest of the summer weeks for wholesome fun, and to be left with a timeless piece that’ll add that magical touch to your Sukkah.

EQUIPMENT NEEDED:
- Free Ushpizin templates to print supplied by Berlingerart
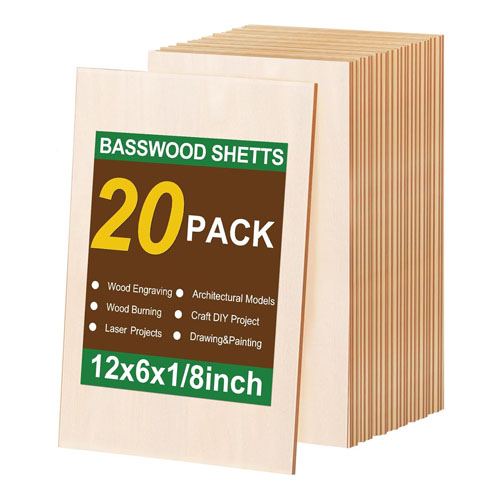
- 7 unfinished wood sheets (per person) – approximately 12 in x 6 in or 8 in x 6 in
- or wood slabs with live edge for a more rustic look
- or wooden plaques for a more finished look
- sharpened pencils
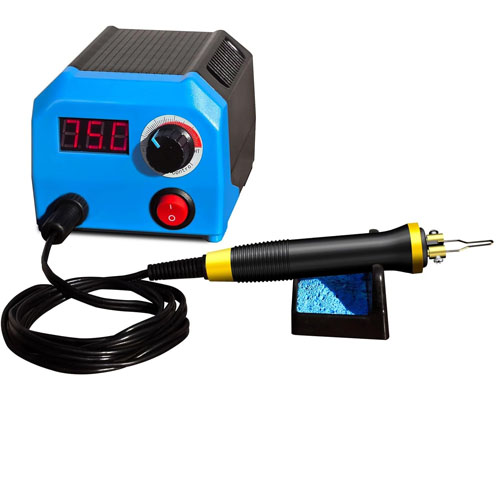
- 1 pyrography woodburning pen
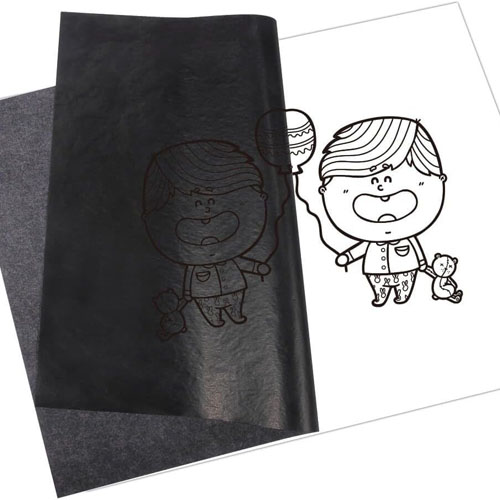
- 1 sheet of carbon paper
- varnish + broad paintbrush
- masking tape
FOR HANGING:
- 14 push pins
- string
FOR OPTIONAL CANDLE ADDITION:
- wood glue
- 7 mini white candles
- wooden skewer

STEP 1: Tracing the Image
On a firm surface, lay one wooden board down in front of you. Place a sheet of carbon paper, carbon-side-down, onto the board. Above that, center one of the printed templates, and secure both papers at the edges with masking tape.
Using a sharpened pencil, draw over the image lines slowly and surely. Make sure you press down well as you draw so that the picture is clearly transferred to the board.
TIP: Marks made by carbon paper are often not erasable! Avoid drawing any unnecessary lines or pressing down on the carbon paper strongly with your fingers around the actual image. If you do inadvertently end up with unwanted marks, they can be sanded down.

STEP 2: Redrawing With the Pyrography Pen
TIP: The pyrography pen uses heat to burn the image onto the wood. Ensure that there are no children around when the pen is in use!
TIP: Be careful where you rest the pen while it’s still hot. Have a nonflammable surface like a slab of concrete nearby to rest it on.
Remove both the template and the carbon paper. You should see the template image transferred onto the wooden board.
Plug in your pyrography pen. (Some types of pens allow you to adjust the heat. If that is the case, experiment on the back of the board until you are happy with the burning results you get. Some like it strong with a yellow halo, and some like fine controllable results. It’s a matter of taste!)
With the heated pyrography pen and a steady hand, draw over the image that you have transferred onto the wood. Begin with the text outline and continue to the image outlines. Once you are happy with the results, you can move onto filling in the text and then the details and shading of the image.

TIP: Mistakes burned into the wood do not mean your project is doomed! You can use sandpaper to sand them off. The lighter you have made the image, the easier it will be to sand off. Therefore, it is advisable to initially draw it lightly with the pyrography pen, and only once you are happy with the results, go over it and fill in.

STEP 3: Candle Addition and Text, Optional
This step is for those who are using the longer board. Omit it if you choose to use the smaller board.
Take the candle you will be using in step 5 (see image above), and lightly mark on the board the area where it will lay. Similar to Step 1, secure the carbon paper and text template on the lower left corner of the board with masking tape. Ensure that the text is correctly positioned in relation to where the candle will be glued down. Copy over the text first with a pencil, and then remove both papers. Draw with the pyrography pen. Be sure to keep any papers away from the hot pen so they do not catch fire.

STEP 4: Varnish
Dip a dry paintbrush into the varnish can. With quick strokes, go over the entire board surface with varnish, ensuring the whole surface area gets covered.

TIP: Some varnish brands dry fast! Make sure you work quickly and steadily so that the image gets coated evenly.
CAUTION: Varnish is flammable, and the fumes are very strong. Turn off and unplug the pyrography pen when using varnish. Work in a well-ventilated area so that you do not breathe in the fumes.
STEP 5: Candle, Optional
Using a craft knife, slit the candle lengthwise. The half with the wick is the one you will use. Place the half-candle down on parchment paper or a baking sheet and squeeze a blob of wood glue onto the wick. Use a wooden skewer to drag the top of the blob upwards, mimicking the shape of a flame. Once the glue has dried, spread some glue on the back, flat side, and secure it down onto the empty area under the rounded text.
STEP 6: Hanging It Up
Cut a piece of string approximately 6 inches long. Fold the ends toward the middle and make a knot. You should have 2 loops, one on either end. Hang the bottom loop-end onto a push pin, and secure that push pin approximately 4 inches below the top of the board. The push pin should be holding the bottom loop tightly onto the board. The top loop is a “hook” to hang onto a second push pin you will knock into your Sukkah wall.
TIP: If you do not want the hook to be visible when the boards are hanging in your Sukkah, make sure the length of the string is short, and that the top loop doesn’t stick out of the board when held upwards.

I can’t wait to do this project! I saw something similar years ago in a magazine, but never managed to get the templates. Thank you!
Does anyone know where one can order the supplies in Israel?
Would love to know as well abt getting in Israel
This is a cool project and I was ready to order the supplies for a gift for my mother but none of the wooden plaque options are good! And I don’t see anything suitable on Amazon. 6×8 inches with 7 of the same design.
Also I’m not seeing the templates come thru to my email? (I decided I’ll just do the candle version)
I never got the templates..they just sign you up for their magazine..bummer
I never got the templates..they just sign you up for their magazine..anyone know what’s the glitch
I was able to get the templates, it’s in the second email they send you
Hey all!
The glitch should be sorted now:)
Just click on the templates link and it should arrive right away.
Happy woodburning!
I tied the getting the template now, and the link doesn’t seem to be working
The link that I was sent for the templates sends me to Google Drive and then tells me it’s an unsupported file type.
waiting for the file to come to my email
Is this link still active, I really want to get the link for this.
wondering the same