Using some materials you may already have at home, you or your children can create a Pesach pillowcase that will look beautiful at your table.
Crafting before Pesach! How? When? The month between Purim and Pesach often seems like one large to-do list. Yet, I always try to squeeze in a project or two to enhance our Seder table. The kids enjoy having some special time with me crafting and creating something to enjoy and beautify the Chag. This Pesach pillowcase fits the bill; it will add flair and a cohesive look to your table and can be crafted by kids with an adult or older sibling’s assistance. Now, with schools canceled for the foreseeable future, it would be wonderful to craft something together that they can use and enjoy at the Seder. This is an especially great project for teens to do with younger siblings.
This freezer paper stencil technique can be used to decorate t-shirts, tote bags, aprons, cloth napkins and more.

Freezer Paper Stencil Pillow Case
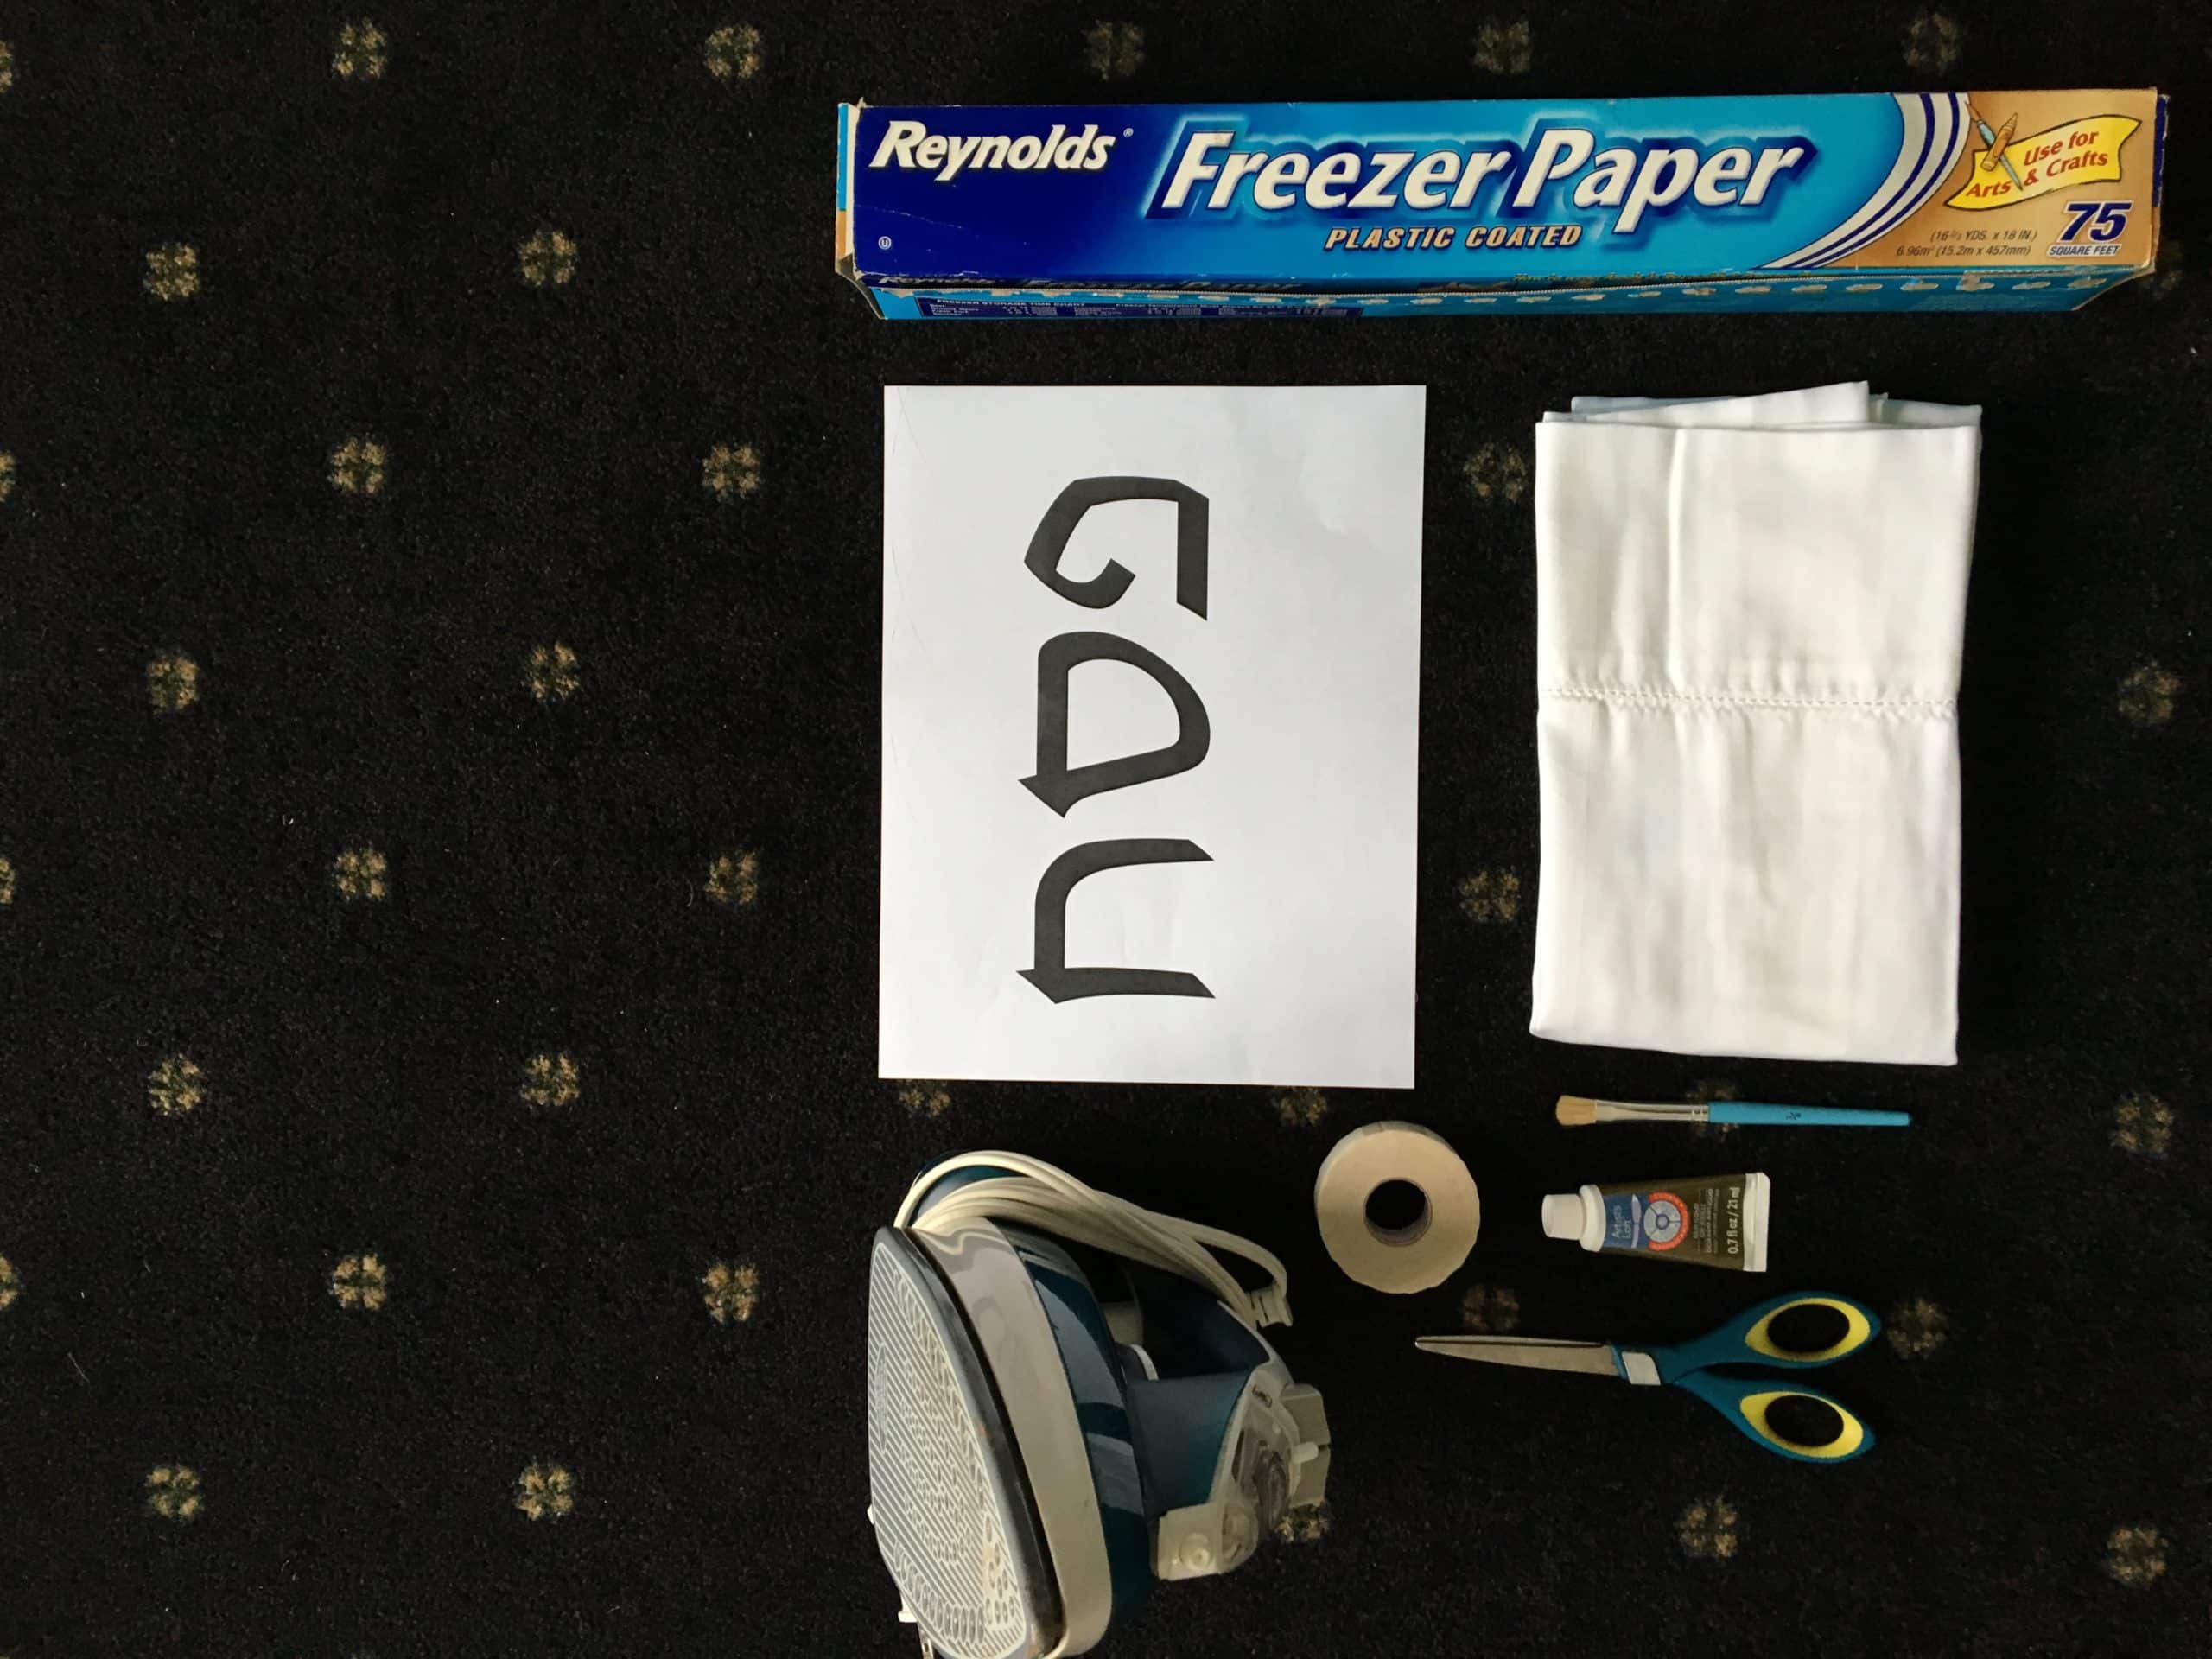
What you will need:
X-acto Knife and/or scissors
Pillowcase – standard or king-size (If you use king size then you can create two 18” pillows. See note at the bottom.)
Cardboard
Iron
Fabric paint or acrylic paint and paintbrush
How to do it:
- Print out the word Pesach in the font of your choice (or use the attached download). You can also print your child’s name or other Pesach-related words. Try to keep the font simple.

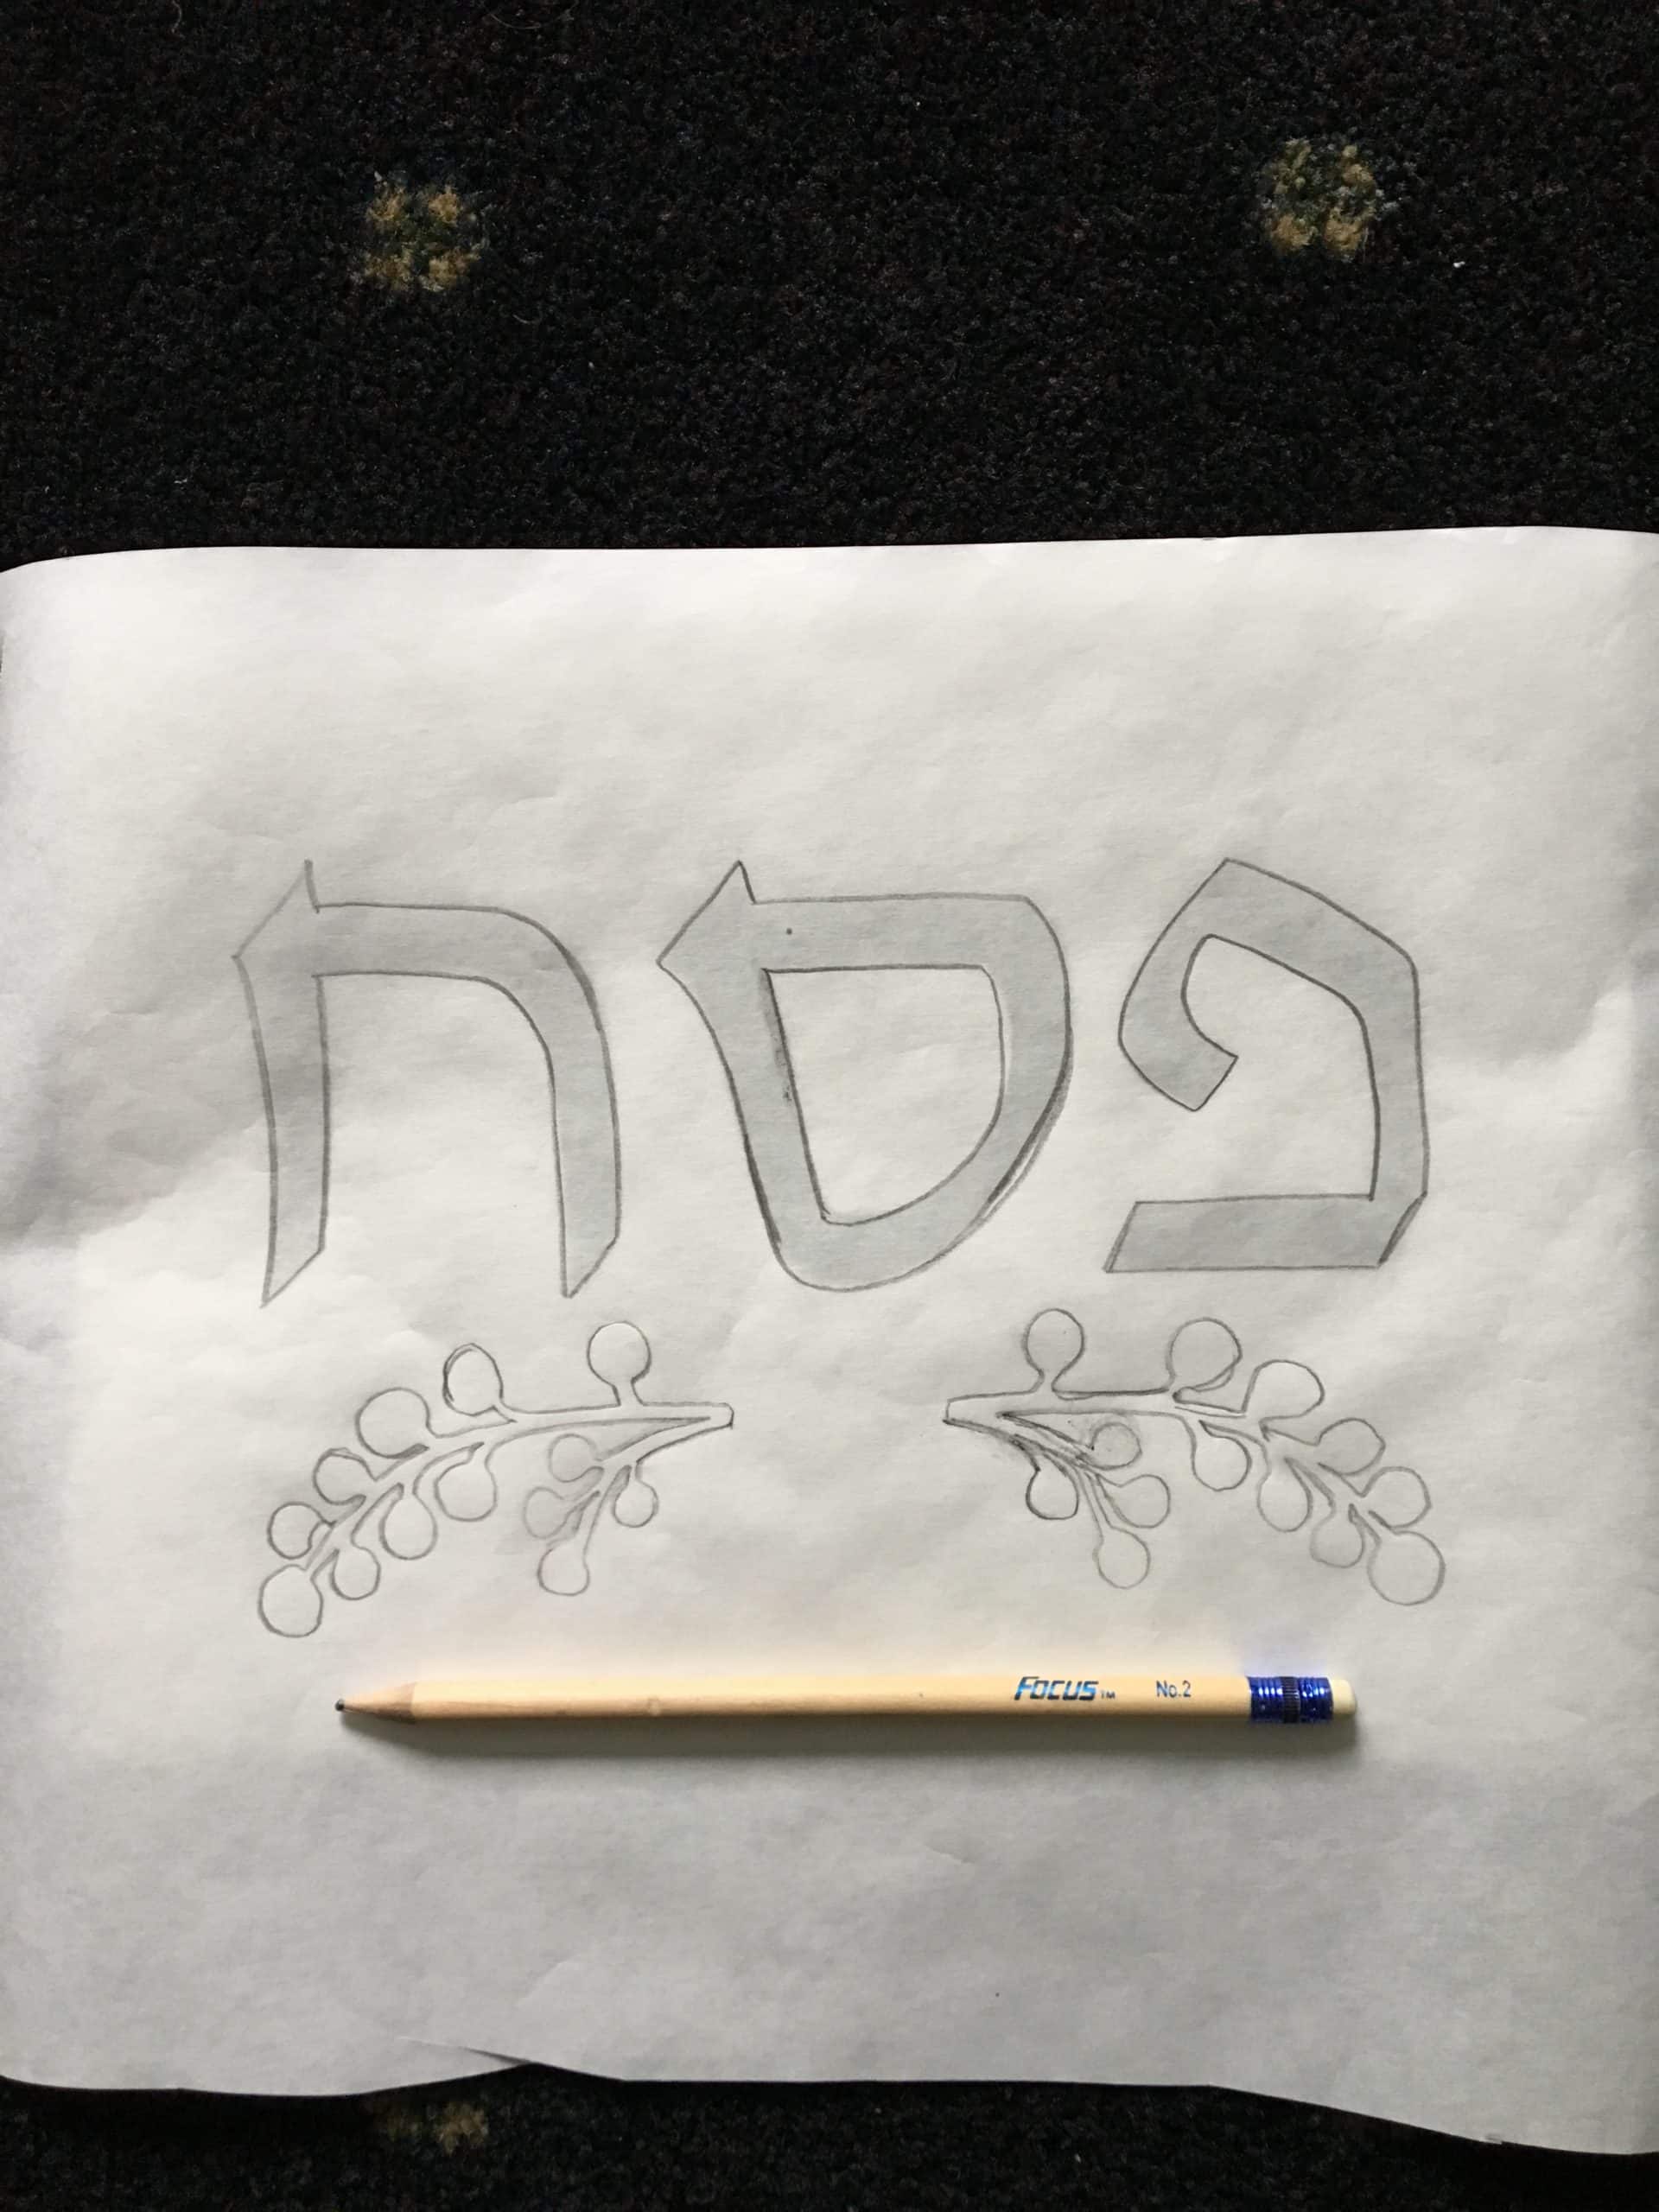
- Cut a large piece of freezer paper and place the printed paper beneath the shiny side. Be sure to center the word and/or design and use a pen or pencil to trace the word on the matte side of the freezer paper.
- Use an x-acto knife and/or scissor to cut out the inside of the traced letters and any designs.

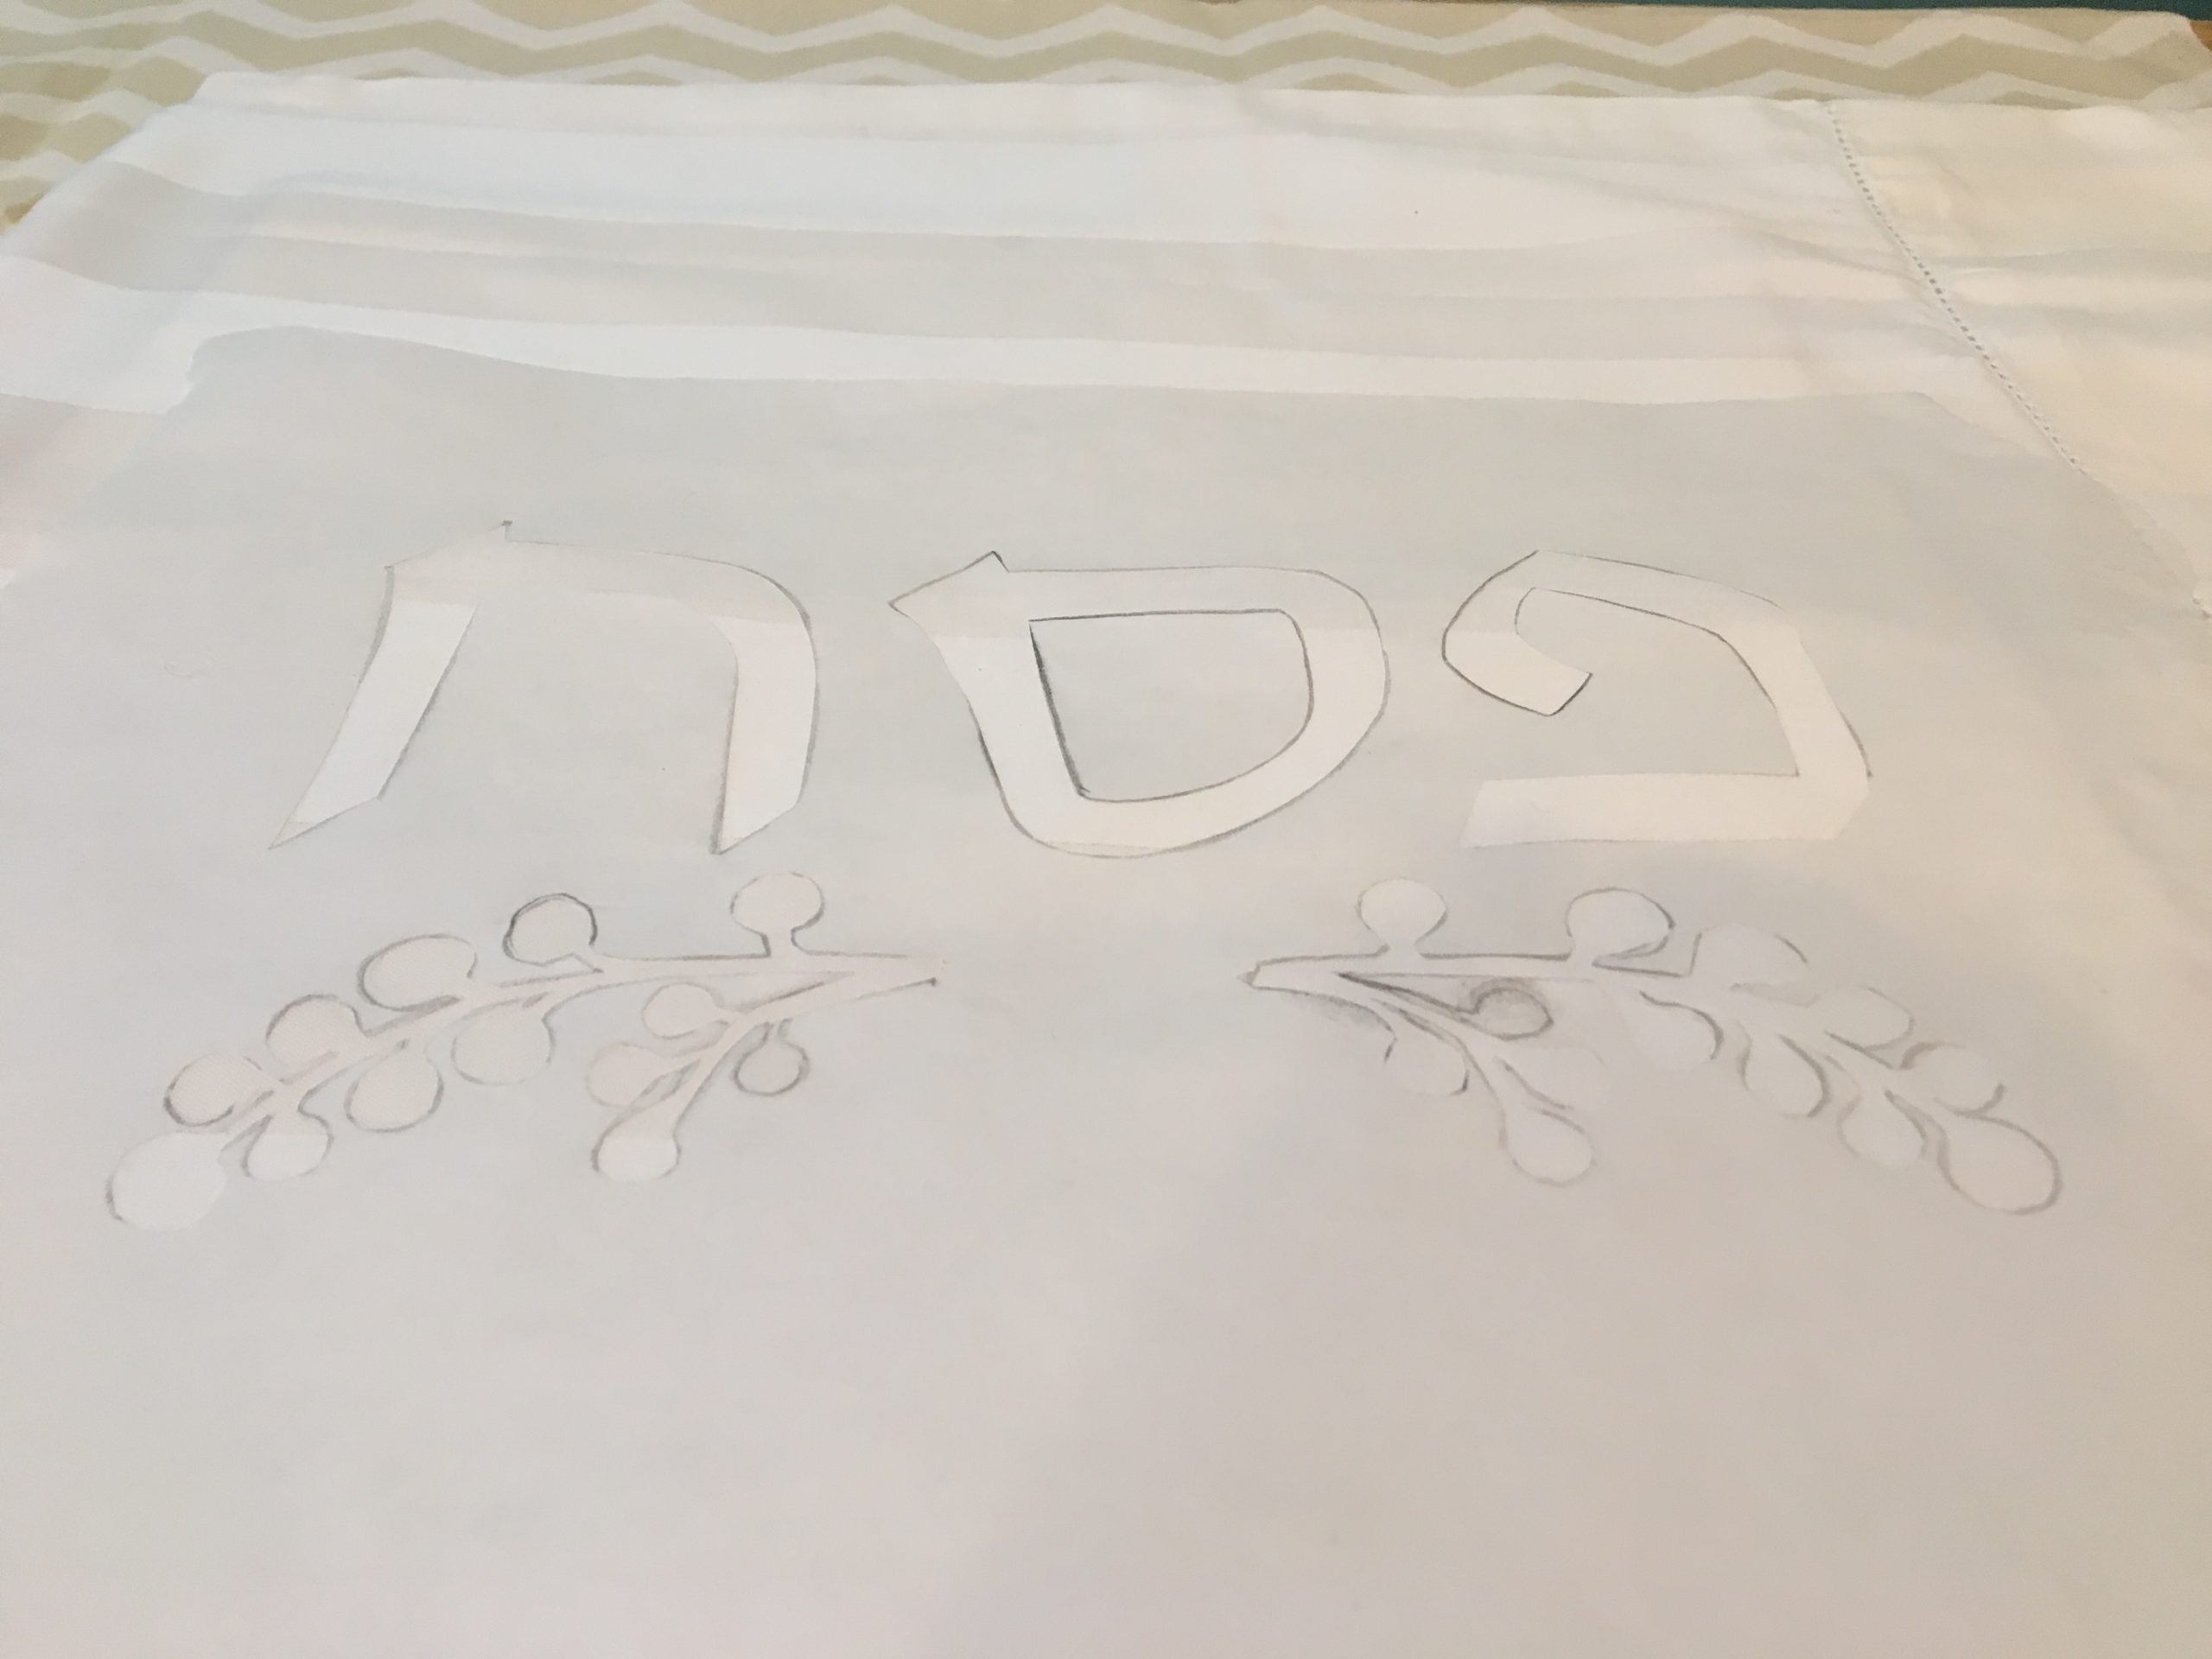
- Center the freezer paper stencil, shiny side down on to the front of the pillowcase.
- Iron the freezer paper stencil to the pillowcase. Be sure that all edges are ironed on well and no pieces are sticking up.

- Place cardboard inside of pillowcase. Paint the inside of the letters. Let dry completely. Paint a second coat if necessary and let dry.
- Peel off the stencil. Iron the painted part of the pillow, on a cotton setting, to set. The stencil can be used up to three times if it doesn’t rip when being removed.

Note: I used 1 king-size pillowcase, cut in two, in order to get 2 pillow covers for 18” throw pillows that I had on hand. I cut the pillowcase in half and used therm-o-web iron-on hemming tape to create the second pillow and to “hem” the raw edges.
The pillowcases can be washed on a gentle cycle and hang to dry.


Love this idea!!
This idea is so lovely! Thank you for sharing these DIY tips. Definitely trying this out.
Did this with my 7th grade class!
They loved it!