
Your kids come home from school, and they absolutely need to know how to fold an origami star, the latest trend at school. Mom has no clue. We’ve got your back.
Trends come and go so fast we moms have a hard time keeping up. Remember the fidget spinners? Yeah, we’ve still got a couple hanging around the house and no one cares to touch them.
So what’s new? Seems every kid on the bus and in school is making these origami pinwheels. Here at BCP, we take these trends seriously. Okay, we don’t. But we know what it feels like when our kids want to do what everyone else is doing and we have no idea what they are talking about. So we’re here to help.
If this trend didn’t hit your child’s school yet, then you can show your child how to do this. They’ll be the first one…and every kid loves that. (And the best part…you don’t need to buy anything.)
Thanks for the S. kids for modeling and teaching us how to fold the origami star.
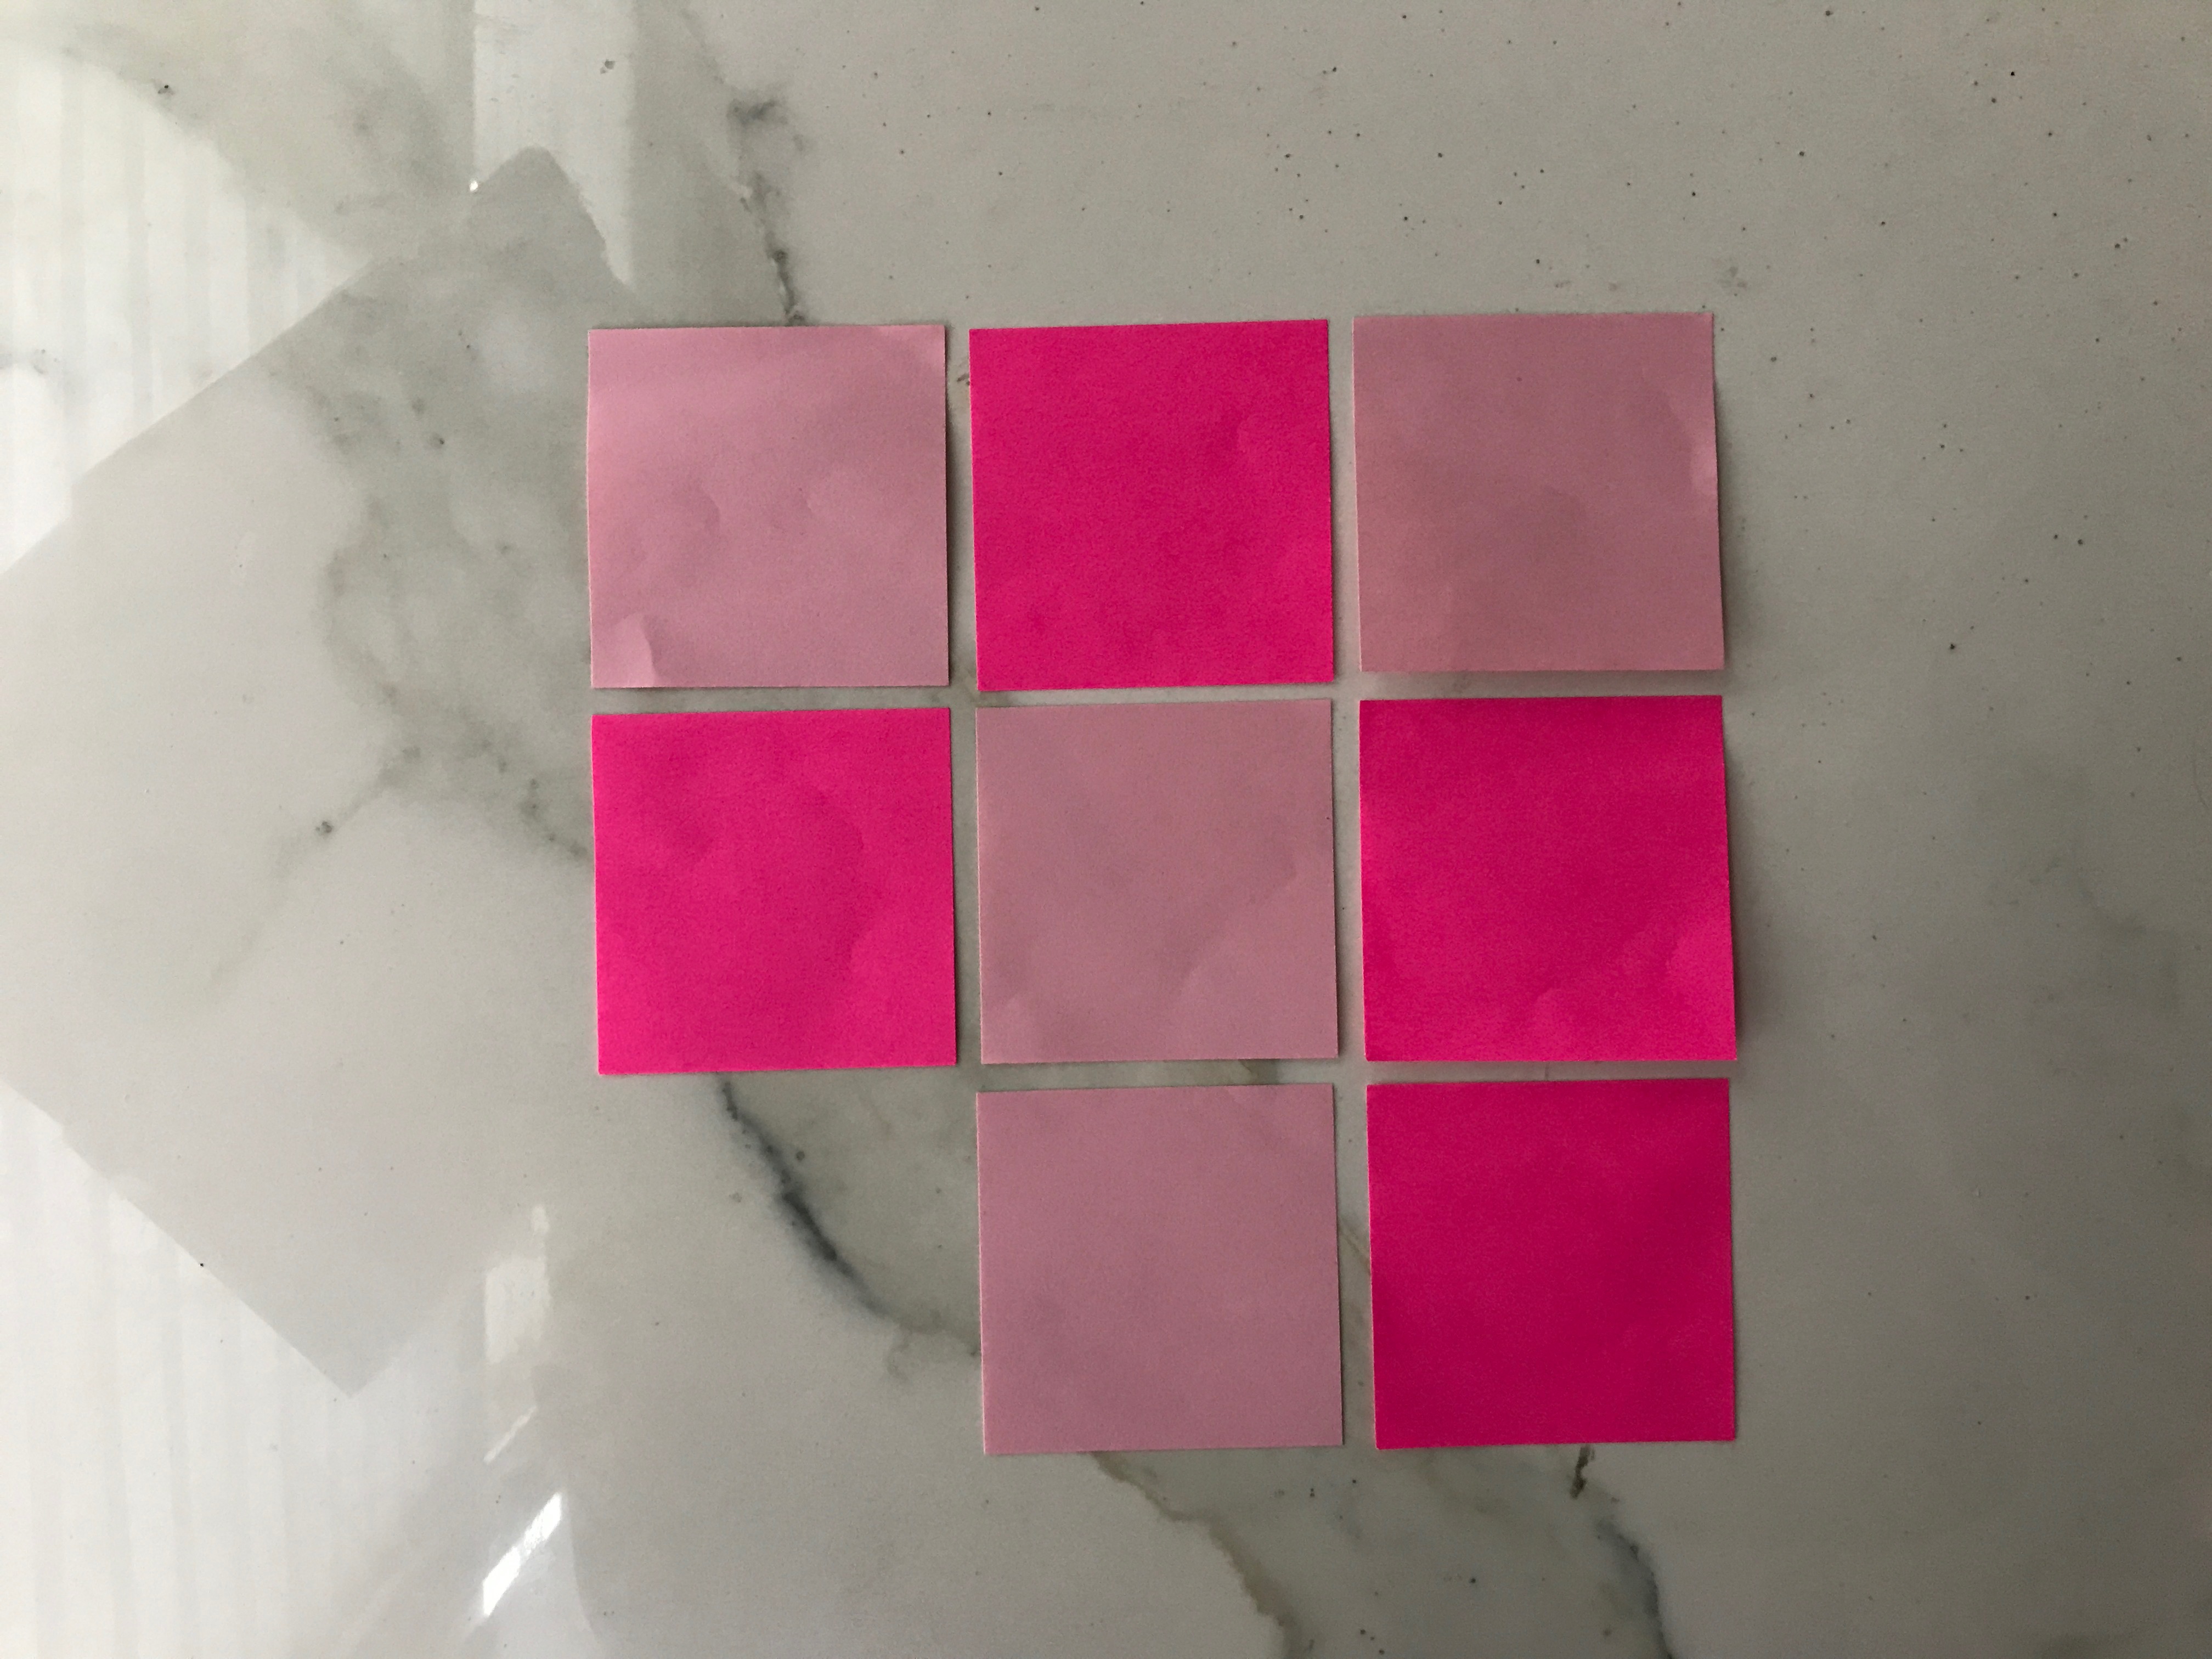
You can make this with any paper that’s a square. Huge ones can be made with 8 x 11 paper cut down to a square, and mini ones are made from post-it notes.
Here we are demonstrating the basic sticky note version. Have fun!
How to Fold an Origami Star
 You will need eight single sticky notes.
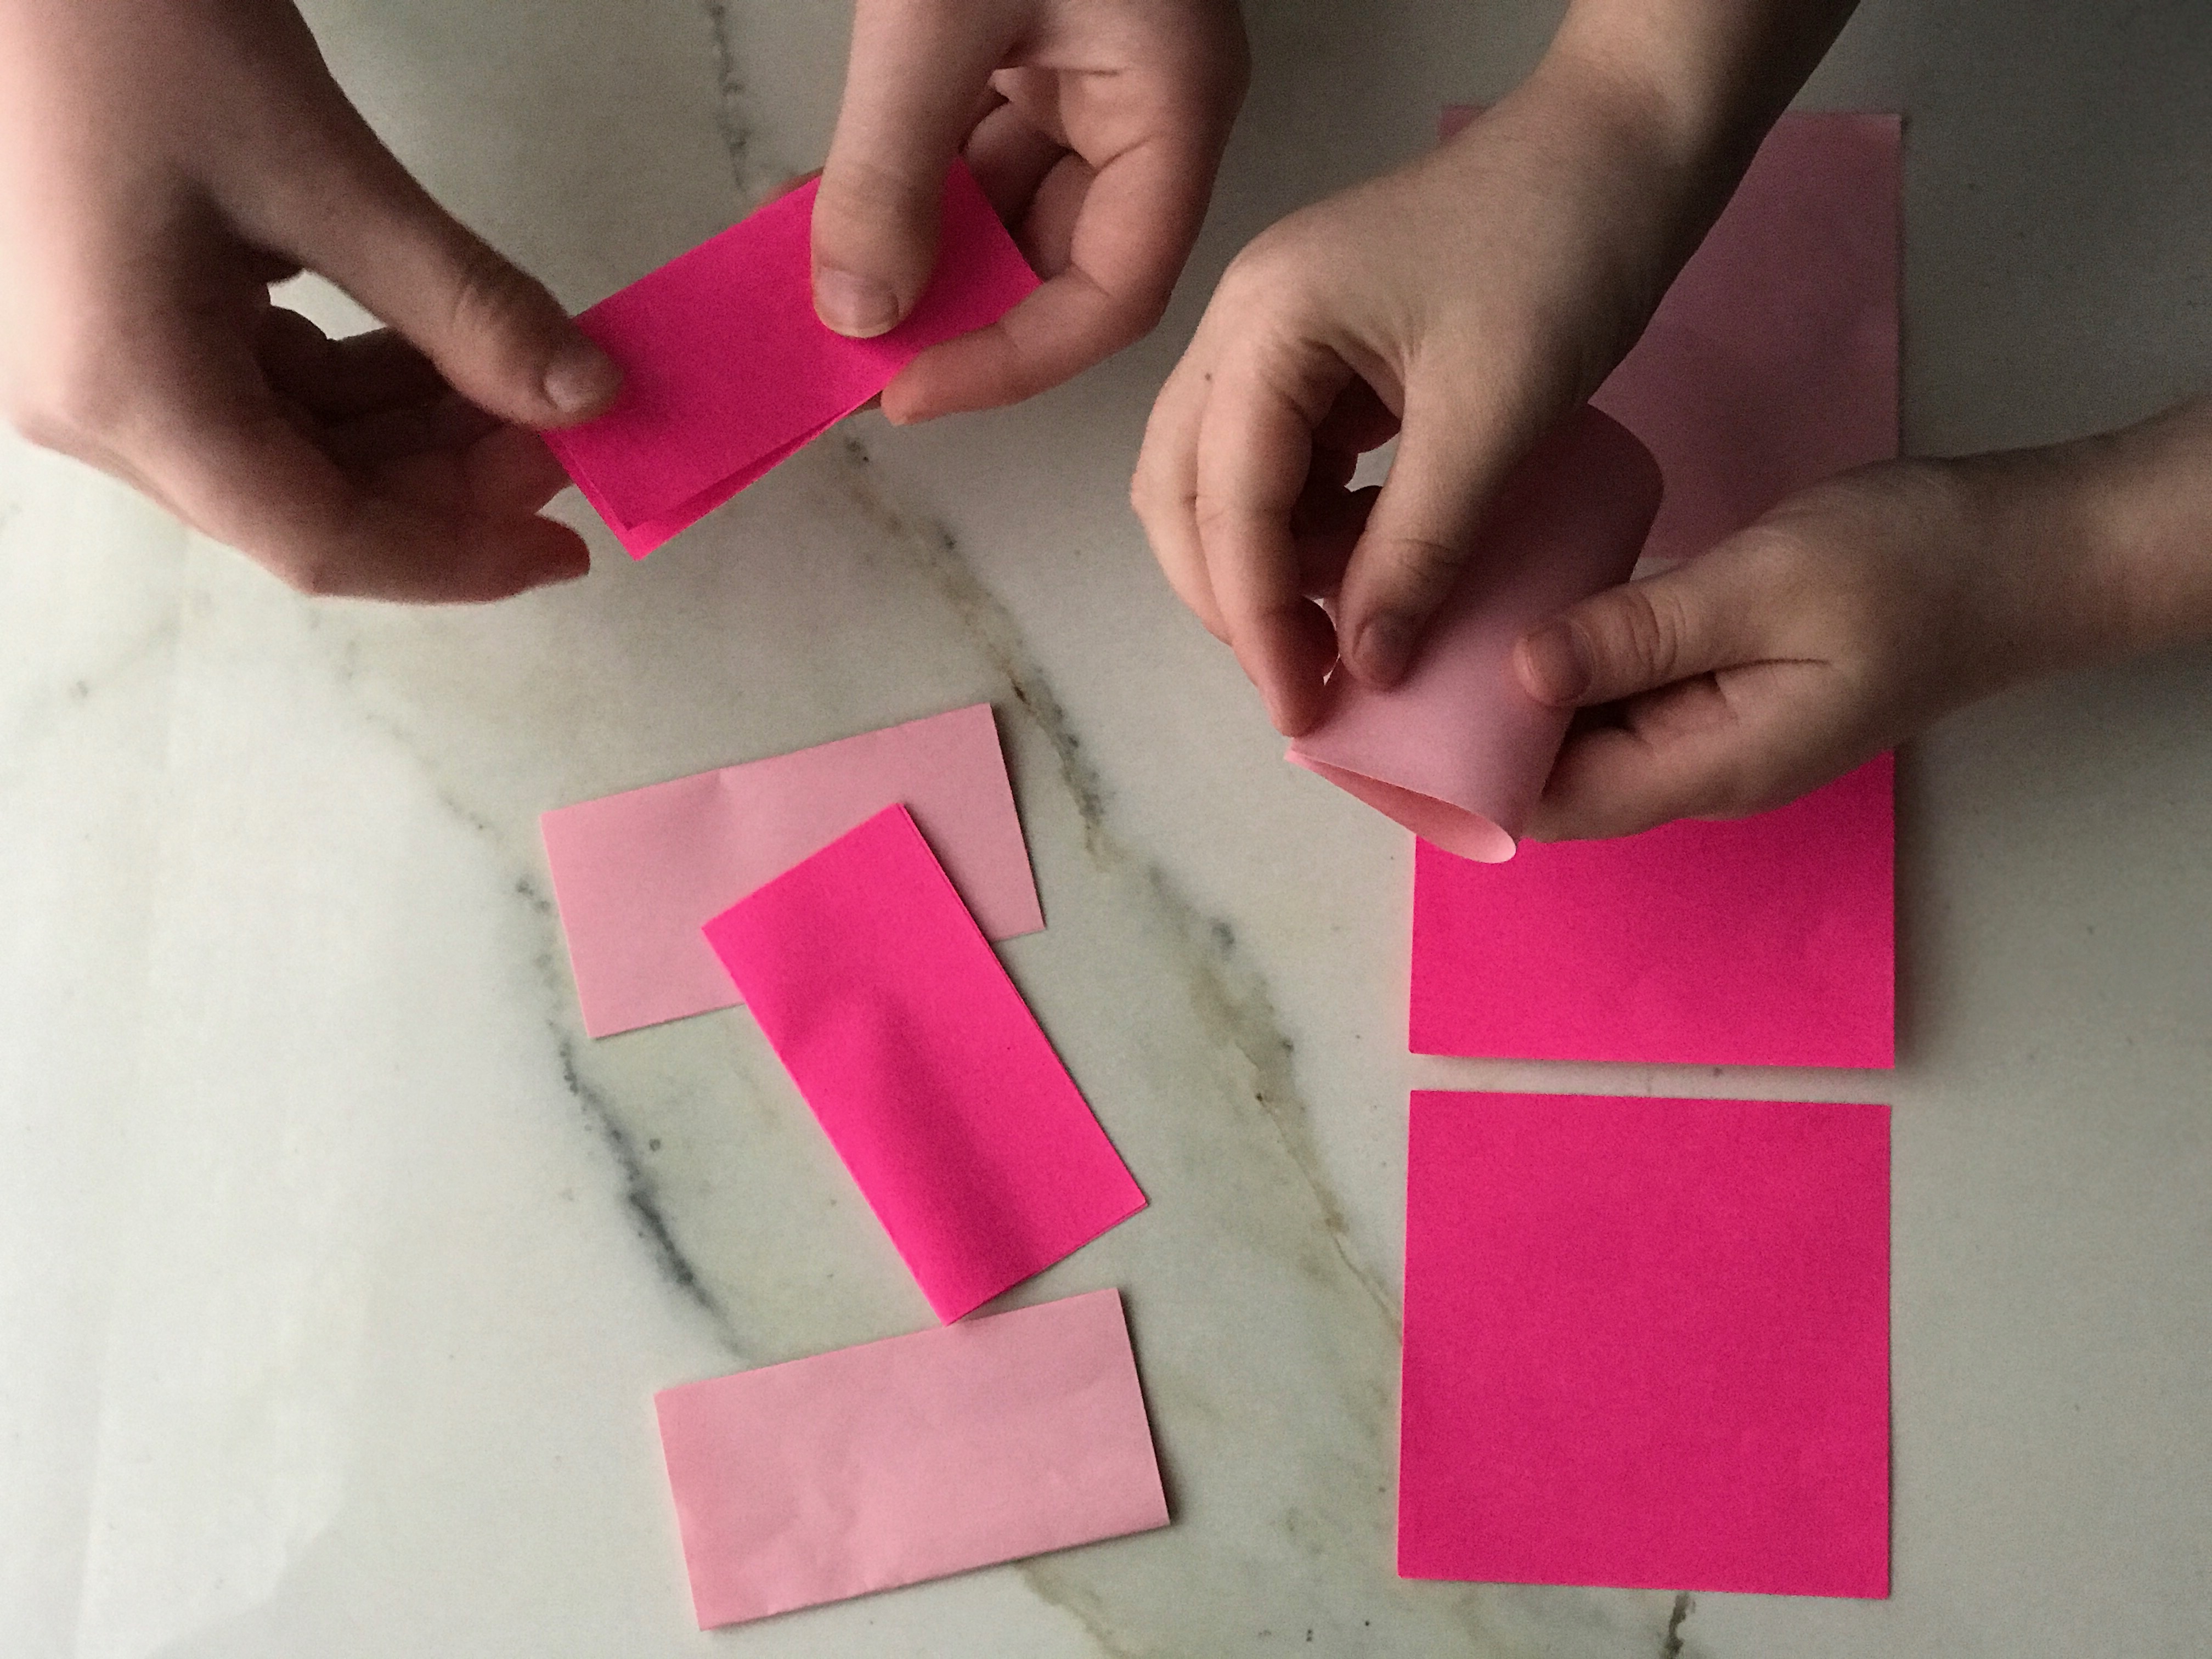 Start by folding each sticky note in half and then in half again to form a square.
 Fold over the two corners onto the sticky side to form a triangle on top. The corners should meet in the middle.
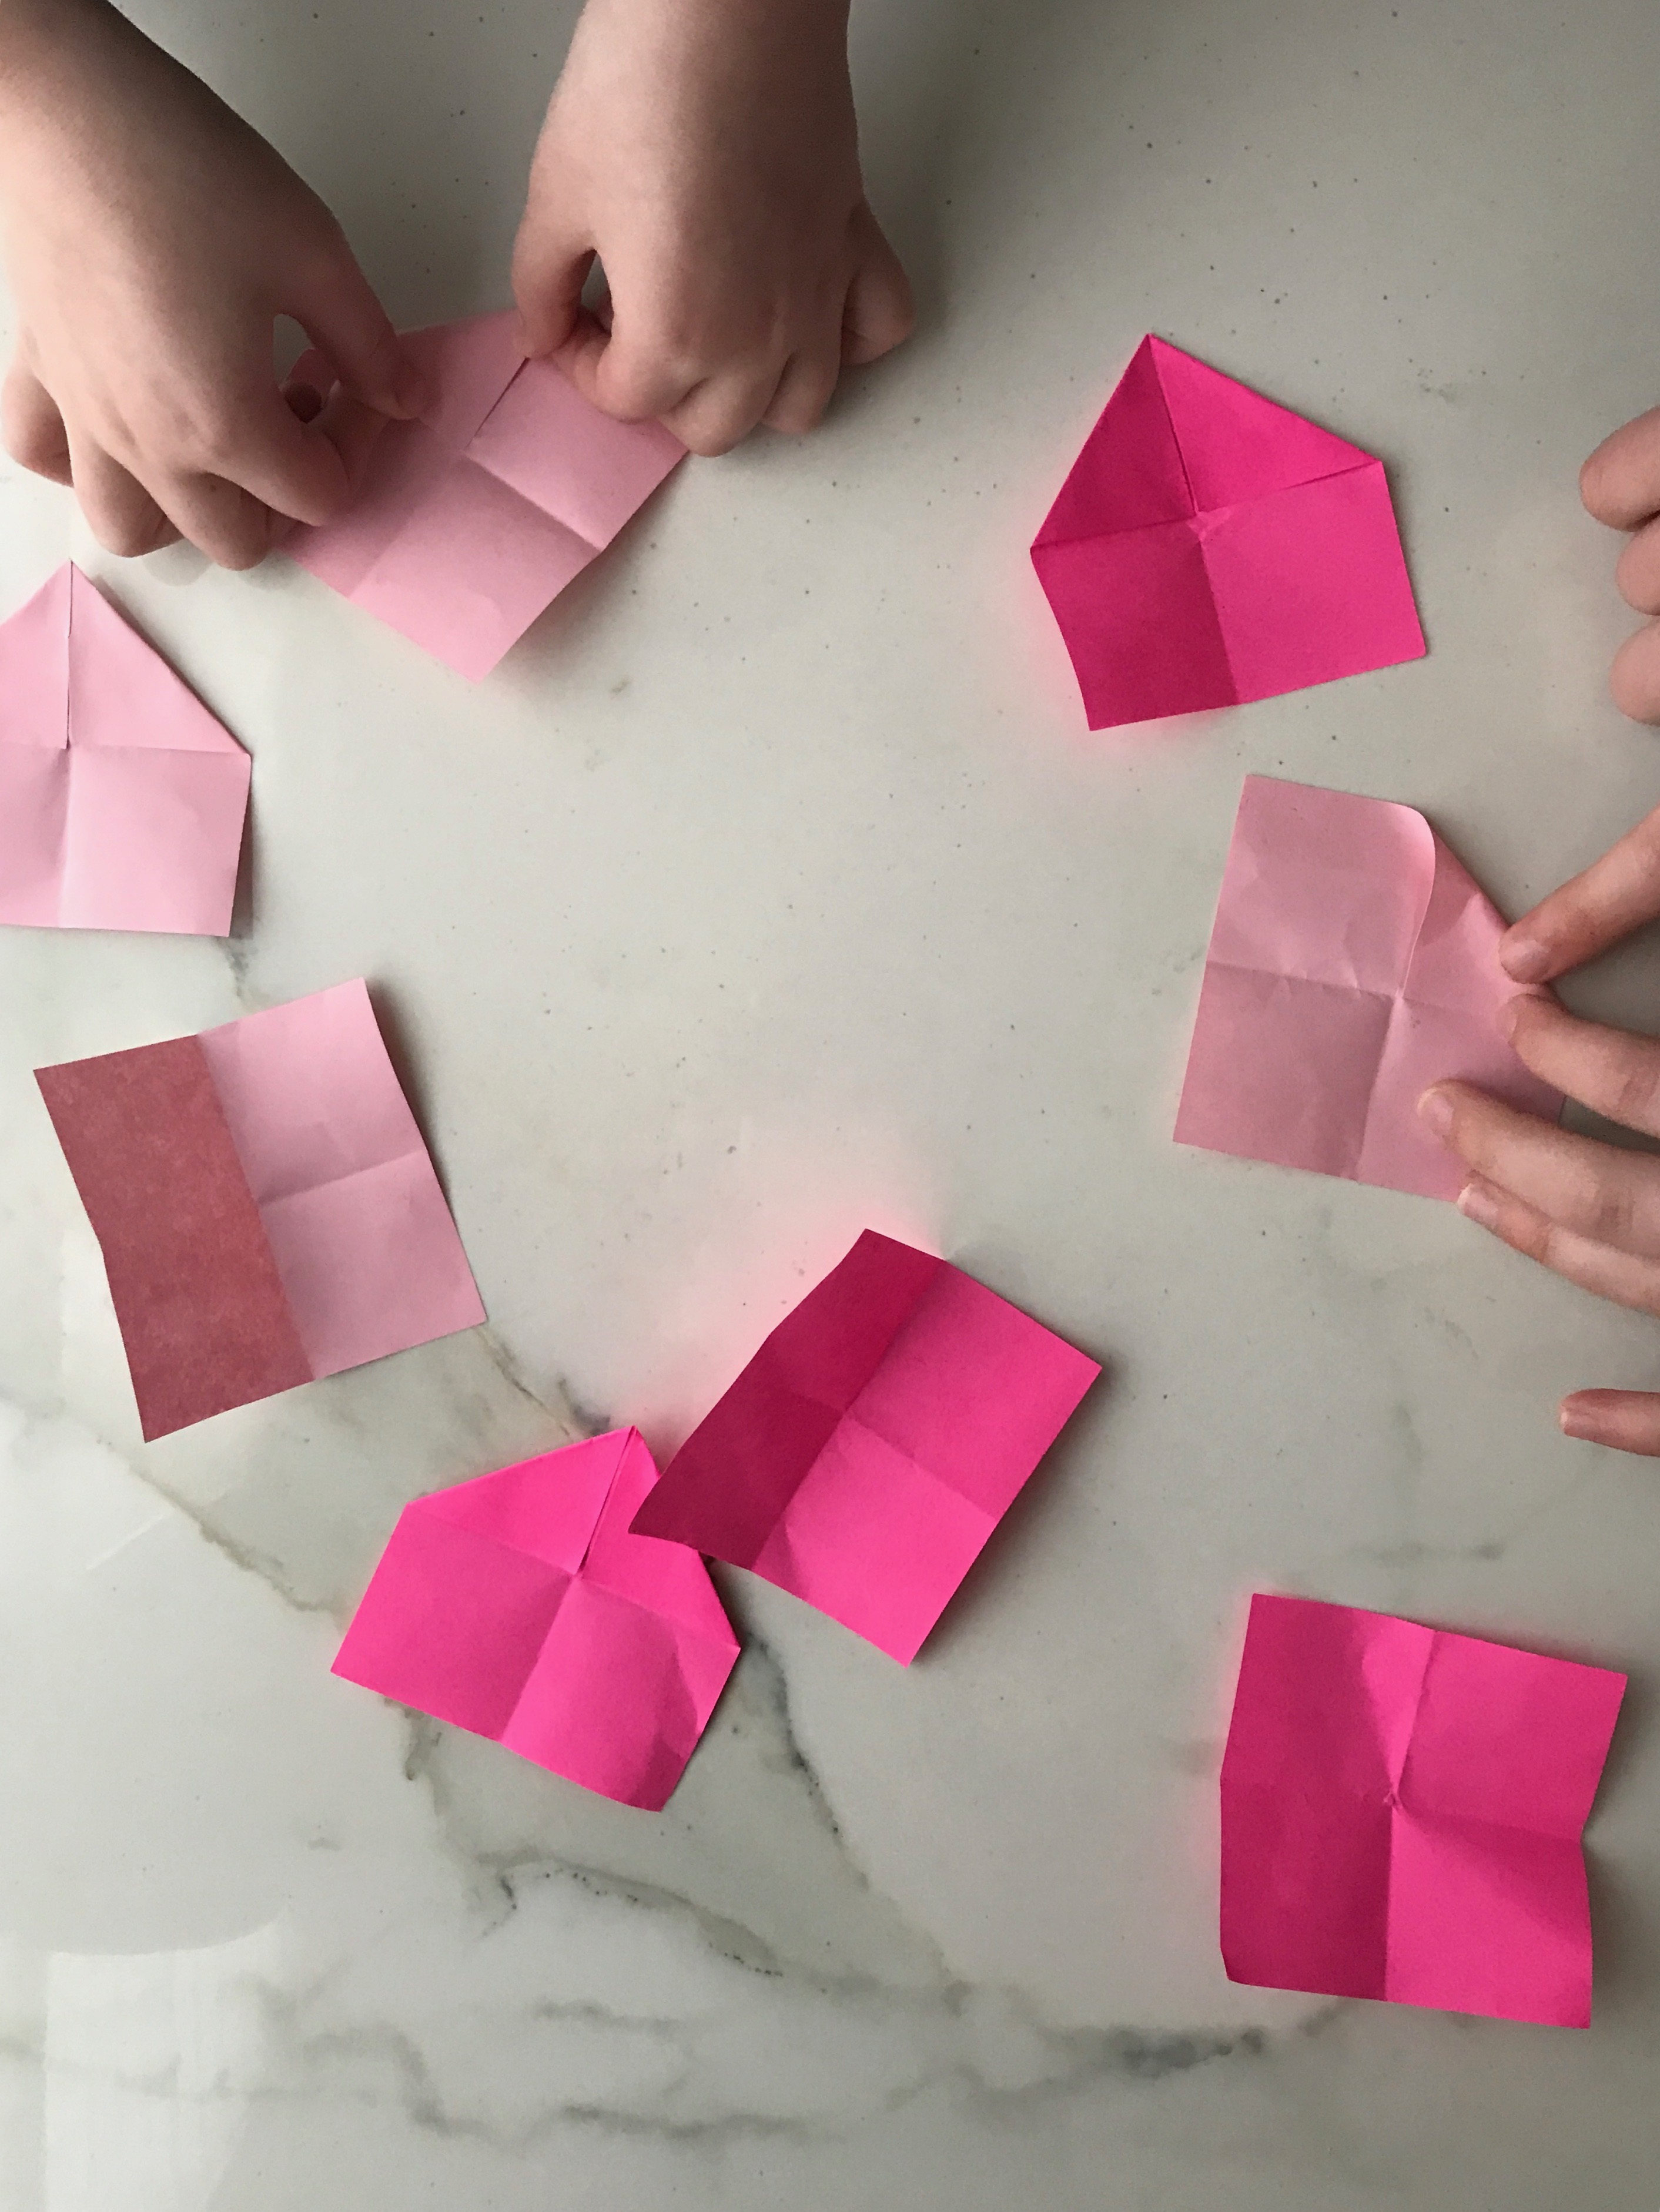
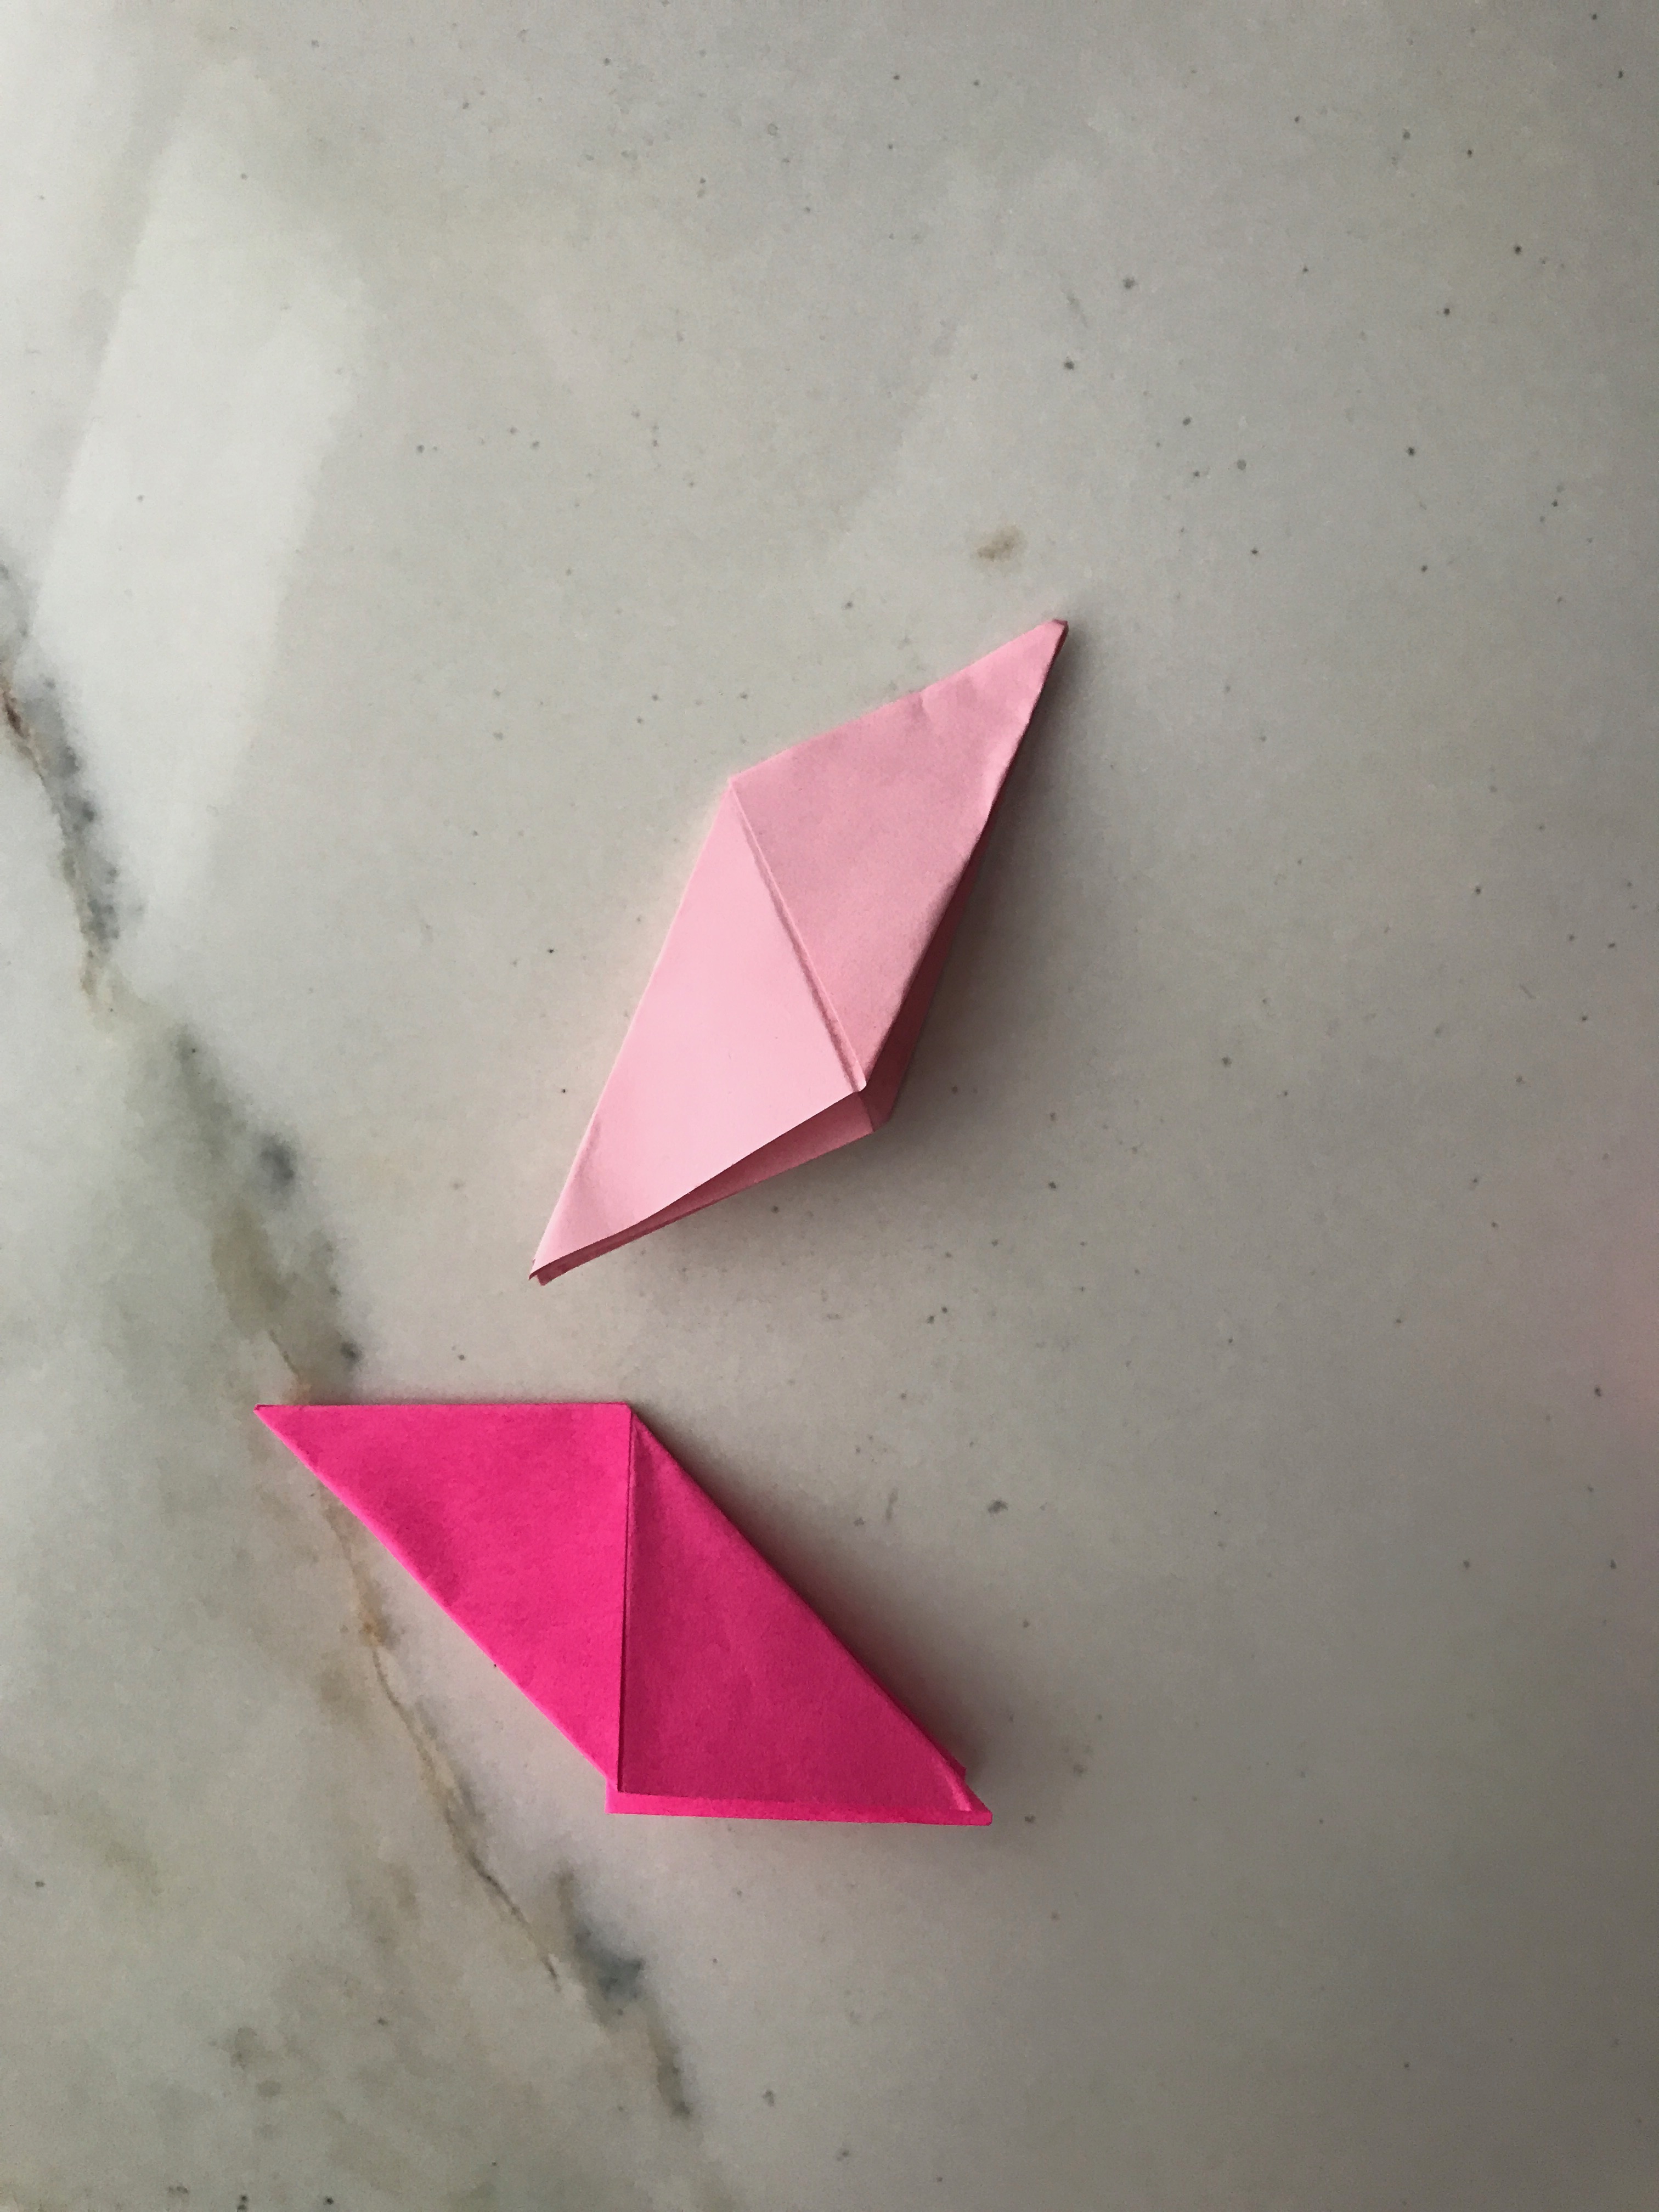
 Fold the triangle back. The side with the seam should be facing up towards you.


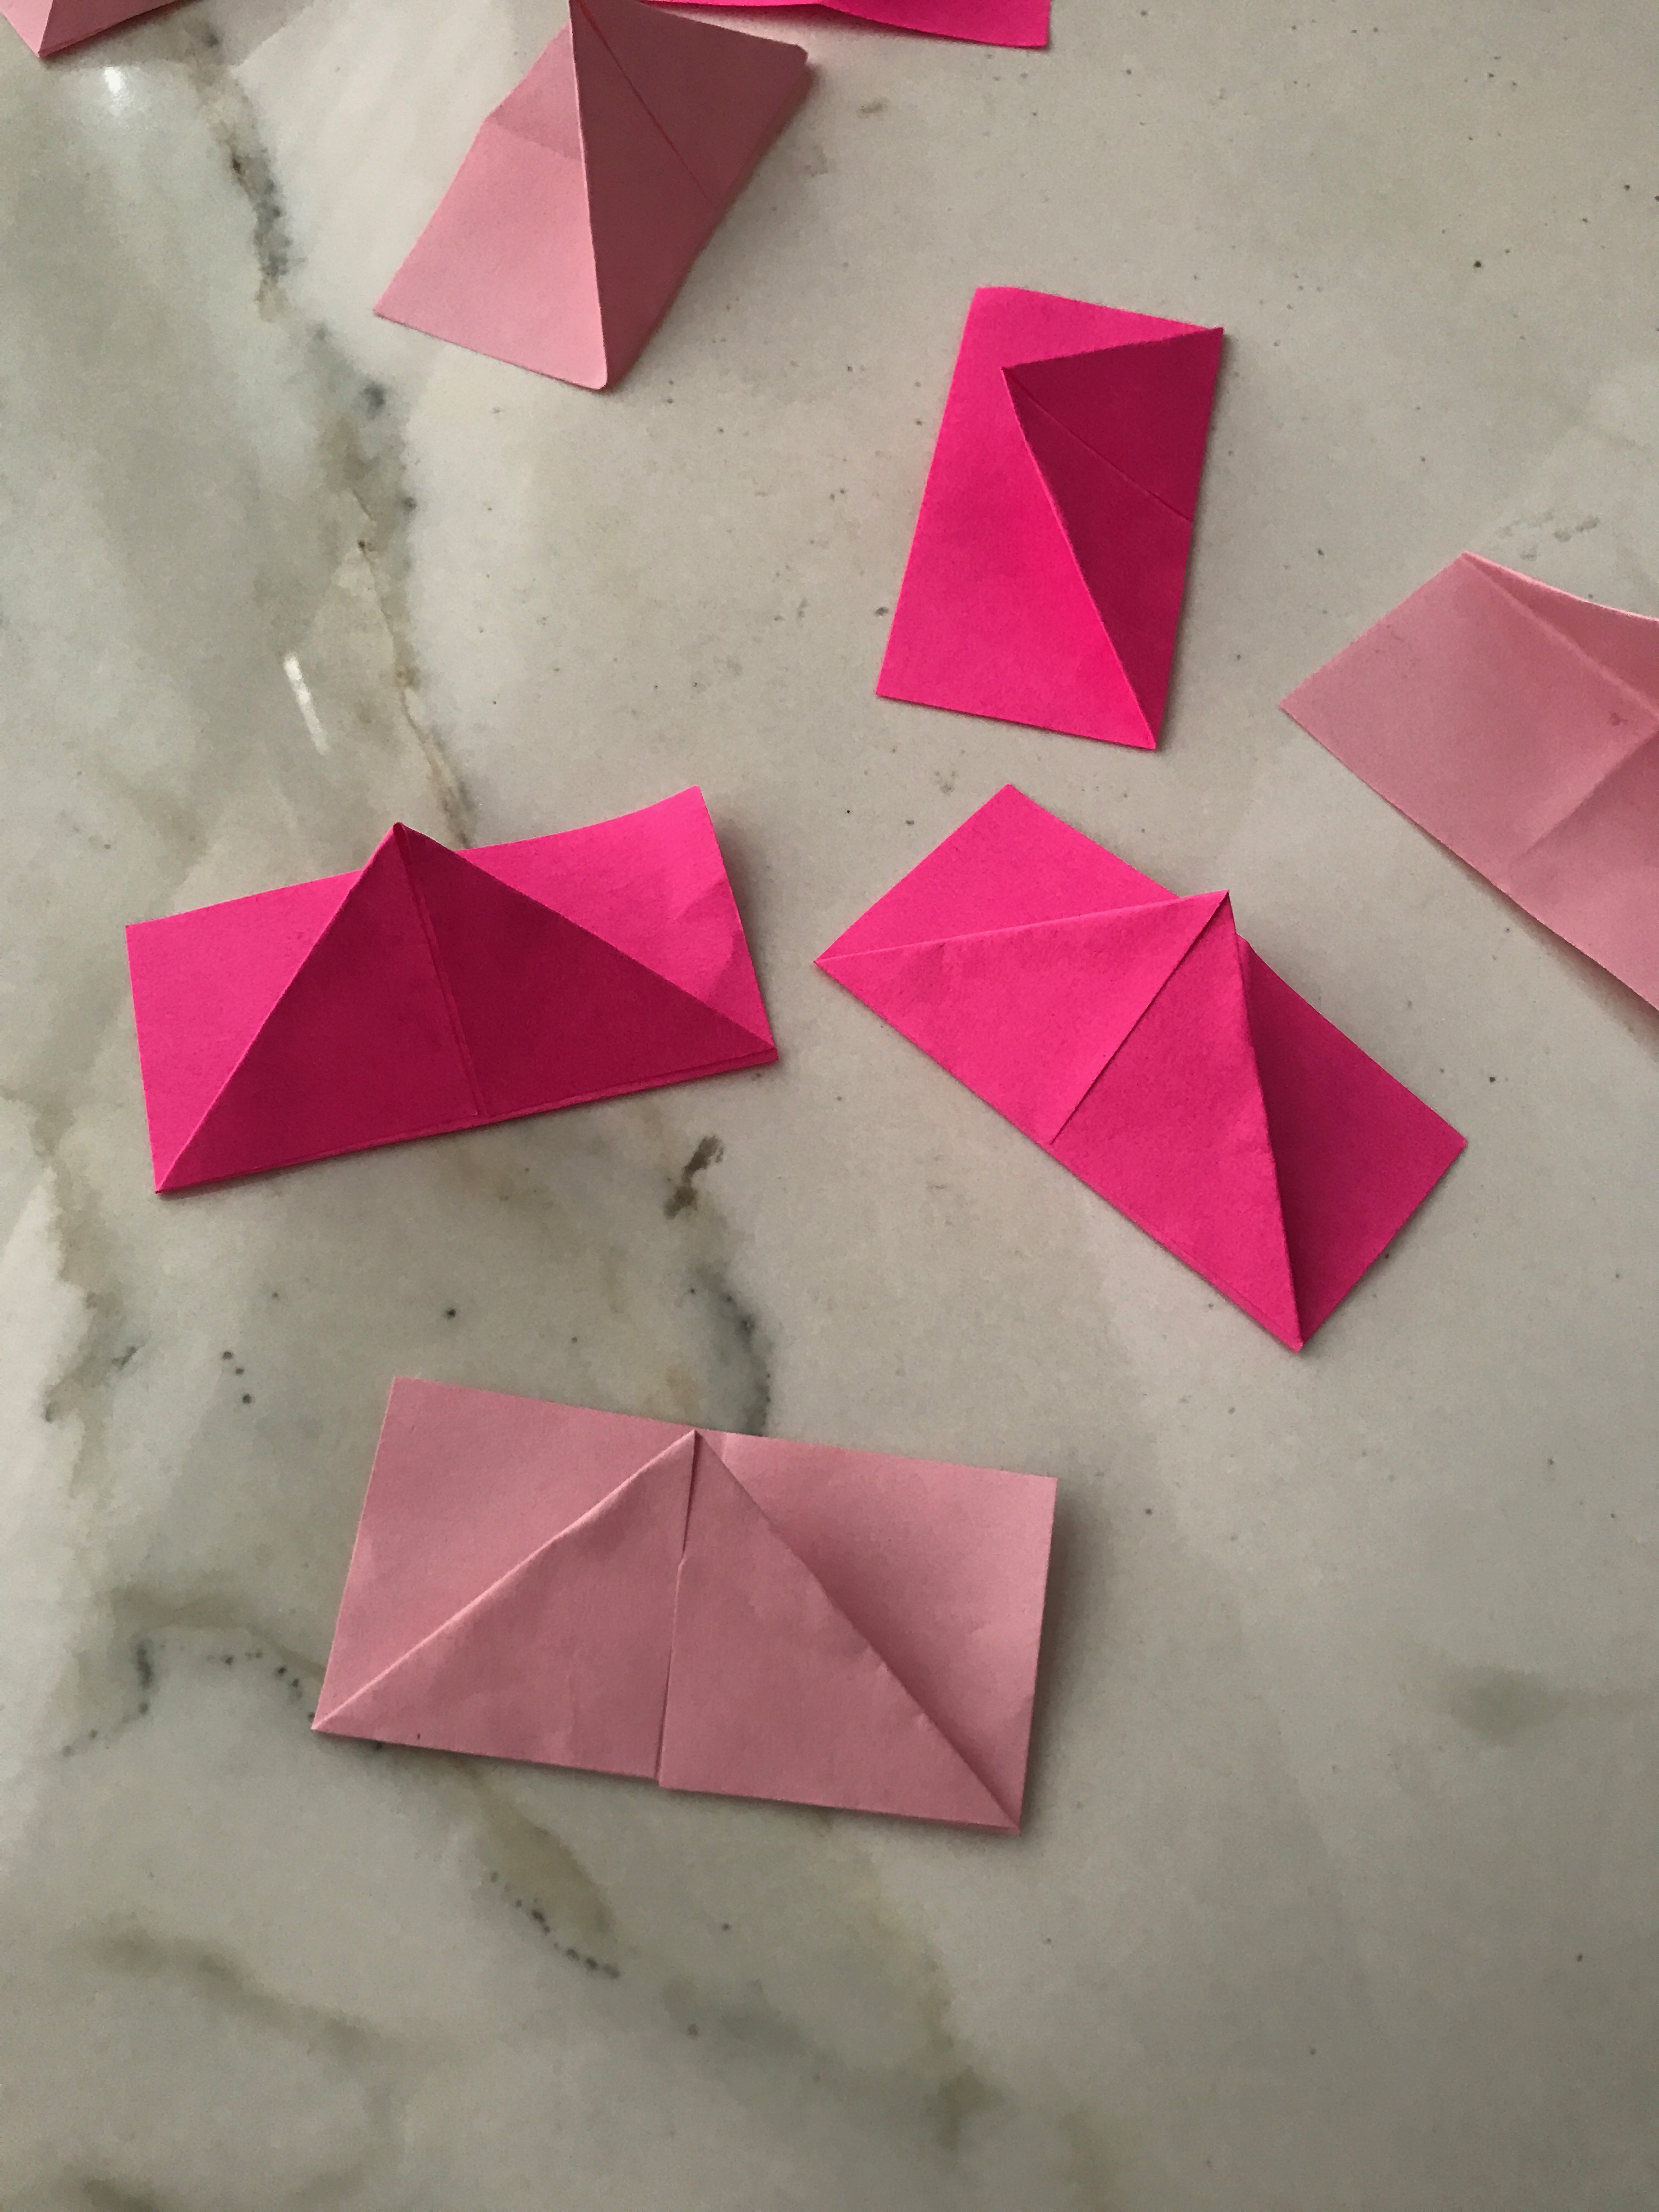
 Now comes the time to you attach all the pieces together.

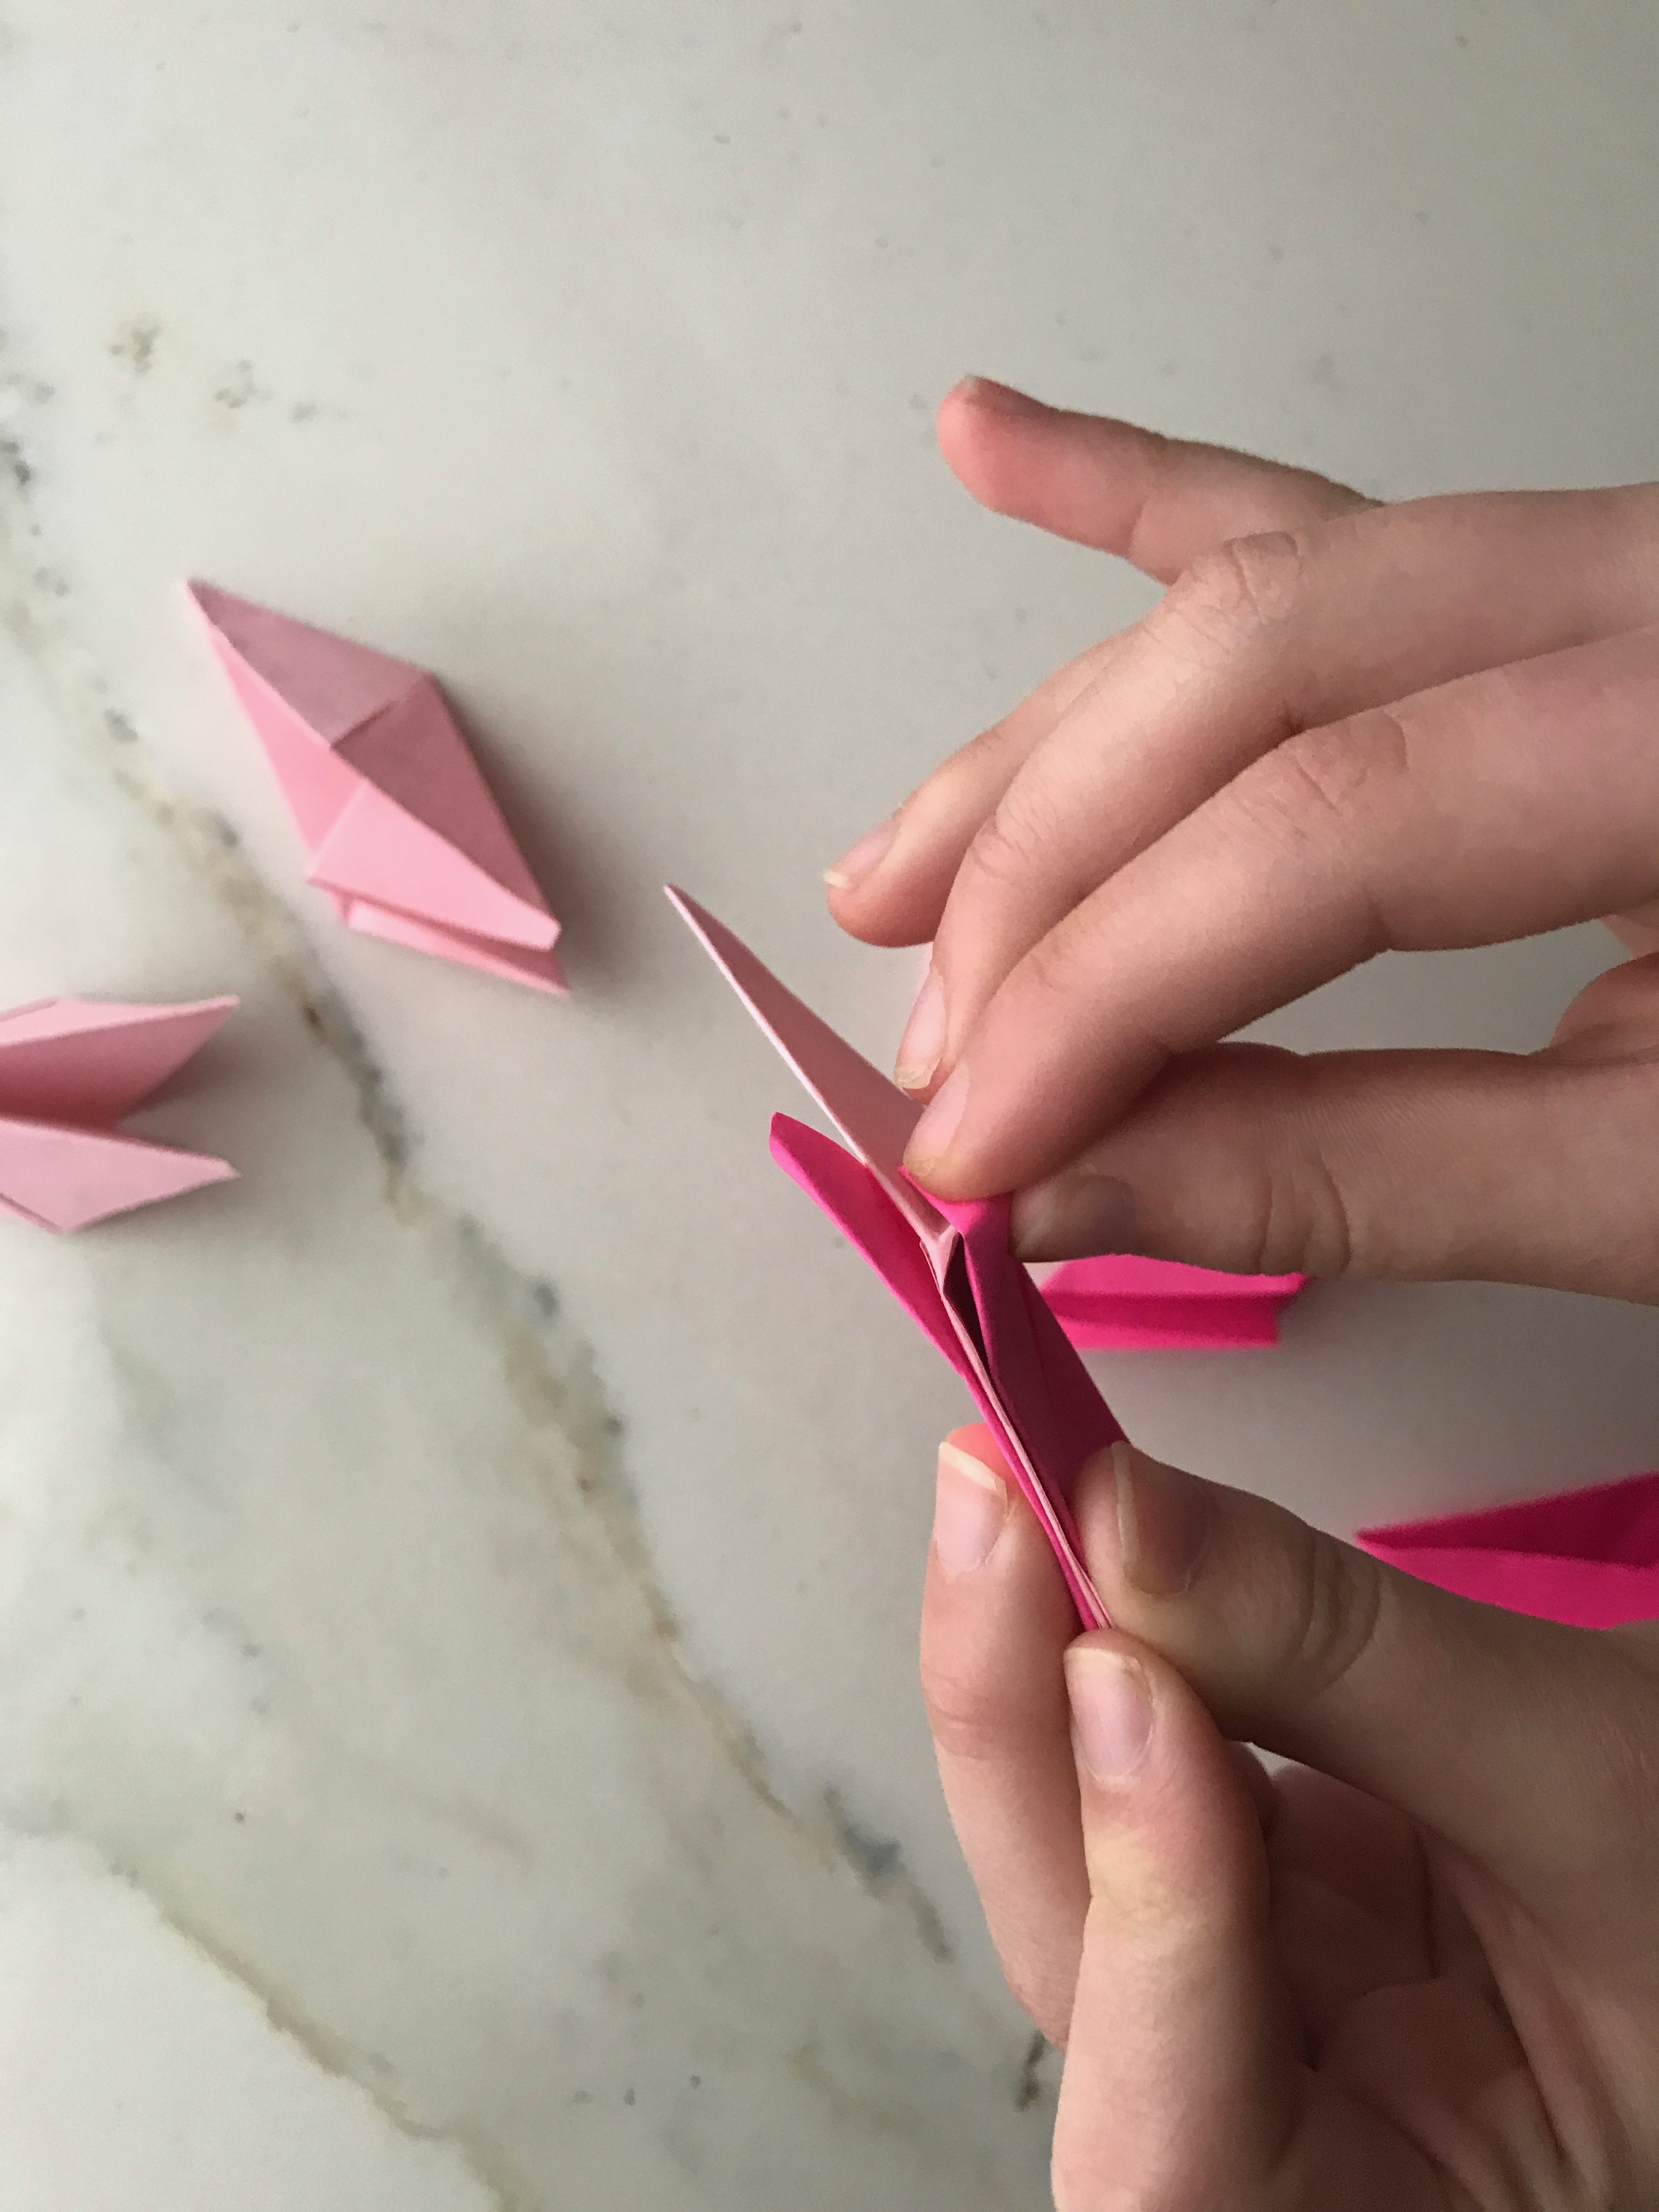 There will be a small piece of the first piece’s tail end sticking out. Fold those over and tuck them into the second piece’s tail end.
 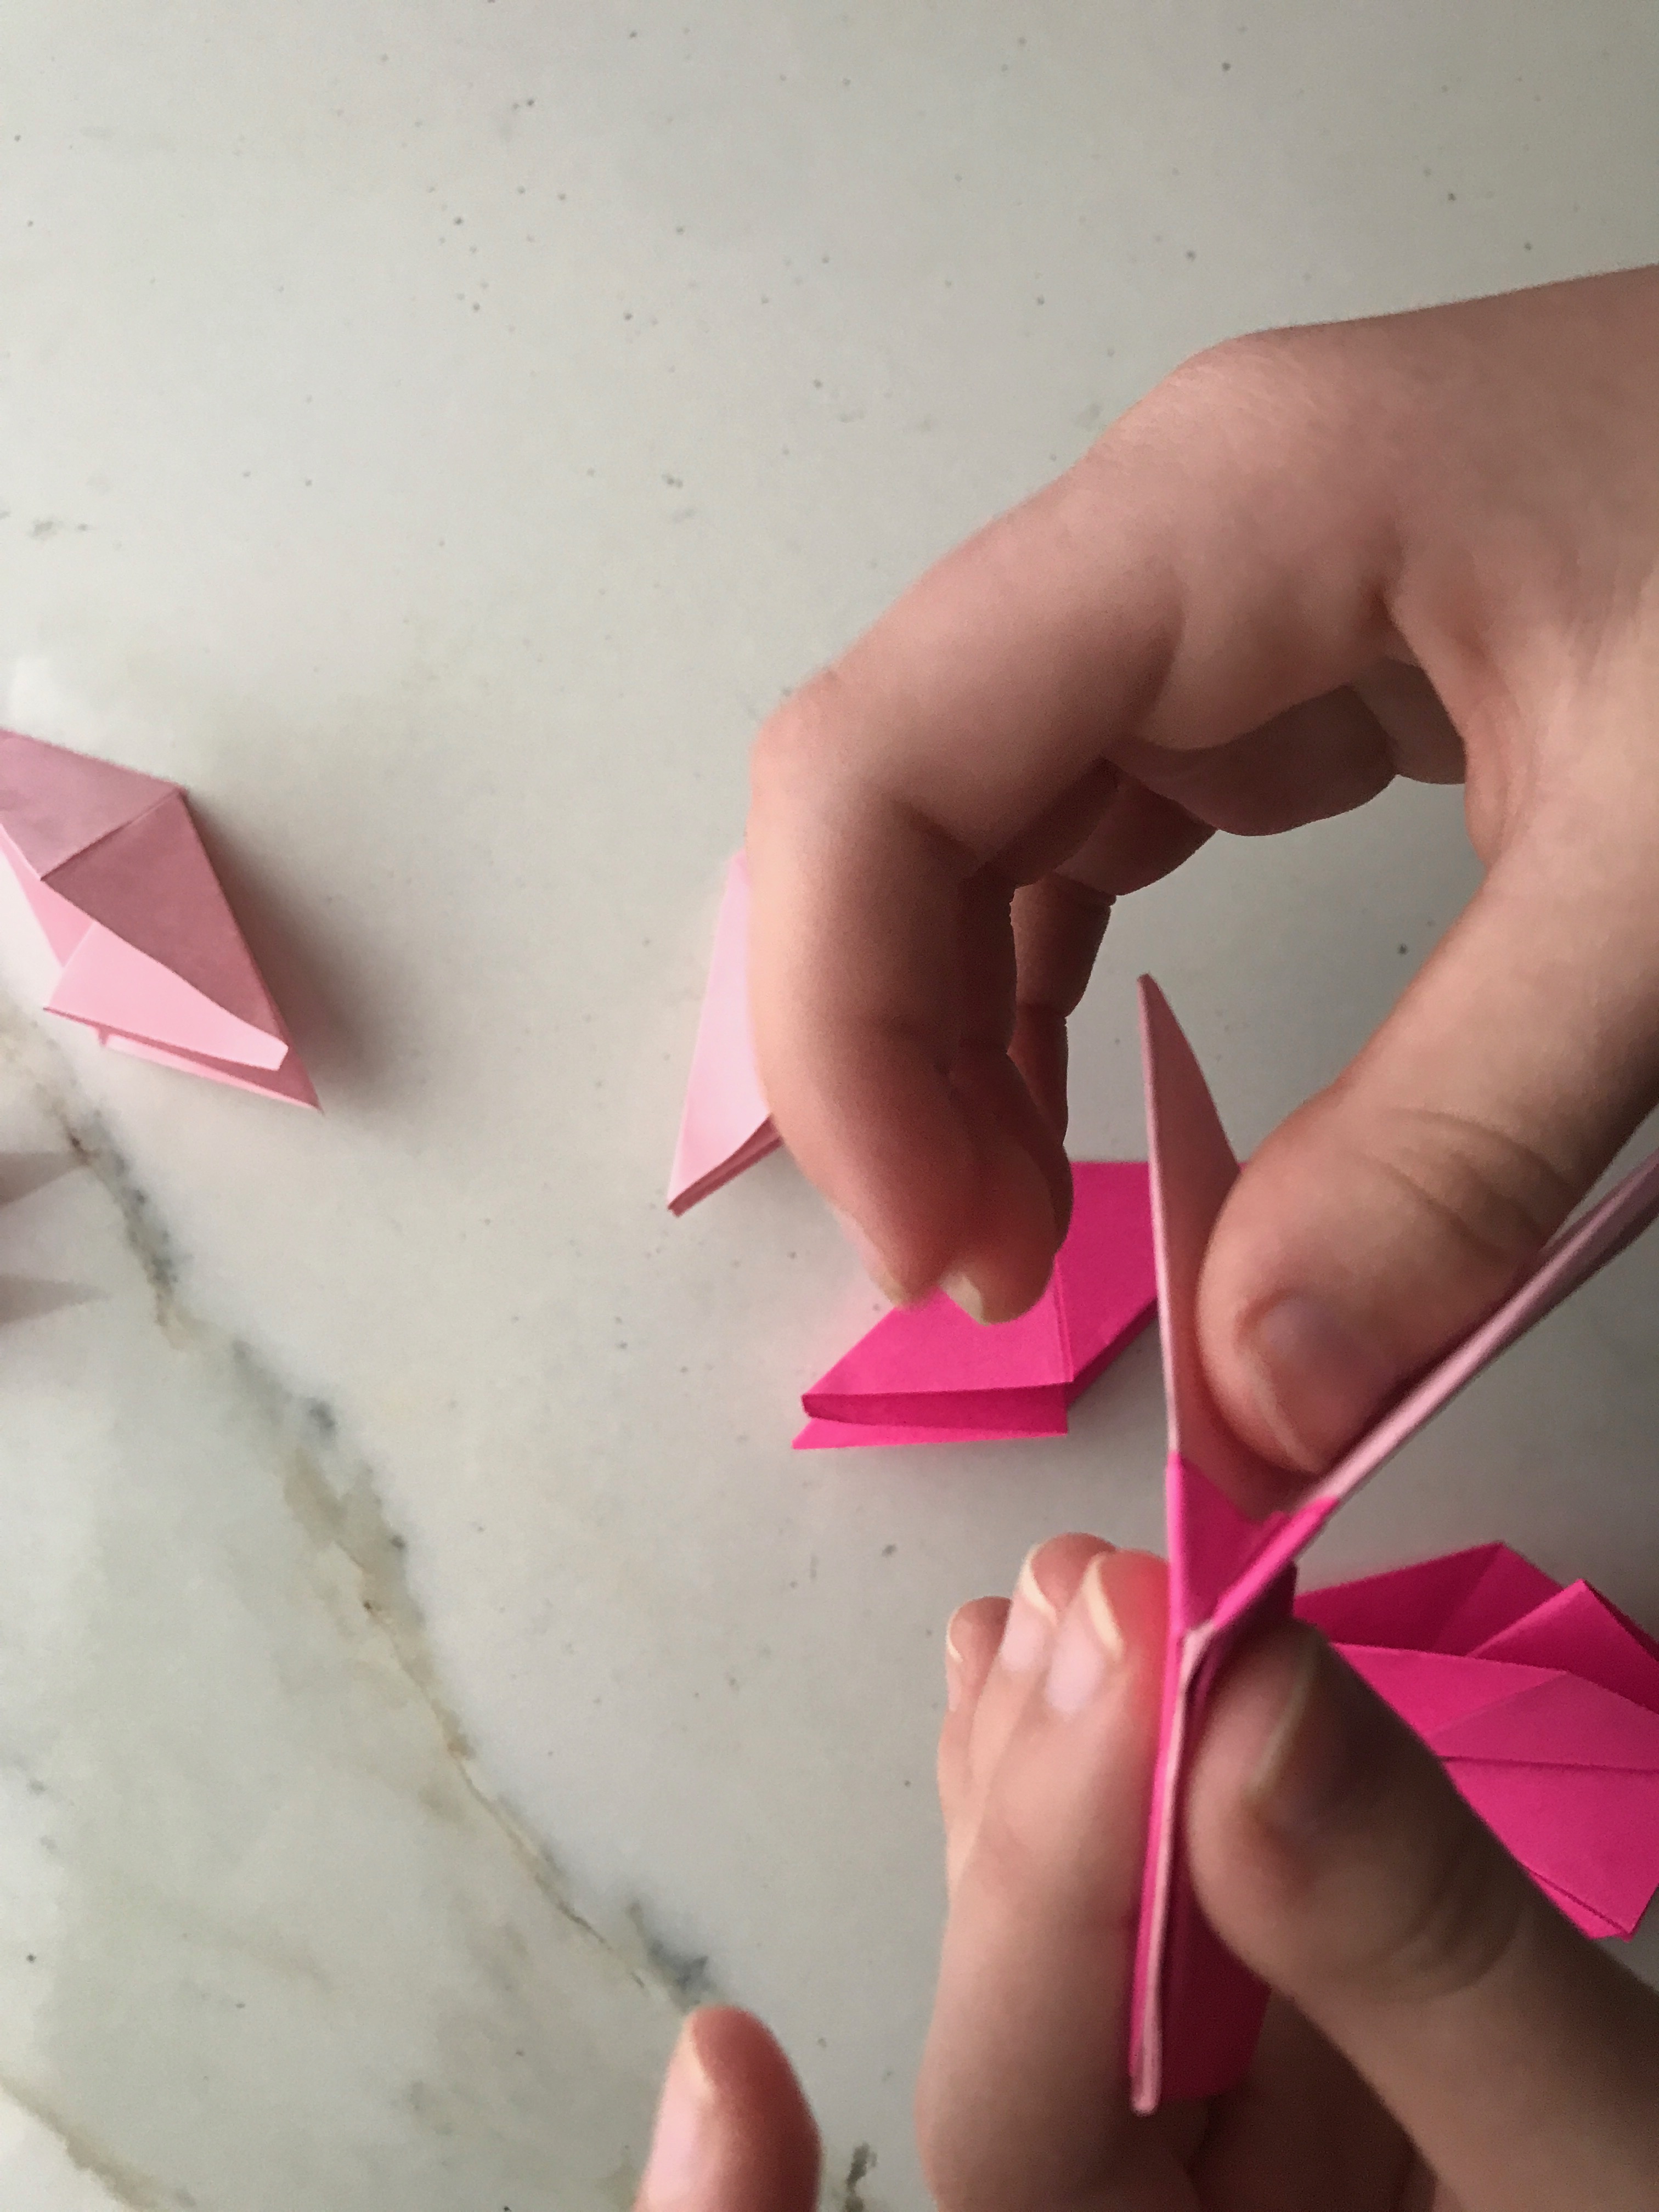 Press down well and make sure the flaps are tight and secure.


 Aren’t these fun? Do you like those cute teeny ones?
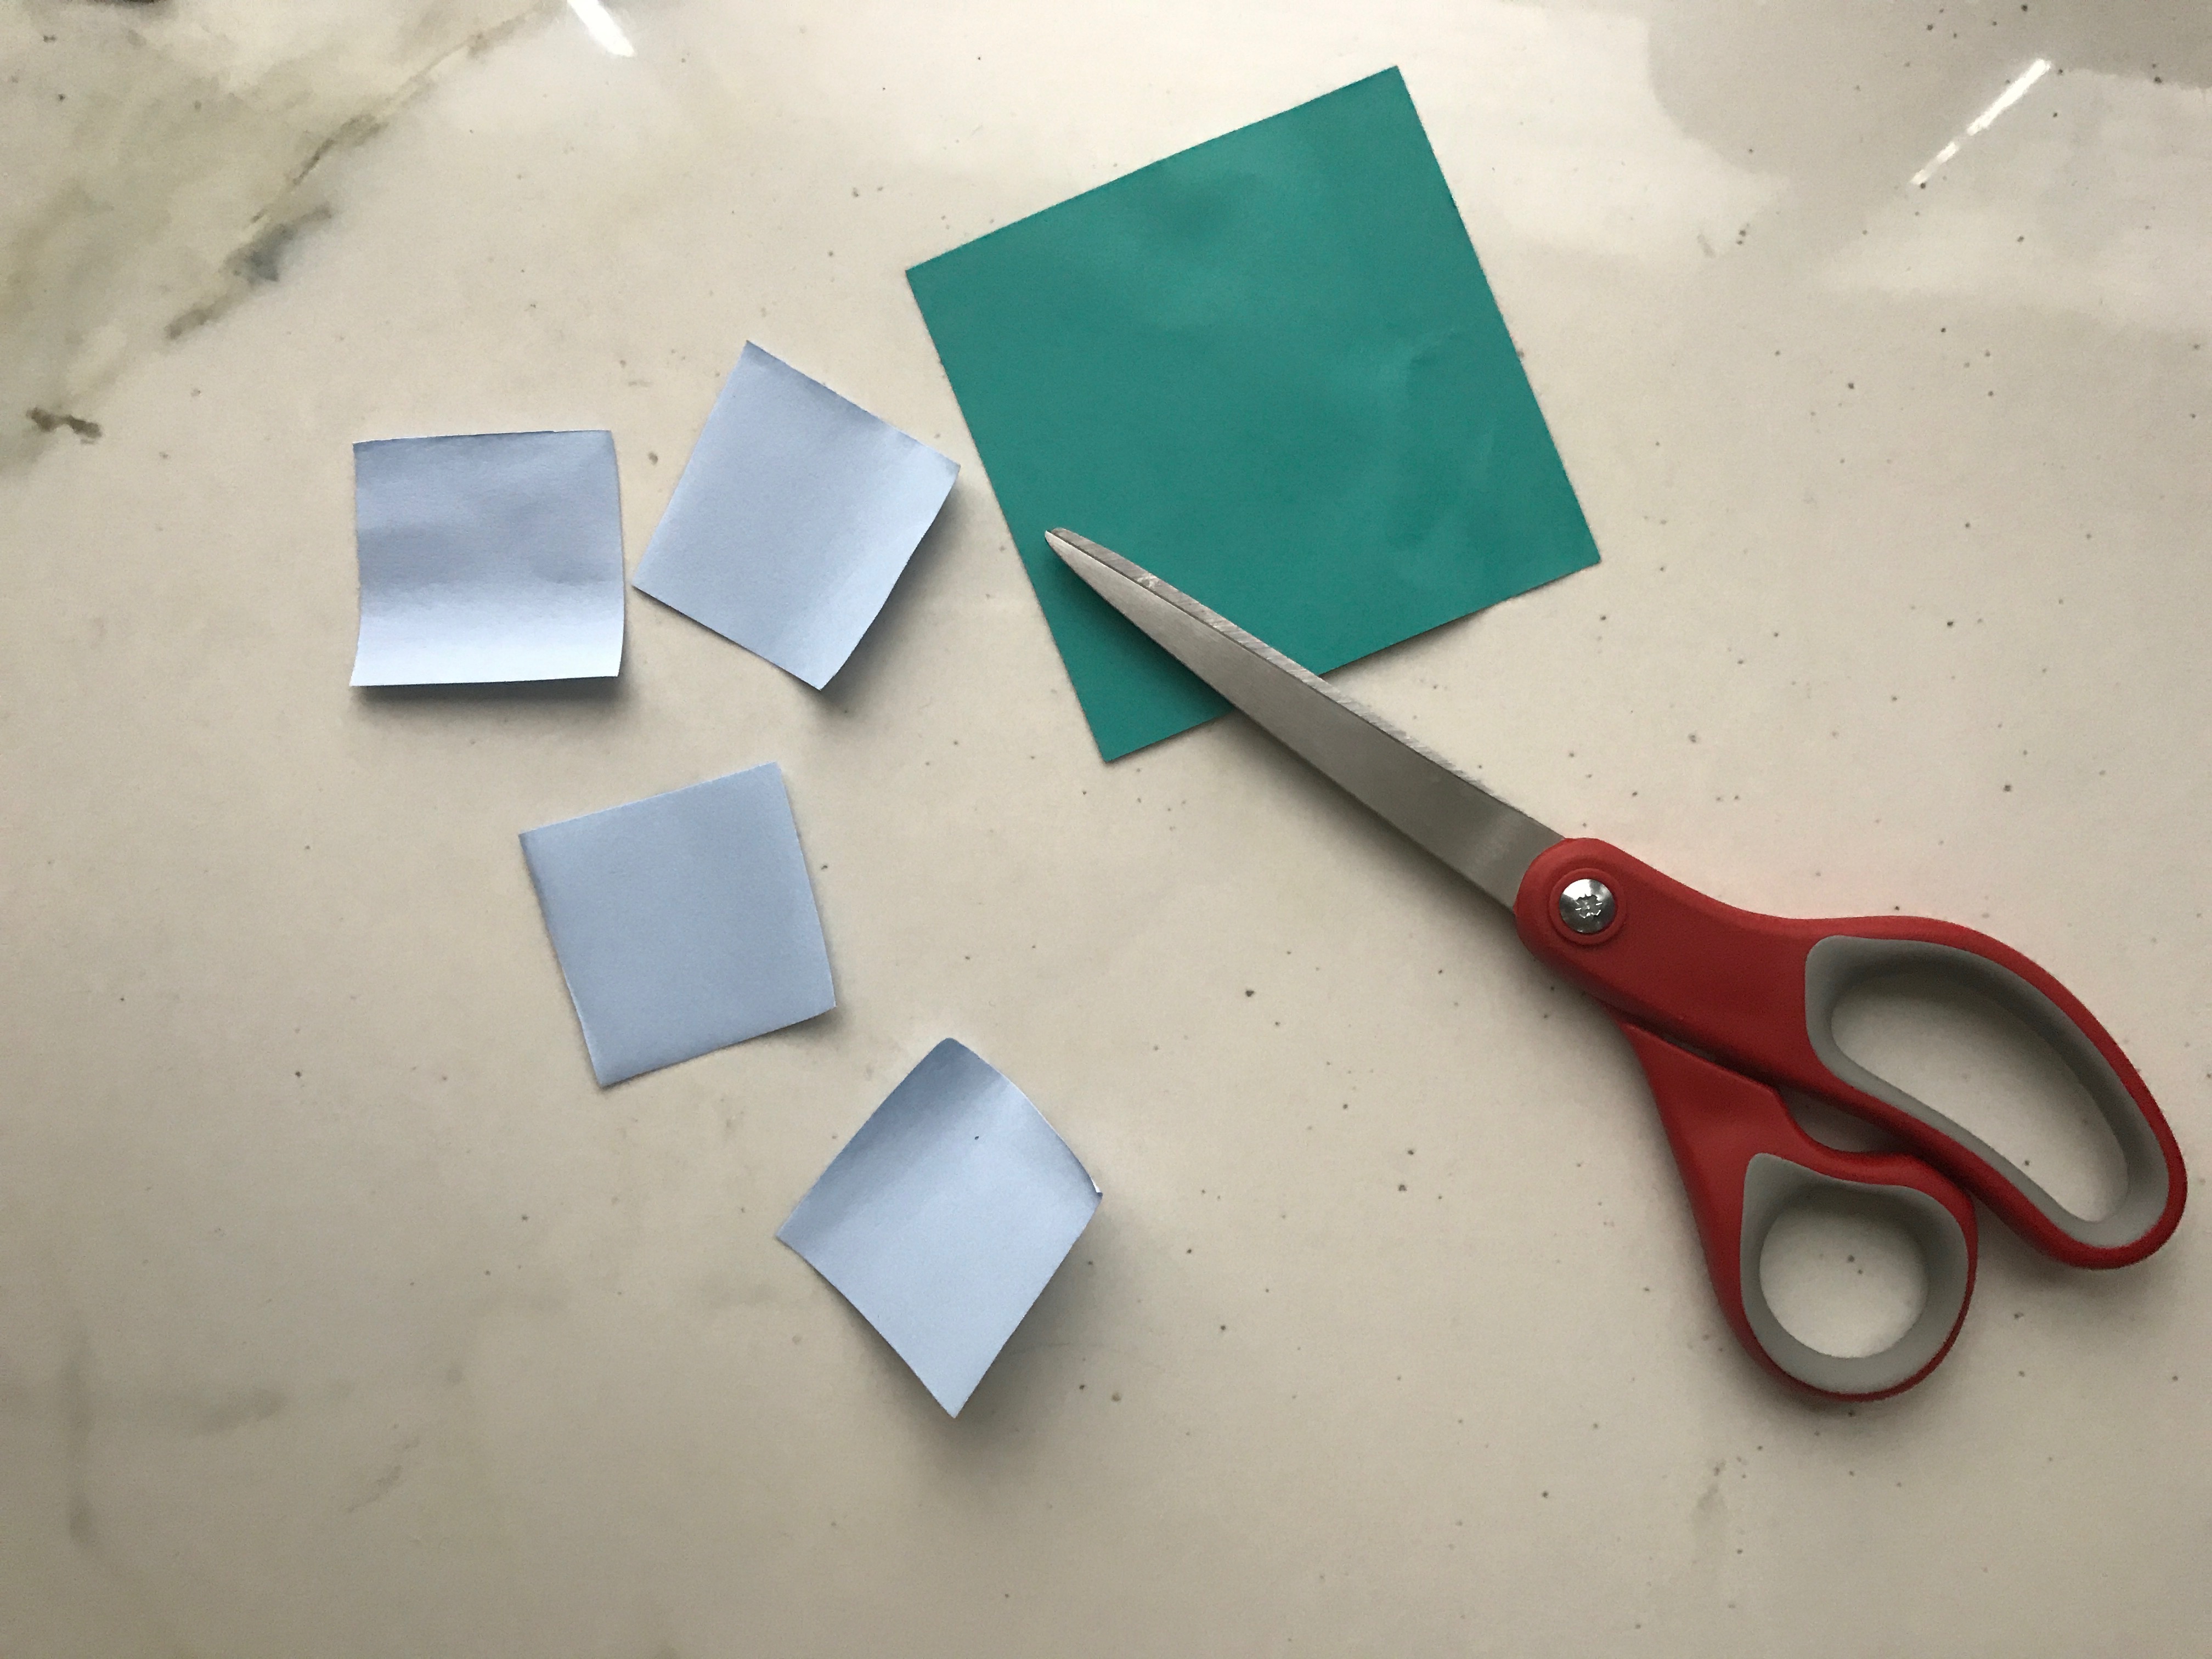 Mini hands can try their hand at creating mini stars. Just cut a post it note into 4 squares. Big hands (aka parents) should skip this, we tried, and it’s beyond us.


|