Once you have that starter, it’s time to start making bread.
For information on the equipment and ingredients you need to get started, and step by step instructions on making a starter, see part 1 of this post over here.
Preparing your dough to bake:
- Weigh out 100 grams of starter
- Add 375 grams of water and mix
- Add 500 grams total flour
- Add 10 grams of fine ground pink Himalayan sea salt or fine sea salt
* Note: I use 450 grams of bread flour plus 50 grams of whole wheat flour, but feel free to experiment with other types.
Mix. Your dough will be dry and shaggy (it will look rough and unkempt).
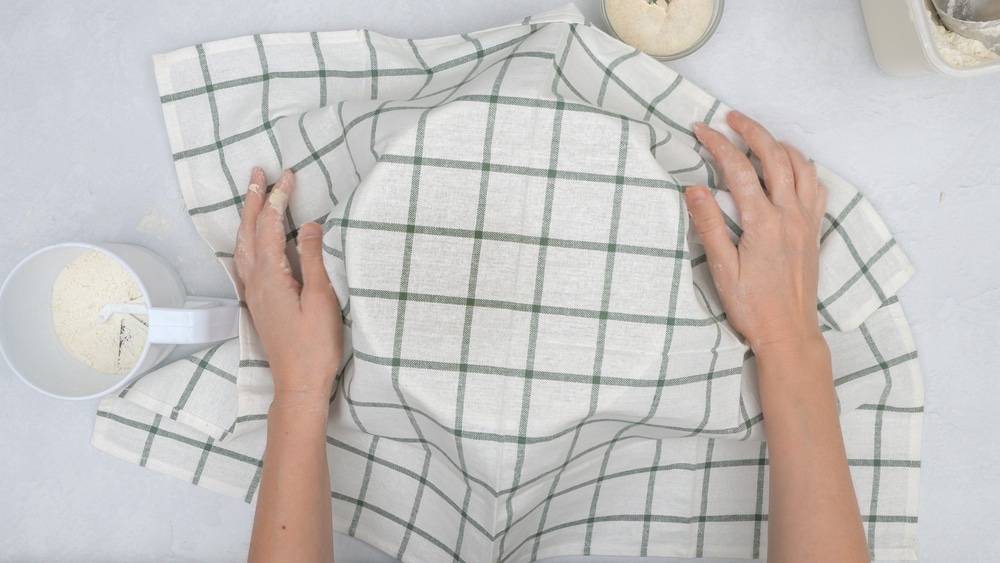
Cover the shaggy dough with a clean kitchen towel or disposable shower cap.
- Let the dough sit for 45 minutes. This step is called autyze (the flour absorbs the water and gluten development begins).
- If you didn’t add your salt in the first part you can add it now, after the 45 minutes but before the next step.
- After 45 minutes, work/quick knead your dough. (This means to knead it together by folding it over itself a few times.) You will notice the gluten begins to tighten and this can take 30 seconds to 1 minute.
- Cover (with towel or shower cap) and allow to ferment for 10-12 hours (sometimes less, sometimes more). This is known as a bulk rise. Some people choose to do stretches and folds which helps incorporate air into the dough and aids in gluten development. This is an optional step which is done 4 times every 30 minutes or so at the beginning of the bulk rise process.
Additions:
If you want to add any additional flavors to your bread it should be done after the autolyzing process. Here are some ideas: 1 cup chocolate chips for a sweet loaf. 1 head of roasted garlic & 2 teaspoons fresh stemmed and chopped rosemary. 1 cup of mixed, chopped and dried olives + 2 teaspoons zaatar.
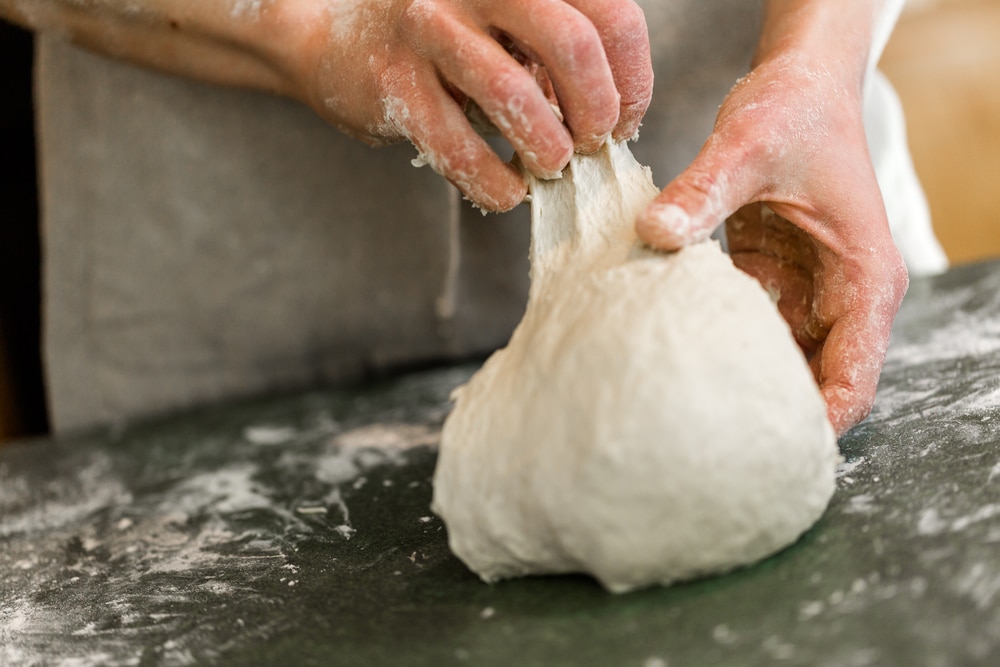
Generously dust your countertop or pastry mat with bread flour. Using a plastic scraper, transfer the dough onto the mat and you will stretch and pull the dough into itself. I bring each of the 4 corners towards the middle.
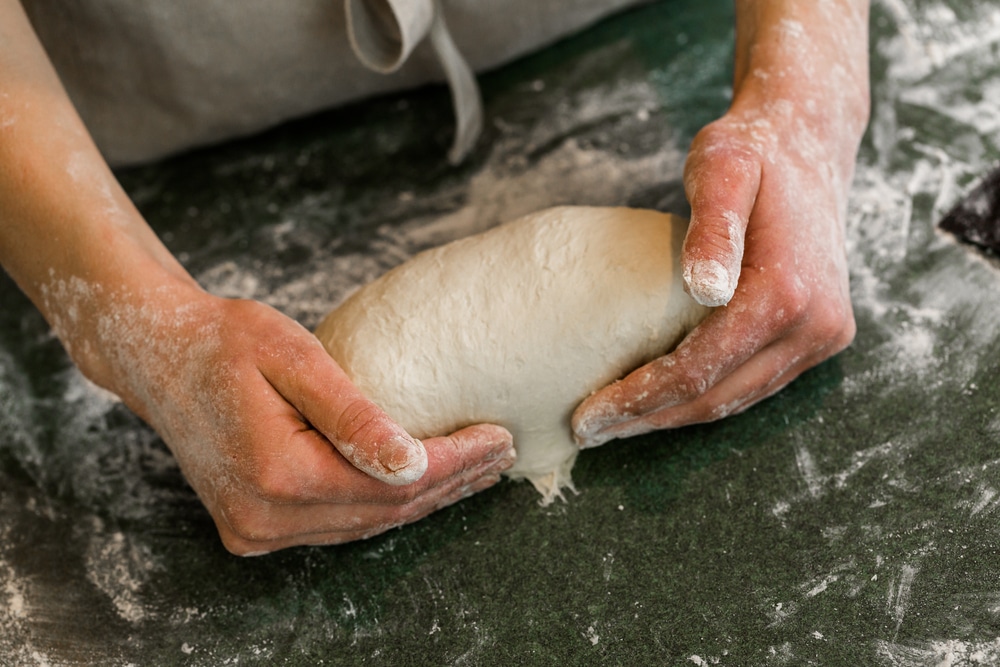
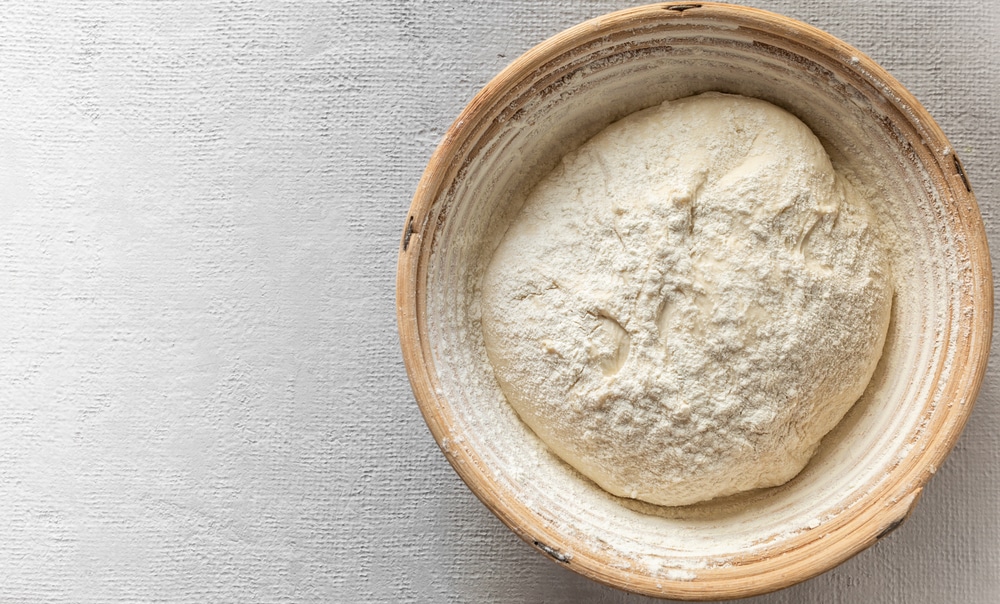
Final Proofing:
Flour your banneton or overlap 2 pieces of paper towel and sprinkle with white rice flour. Transfer your boule (your round ball of sourdough) to the banneton seam side up, cover (with a disposable shower cap), and refrigerate overnight 12-18 hrs. You can let your dough ferment at room temperature but I find the overnight chill much more beneficial for flavor development and dough handling .
Baking:
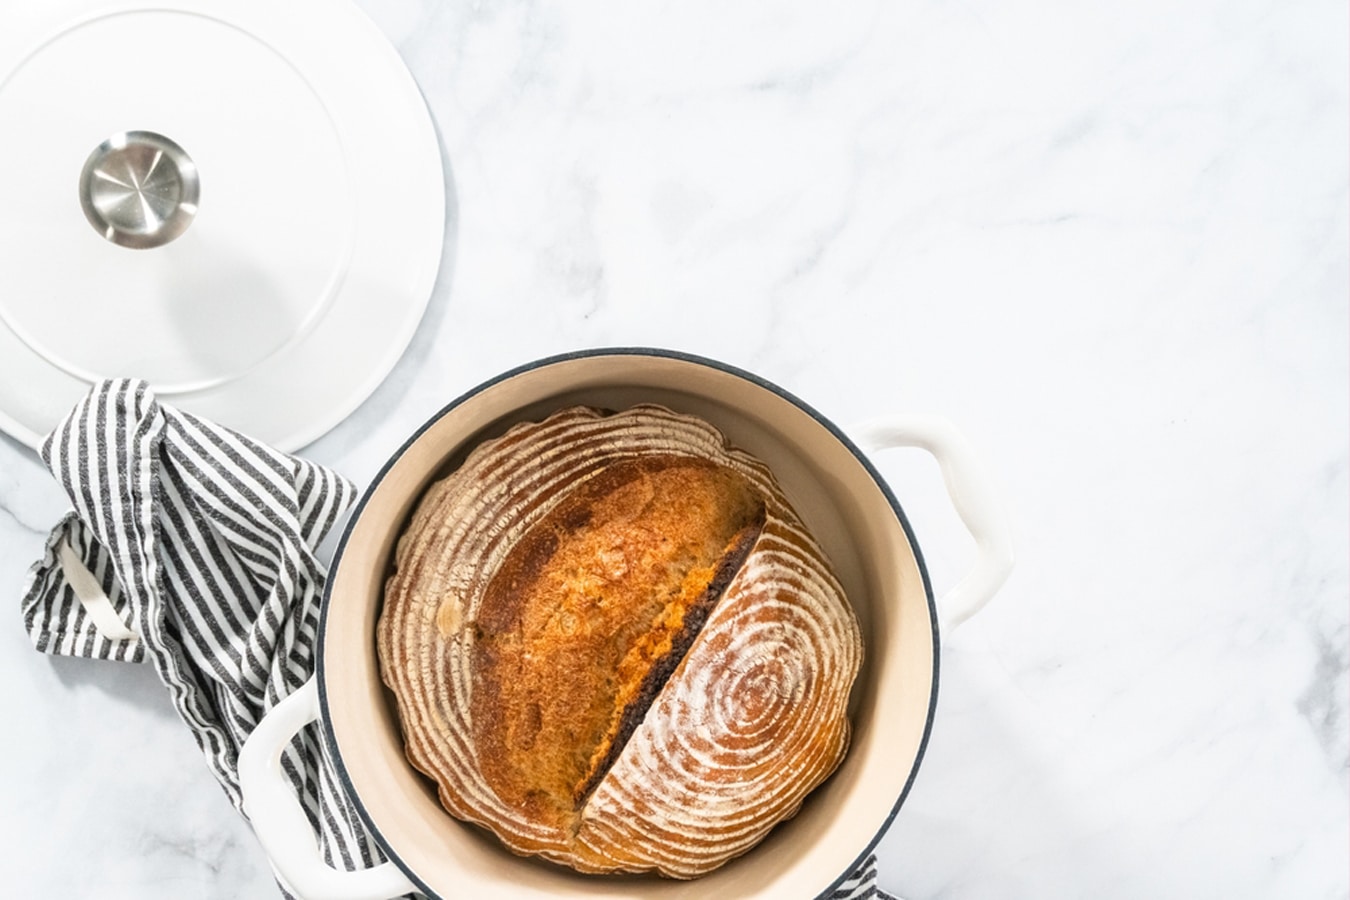
When you are ready to bake, place a Dutch oven into your oven and set the temperature to 500⁰F. A preheated Dutch oven allows for the dough to begin expanding on contact. While the oven preheats, I personally like to keep my banneton in the freezer so that when it’s time to score it’s firm and keeps a nice shape.

Note: Rice flour is used because it does not burn or turn brown like wheat flour, especially at a high temperature like the one we are baking on.
- Using a razor blade or lame (bread scoring tool), slash a long cut down the length of the dough; approx 1/4” thick.
- Very carefully and wearing oven mitts, remove lid and place loaf into Dutch oven (on parchment). Place the lid back on and close the oven door.Bake for 22 minutes.
- After 22 minutes, remove the lid.
- Drop the temperature to 450⁰F and continue to bake for 22- 25 minutes, until a dark/golden crust forms.
- Turn off the oven. Remove Dutch oven. Remove boule and allow to cool on rack.



Hi!
Really enjoying these posts about sourdough. Is there any possibility to have a sample schedule? Ie if want to bake thursday night or friday afternoon, when would need to start everything? And what the day process would look like.
Thanks!
I would also like to see a schedule like that thanks!
This particular recipe seems to have really long times. I use Spice and Zest’s basic country loaf recipe, and here’s how I work the timing:
To bake Thursday night:
1. Wednesday AM: feed the starter right before work
2. Wednesday PM (right after work): mix the dough (starter + water + flour, a half hour later add some more water and salt as per recipe etc, let rise till point when you put in the banneton) and let it rest in fridge overnight.
2. Thursday PM: bake
To bake Friday:
1. Thursday AM: feed the starter right before work
2. Thursday PM (right after work): mix the dough (starter + water + flour, a half hour later add some more water and salt as per recipe etc, let rise till point when you put in the banneton) and let it rest in fridge overnight.
2. Friday any time: bake
Hi! in an Instagram story from a while ago, you posted a pot for baking sourdough bread – but it wasn’t cast iron, it was something lightweight. I think it was maybe black with white speckles/flecks. If you remember, would it be possible to post the link or the name of the pot? thank you!!
We linked it in part one https://betweencarpools.com/sourdough-guide-beginners/
Hi,
That pot is no longer available on Amazon.
Would you be able to post something in a similar price range that could work?
Thank you!