Did you always admire those pretty pantry labels, but thought they’re too expensive to have made? Well, they’re not.
Since the launch of Between Carpools, we’ve all been inspired by each other. Back in January 2017, it was Renee Muller that turned us all onto the beauty of Kuggis bins in this post. The following week, we were inspired by her labeling series which began with this post.
There’s something about an organized pantry, all neat and labeled, that just makes a woman happy. As if, all is in order in life as long as she knows what ingredients she has in the house.

Lately, I’ve been wanting to make the pantry an even prettier place with custom labels. And whenever you buy ready-made labels, they don’t usually have the categories that you need for your family. Every pantry is so different, every family stocks such different types of foods!
But containers cost enough, I didn’t want to spend more on custom labels! I researched to learn how I could do it myself and figured out it’s so much simpler than I thought! All you need is some transparent sticker paper like this one! These are crystal clear, so they will blend into whatever you place them on and you won’t see the outline of the label (unless looking really closely). Some “transparent” sticker papers have a foggy finish and won’t give you the same results (read reviews).

Simply open up your google doc and choose a font that you love (click “more fonts” from the drop-down menu so you see some new ones). It helps to type out the names of some of the labels you’ll be printing first so you can see how they’ll look in different fonts. I went with a font called “Bebas Neue.”
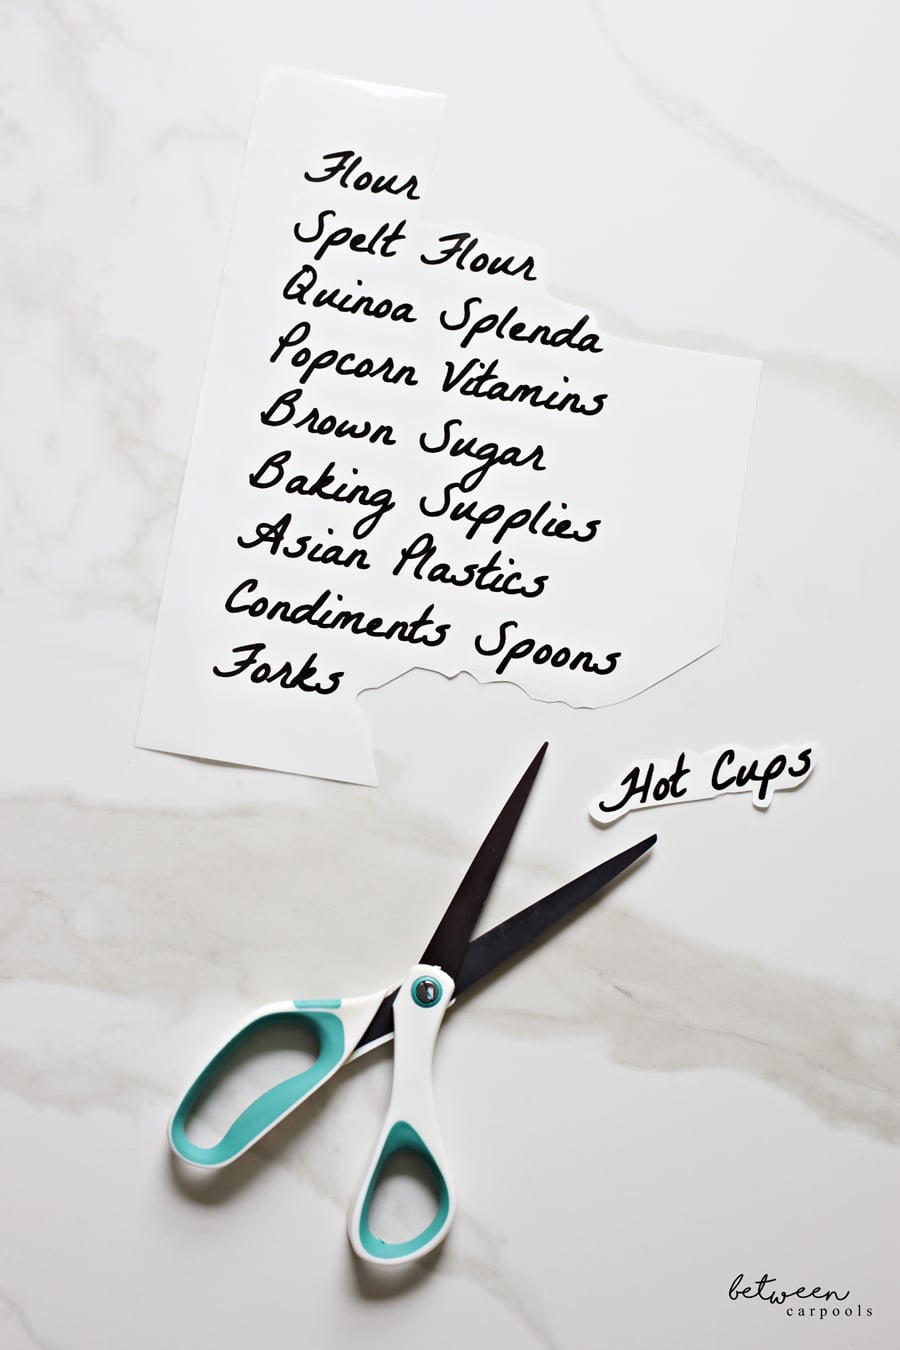
Just type your label names, print on your inkjet printer (let it dry for a few moments before handling), and cut out! Don’t cut the labels in a rectangle, rather cut loosely around the shape of the word so that it doesn’t matter if it’s not perfectly straight.

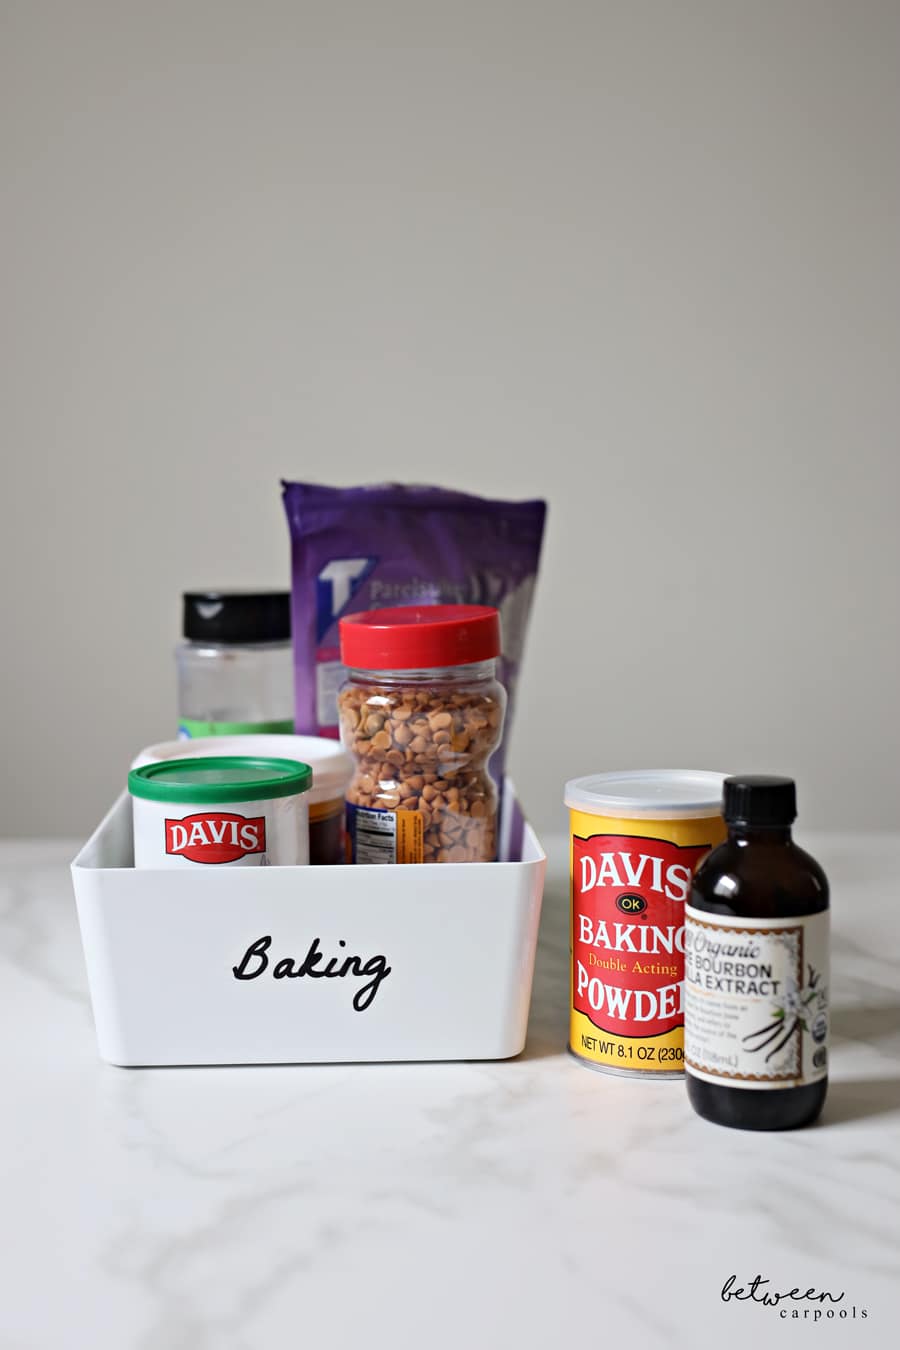
Use these labels on both your containers and your bins. I’ve found that colors don’t print well on transparent paper and I stick to black. But if you’re labeling on white, you can also go with white sticker paper and you’ll have more success with color.
One note – professional “label makers” use vinyl, not stickers. This is so you can move your label around to a different bin or container if needed. You’d want that feature when you’re paying a lot for labels. I find that it’s completely not necessary here as it’s easy to print new labels when needed.


You need to get the right paper settings on your printer, especially if it’s glossy sticker paper. Otherwise it may smudge, or stay wet.
I have an HP OfficeJet 3830. It prints perfectly well and I never experienced any smudging using the exact paper linked.
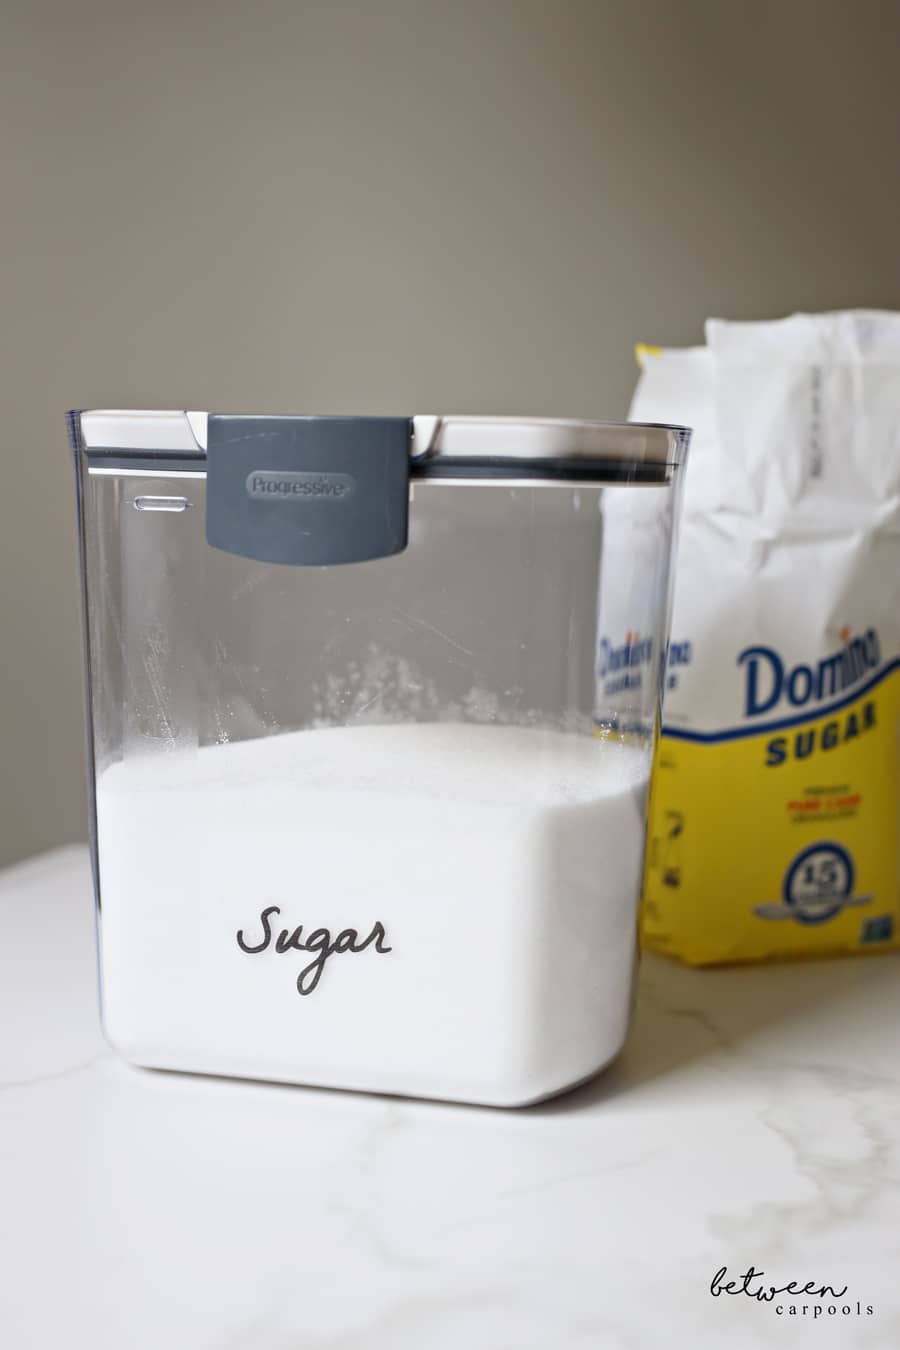
What company container is the sugar in this post in?
They’re the Prokeepers by Progressive. We have a whole post about them coming up;)
Where do I purchase those progressive containers for good price? R they good for pretzels crackers etc too?
I got mine from The Container Store when they had a sale. But for an every day great price, Bed Bath and Beyond is the best when you’re using 20% off coupons.
I just use regular p touch label maker using clear labels. Don’t get gorgeous fonts but easier than this
Love this idea! Thanks so much for sharing, can’t wait to make it!
This paper does not seem to be water proof and the text will run/smudge
I haven’t had this issue.
Check this out! I saw a neighbor of mines pantry all nicely labeled and I asked her how she did it. A huge pack of preprinted stickers from amazon. Let me know what you guys think!
thanks!!
When I google Bebas Neue font, it isnt the one in the picture.
What is the name of the font pictured?
I believe the one in the pciture is La Belle Aurore
I’ve seen a Cricut machine used to make labels and it comes out really good